This gear review originally published by Salsa Cycles.
The Roof of Alaska Fat-Bike Expedition Gear Review
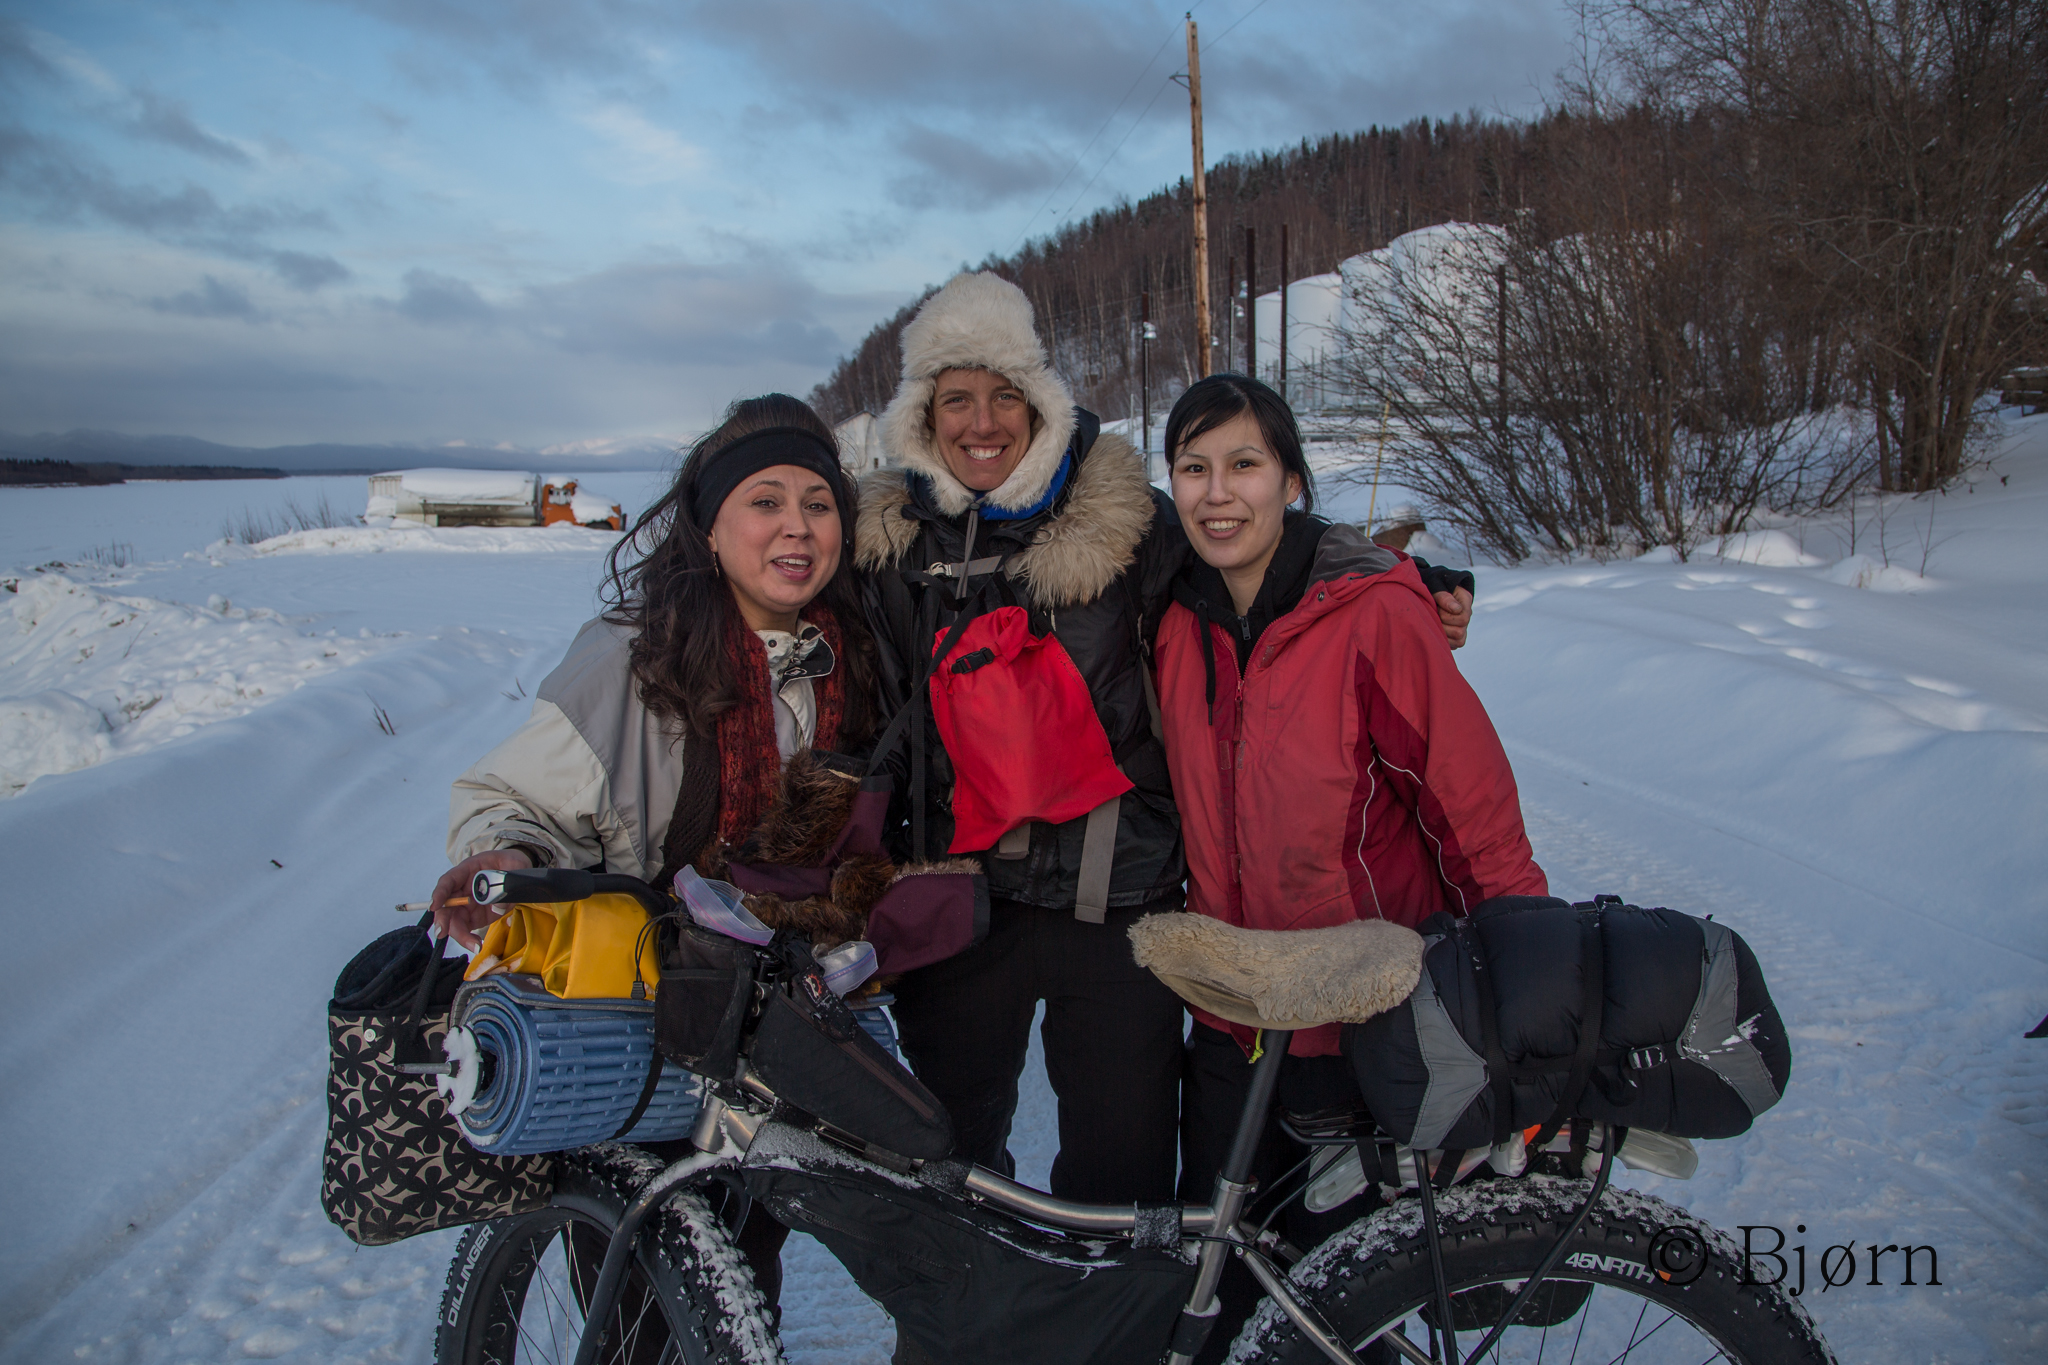
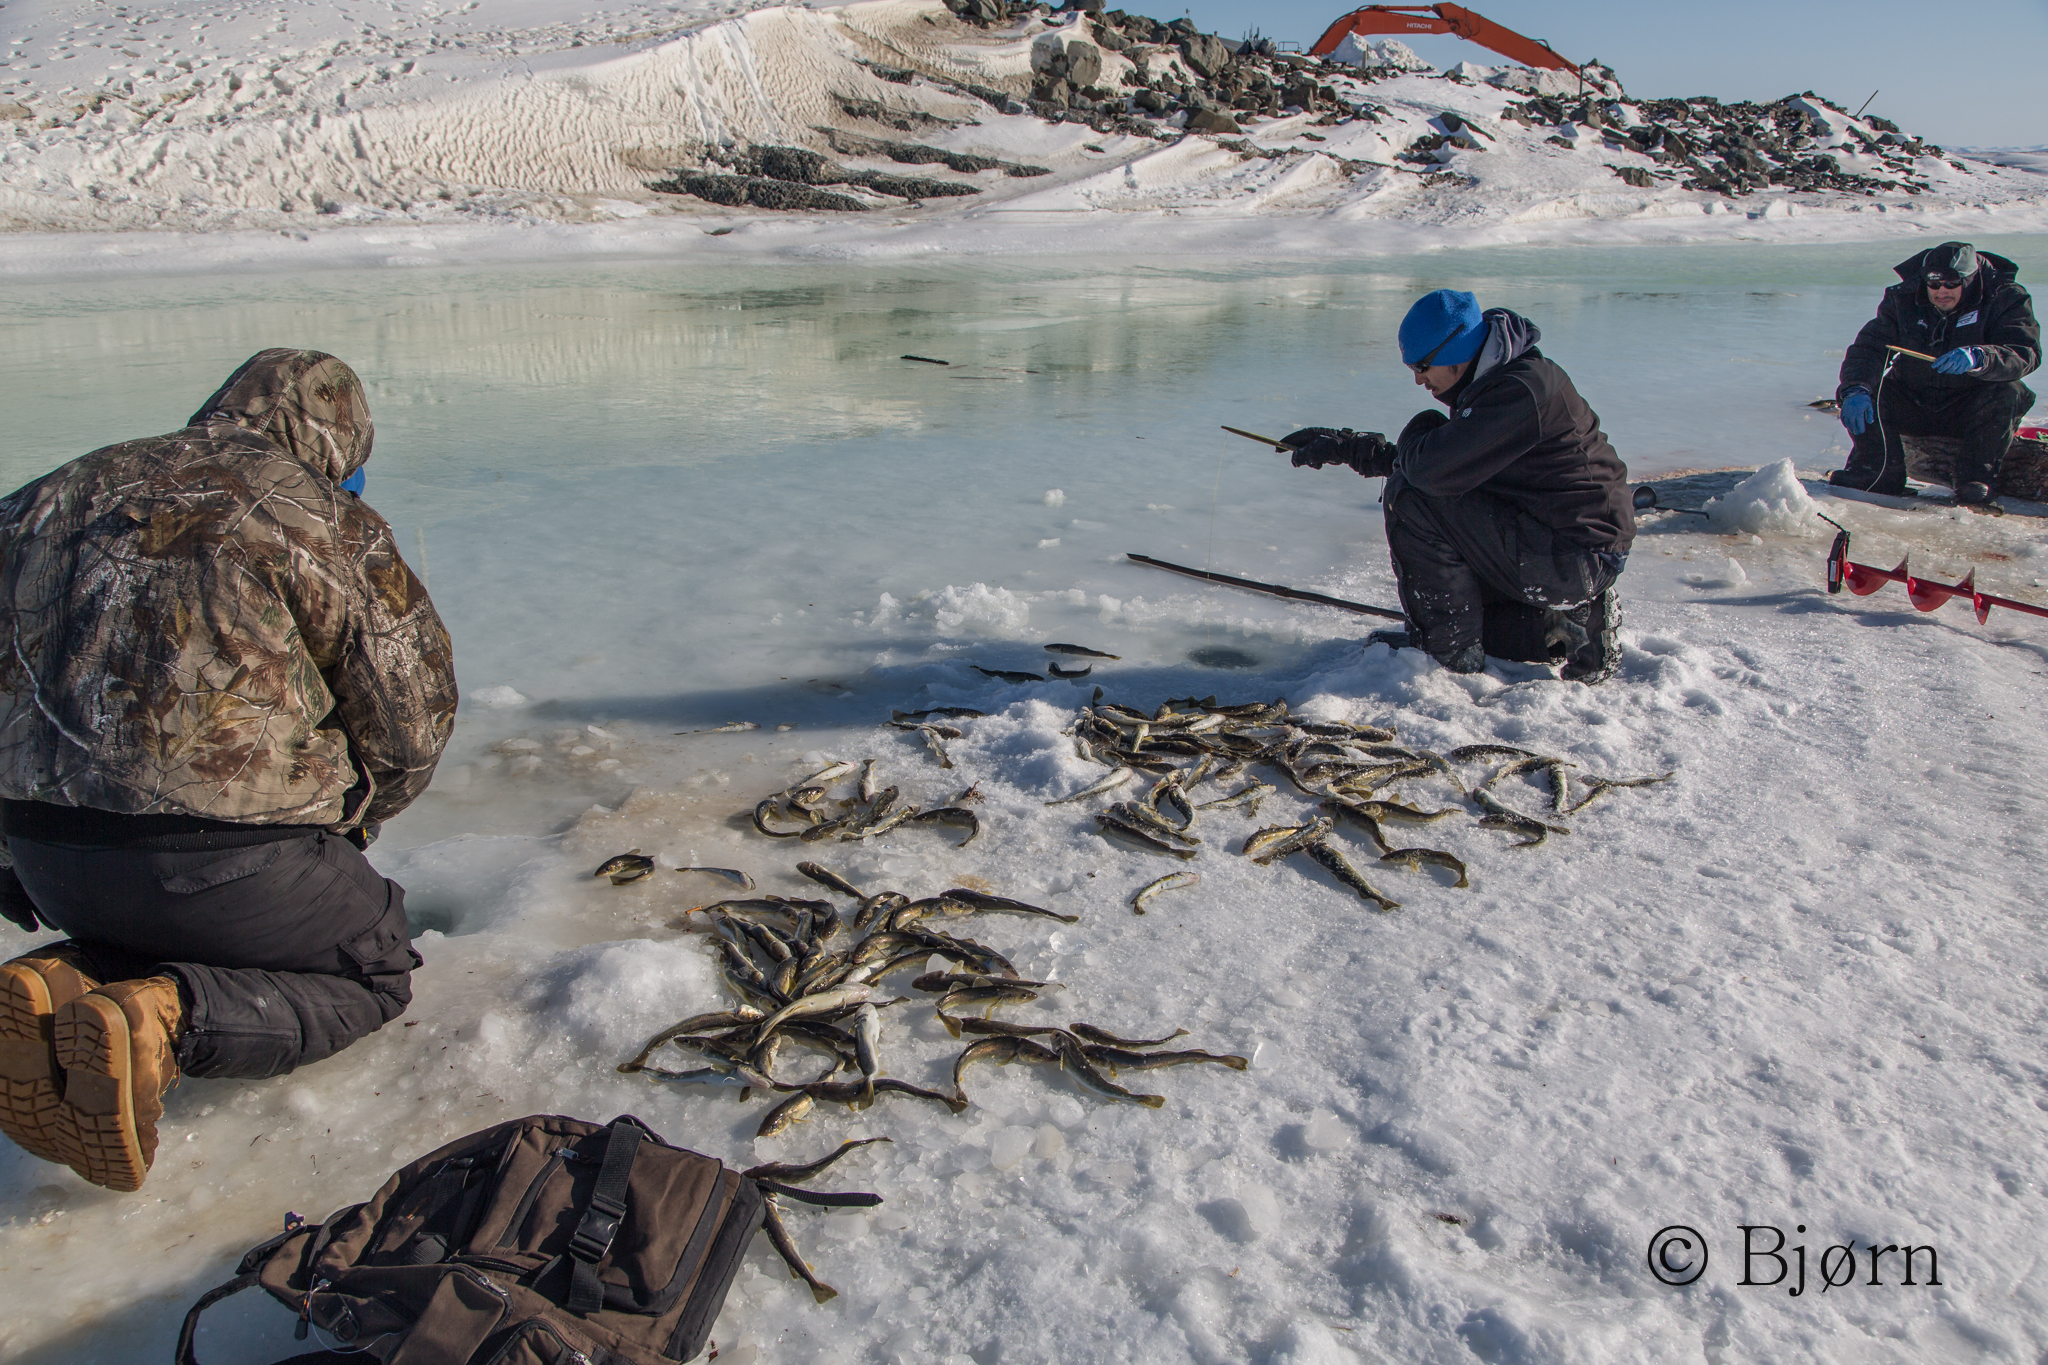
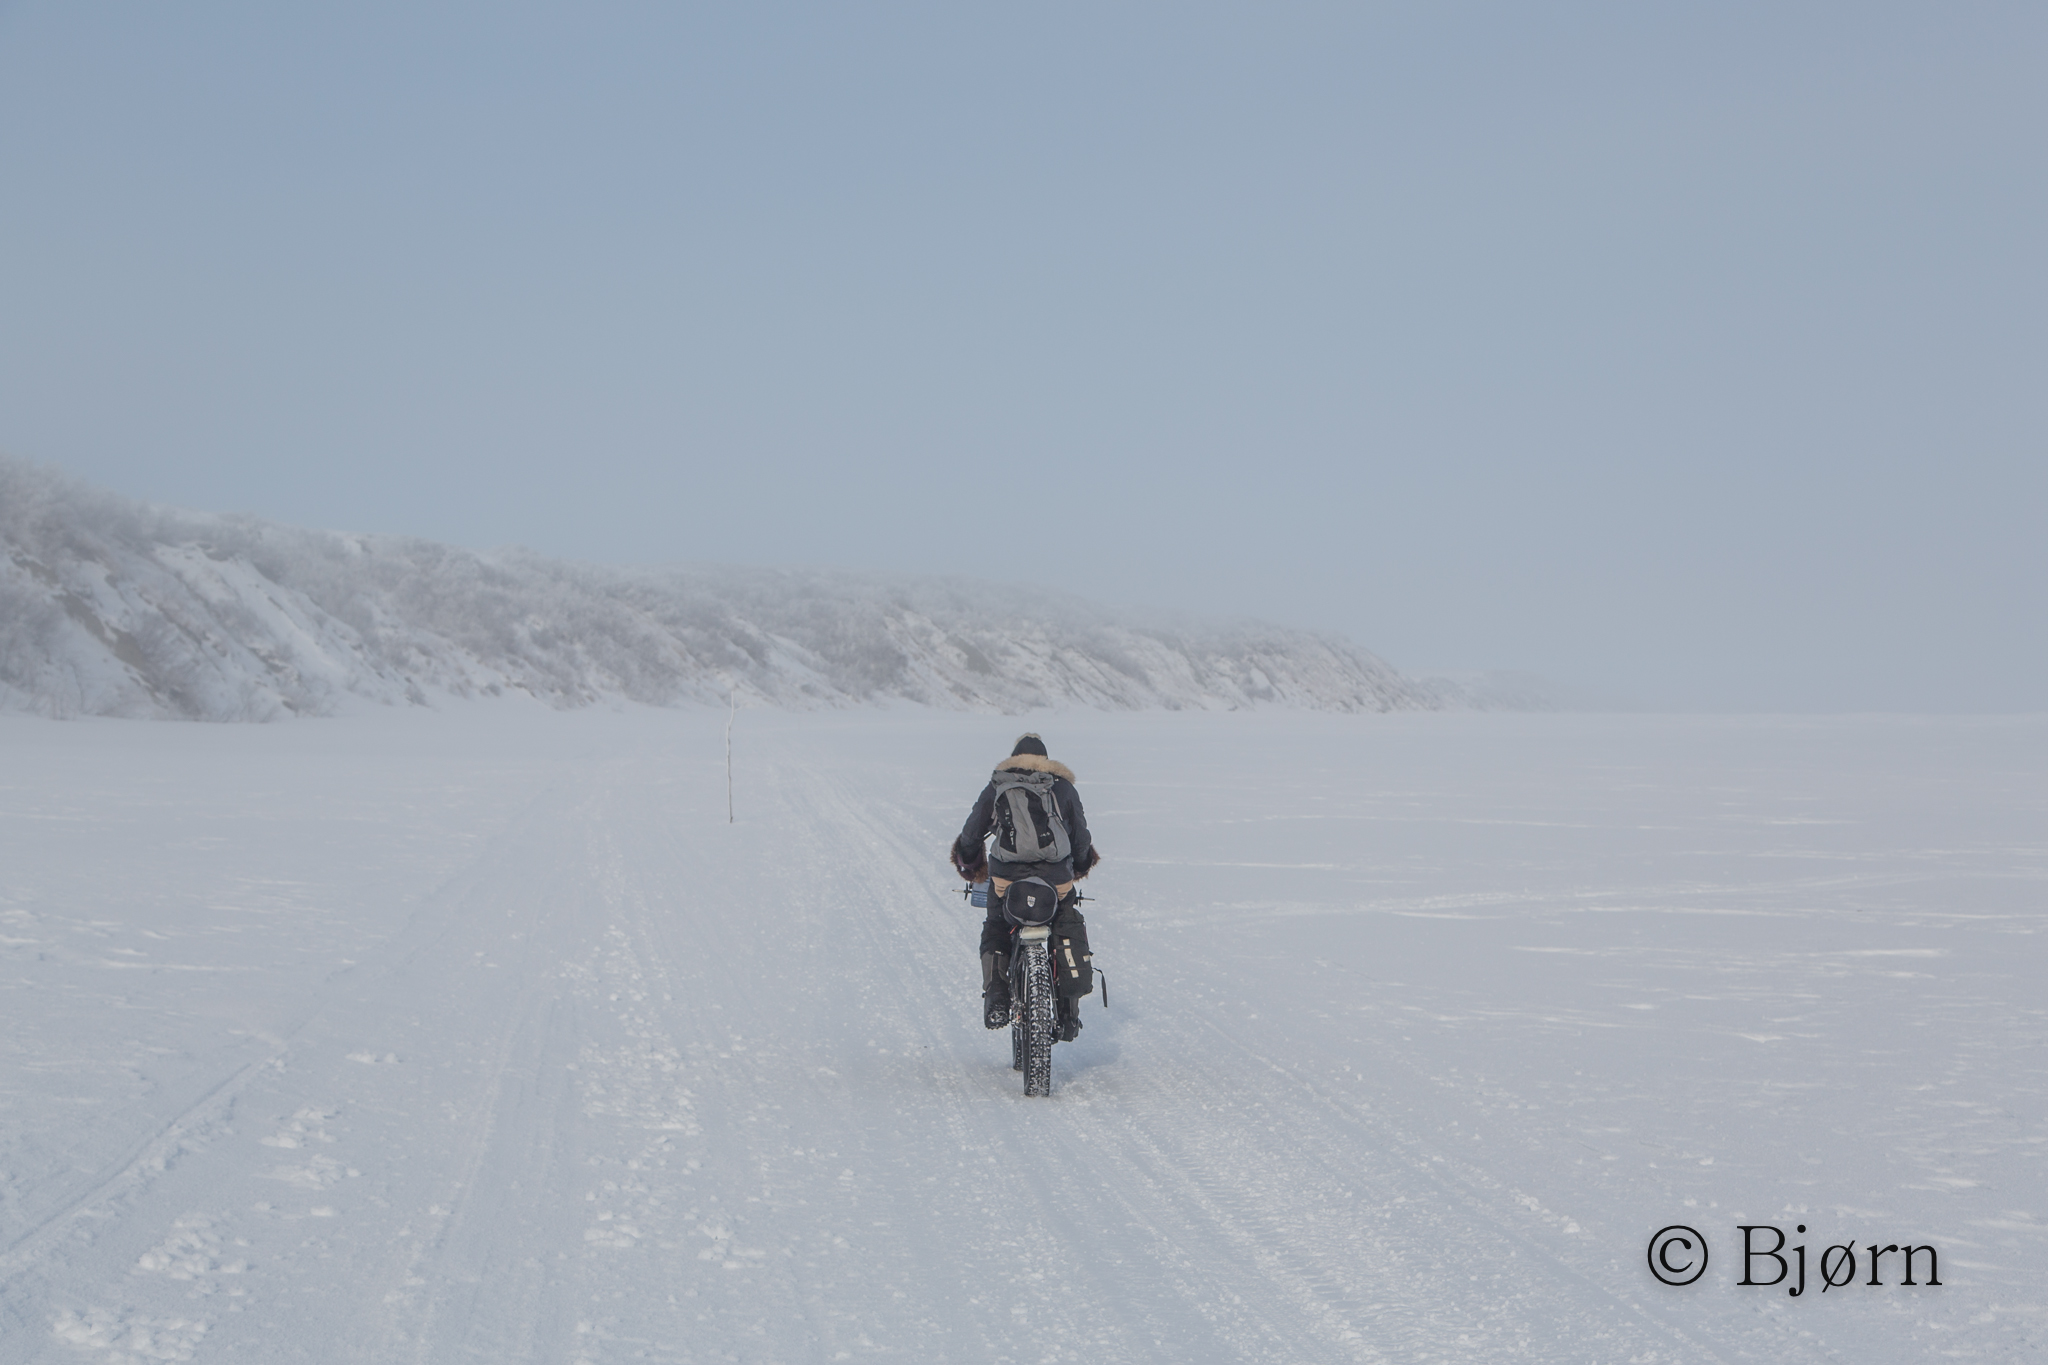
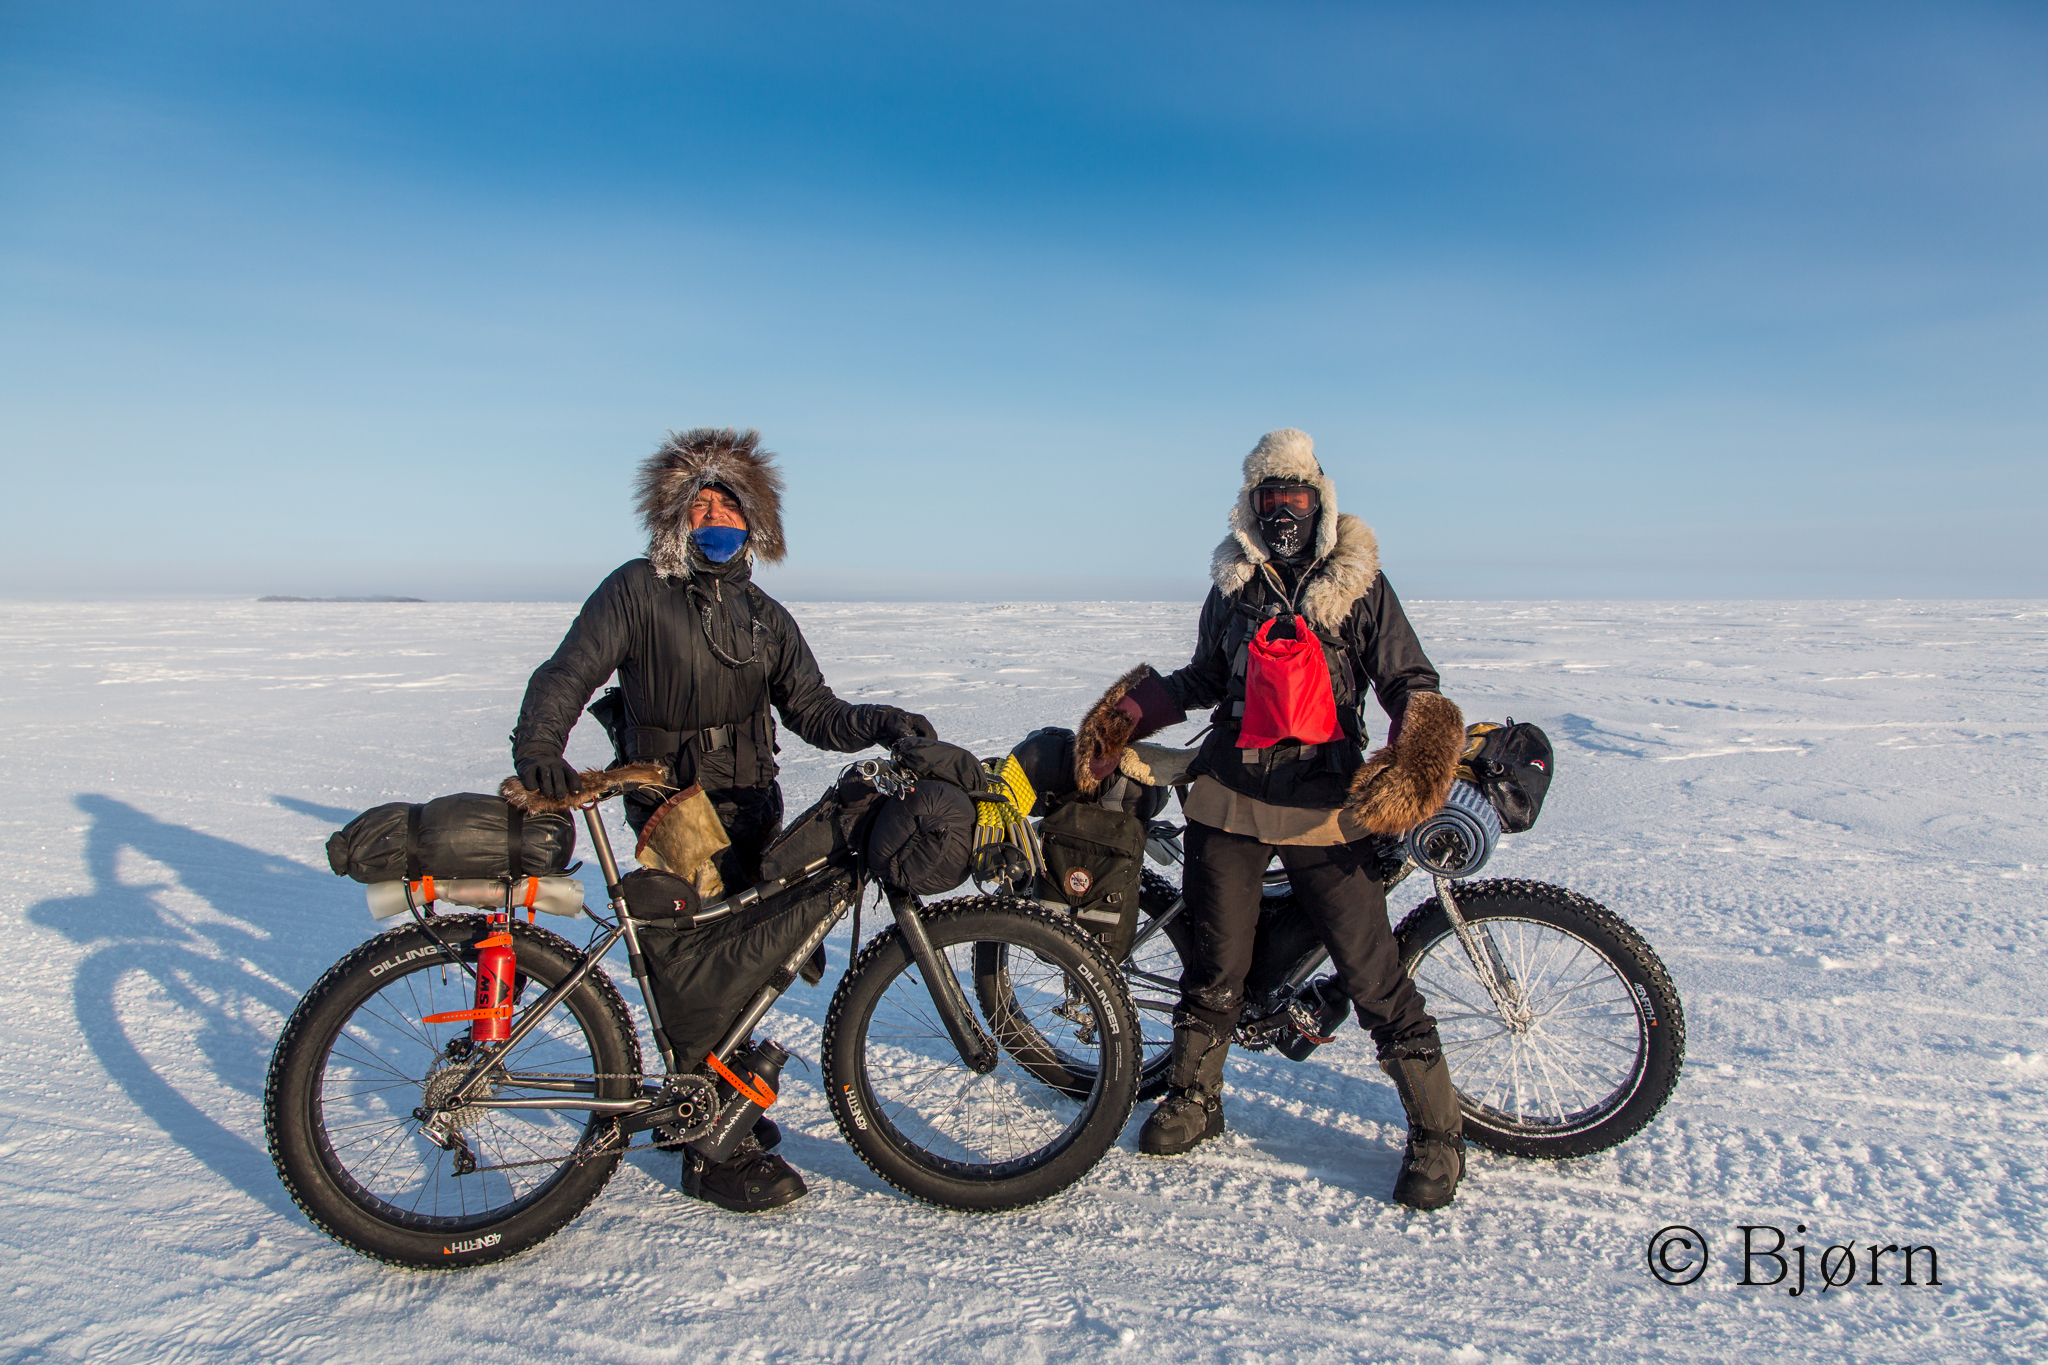
Summer 2017, Kim McNett and I completed the first part of our Roof of Alaska, Arctic fat-bike and packraft trip. We began in the Inupiat village of Point Hope, in the far northwestern region of the state, passed through two other villages—Point Lay and Wainwright—and ended 450 miles later in the northernmost community in the United States, Utqiagvk (formerly Barrow). Alaskan adventurers Daniel Countiss and Alayne Tetor joined us for the first twelve days, as far as the village of Point Lay.
As far as we know, no one has employed a fat-bike in this vast region of Alaska and only a few have done human-powered trips in this region by any means, in modern times.
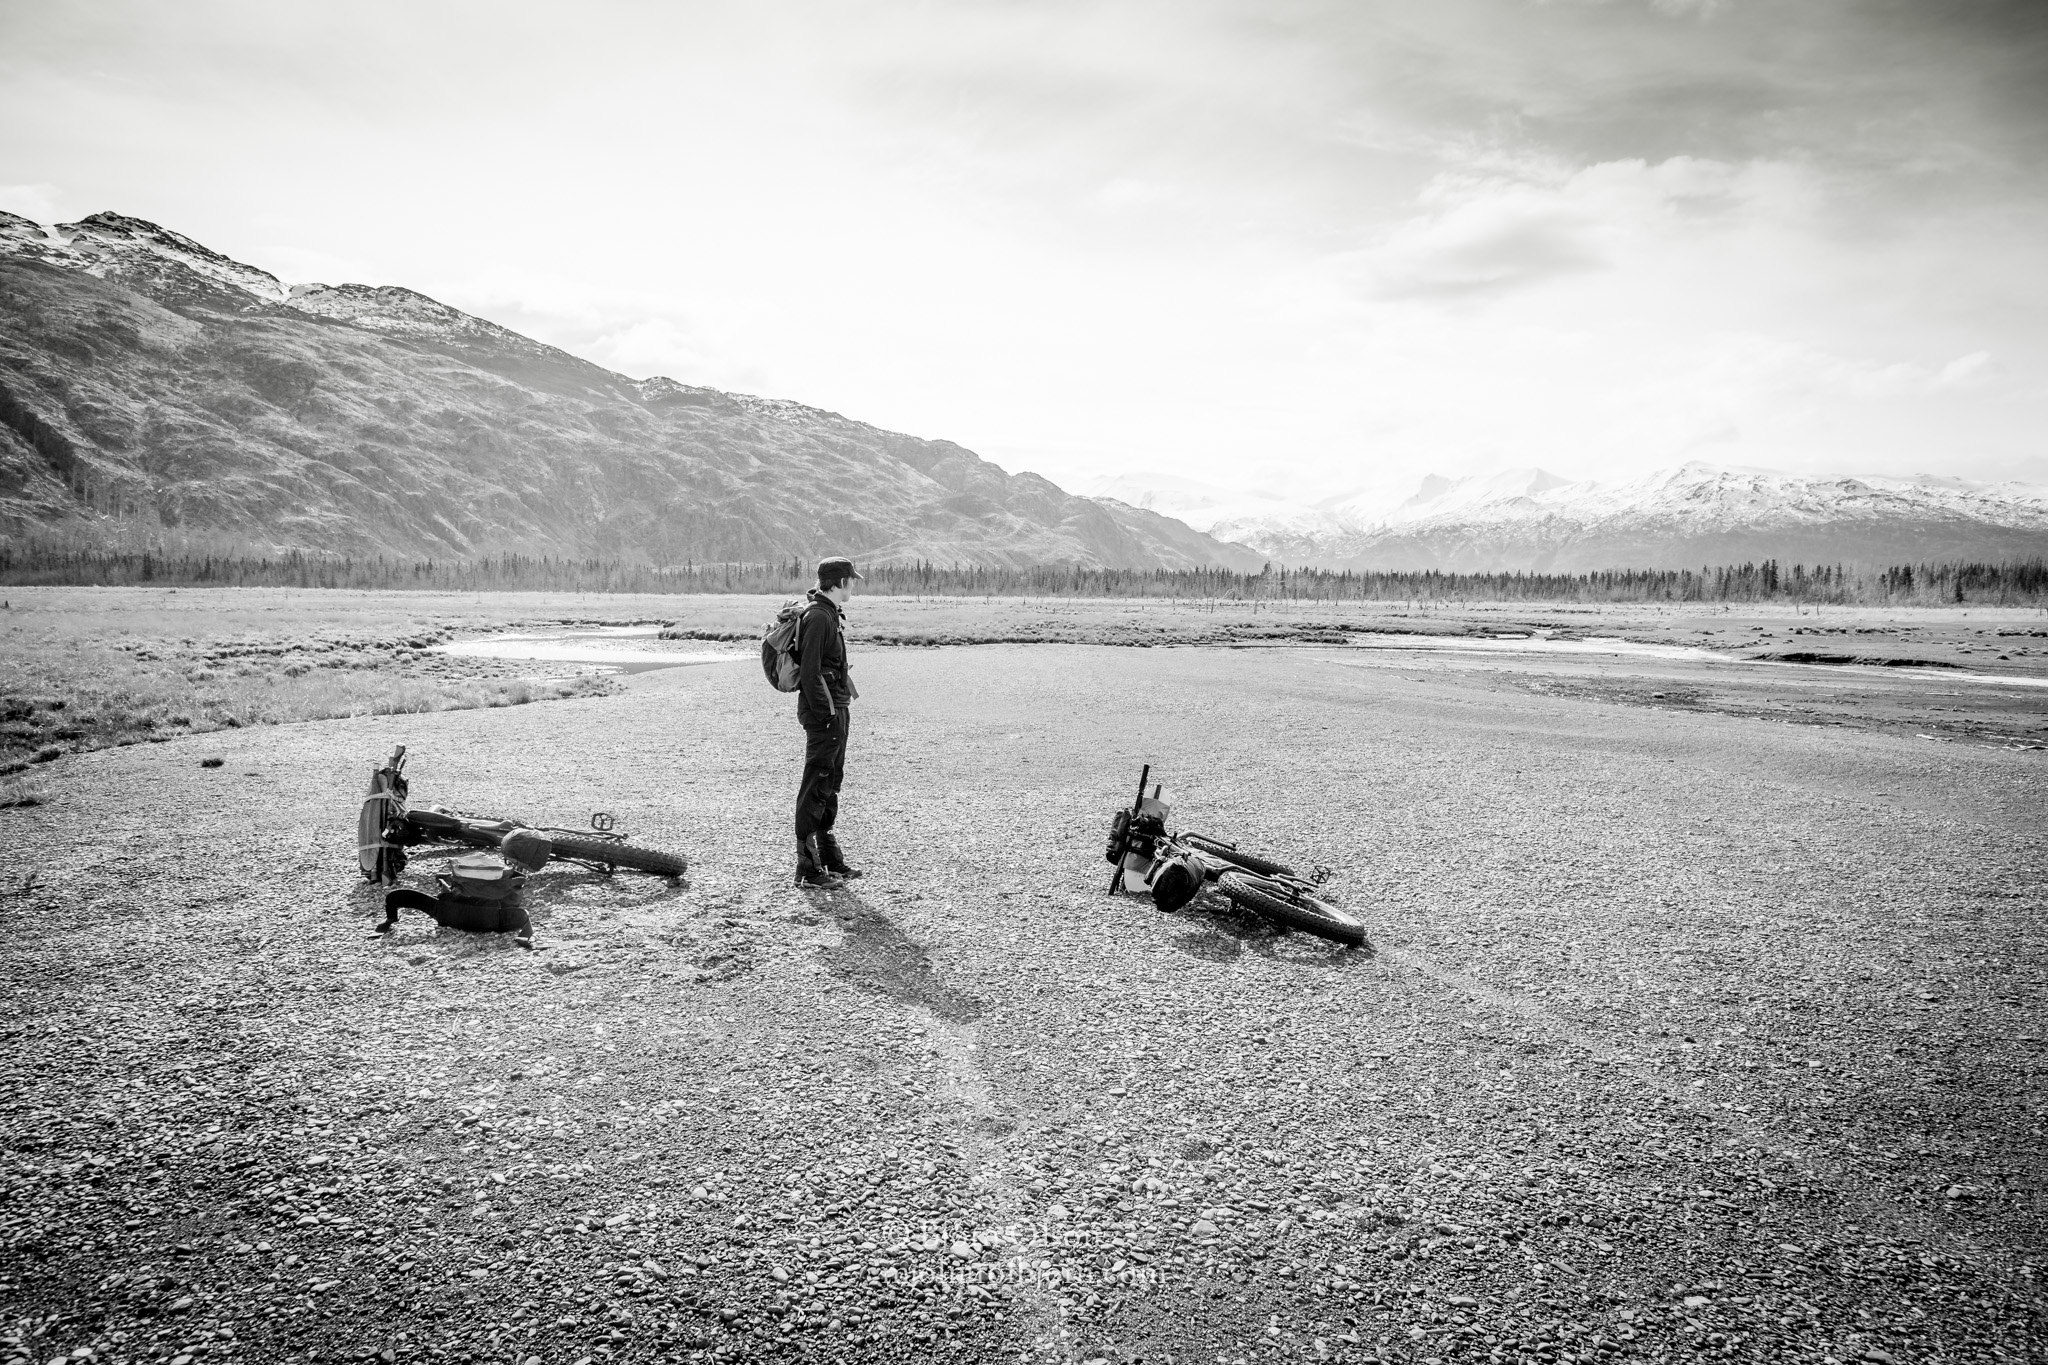
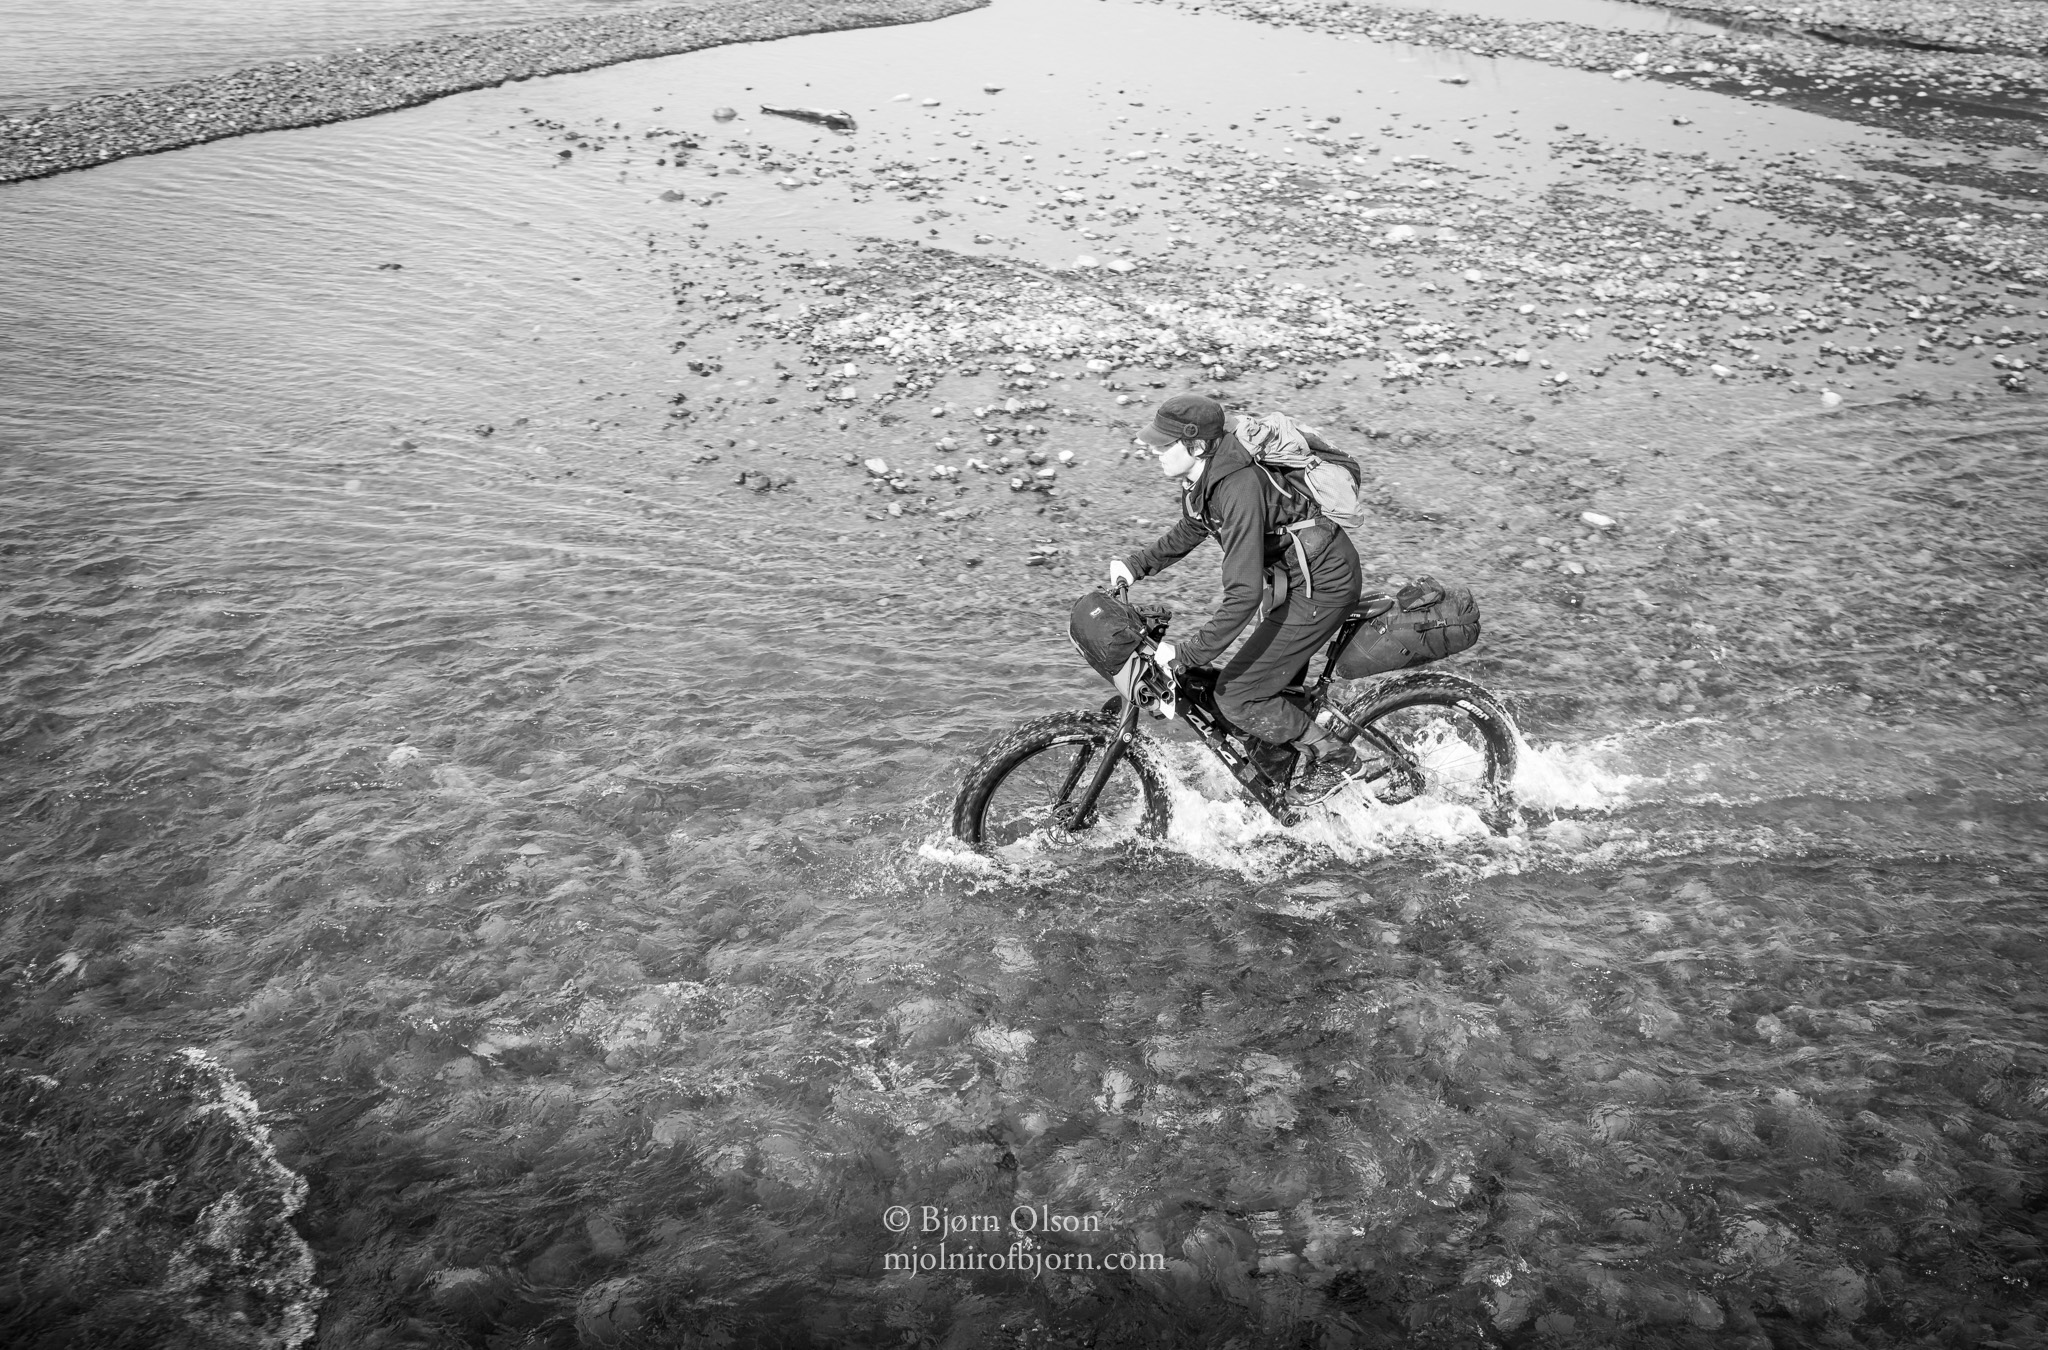
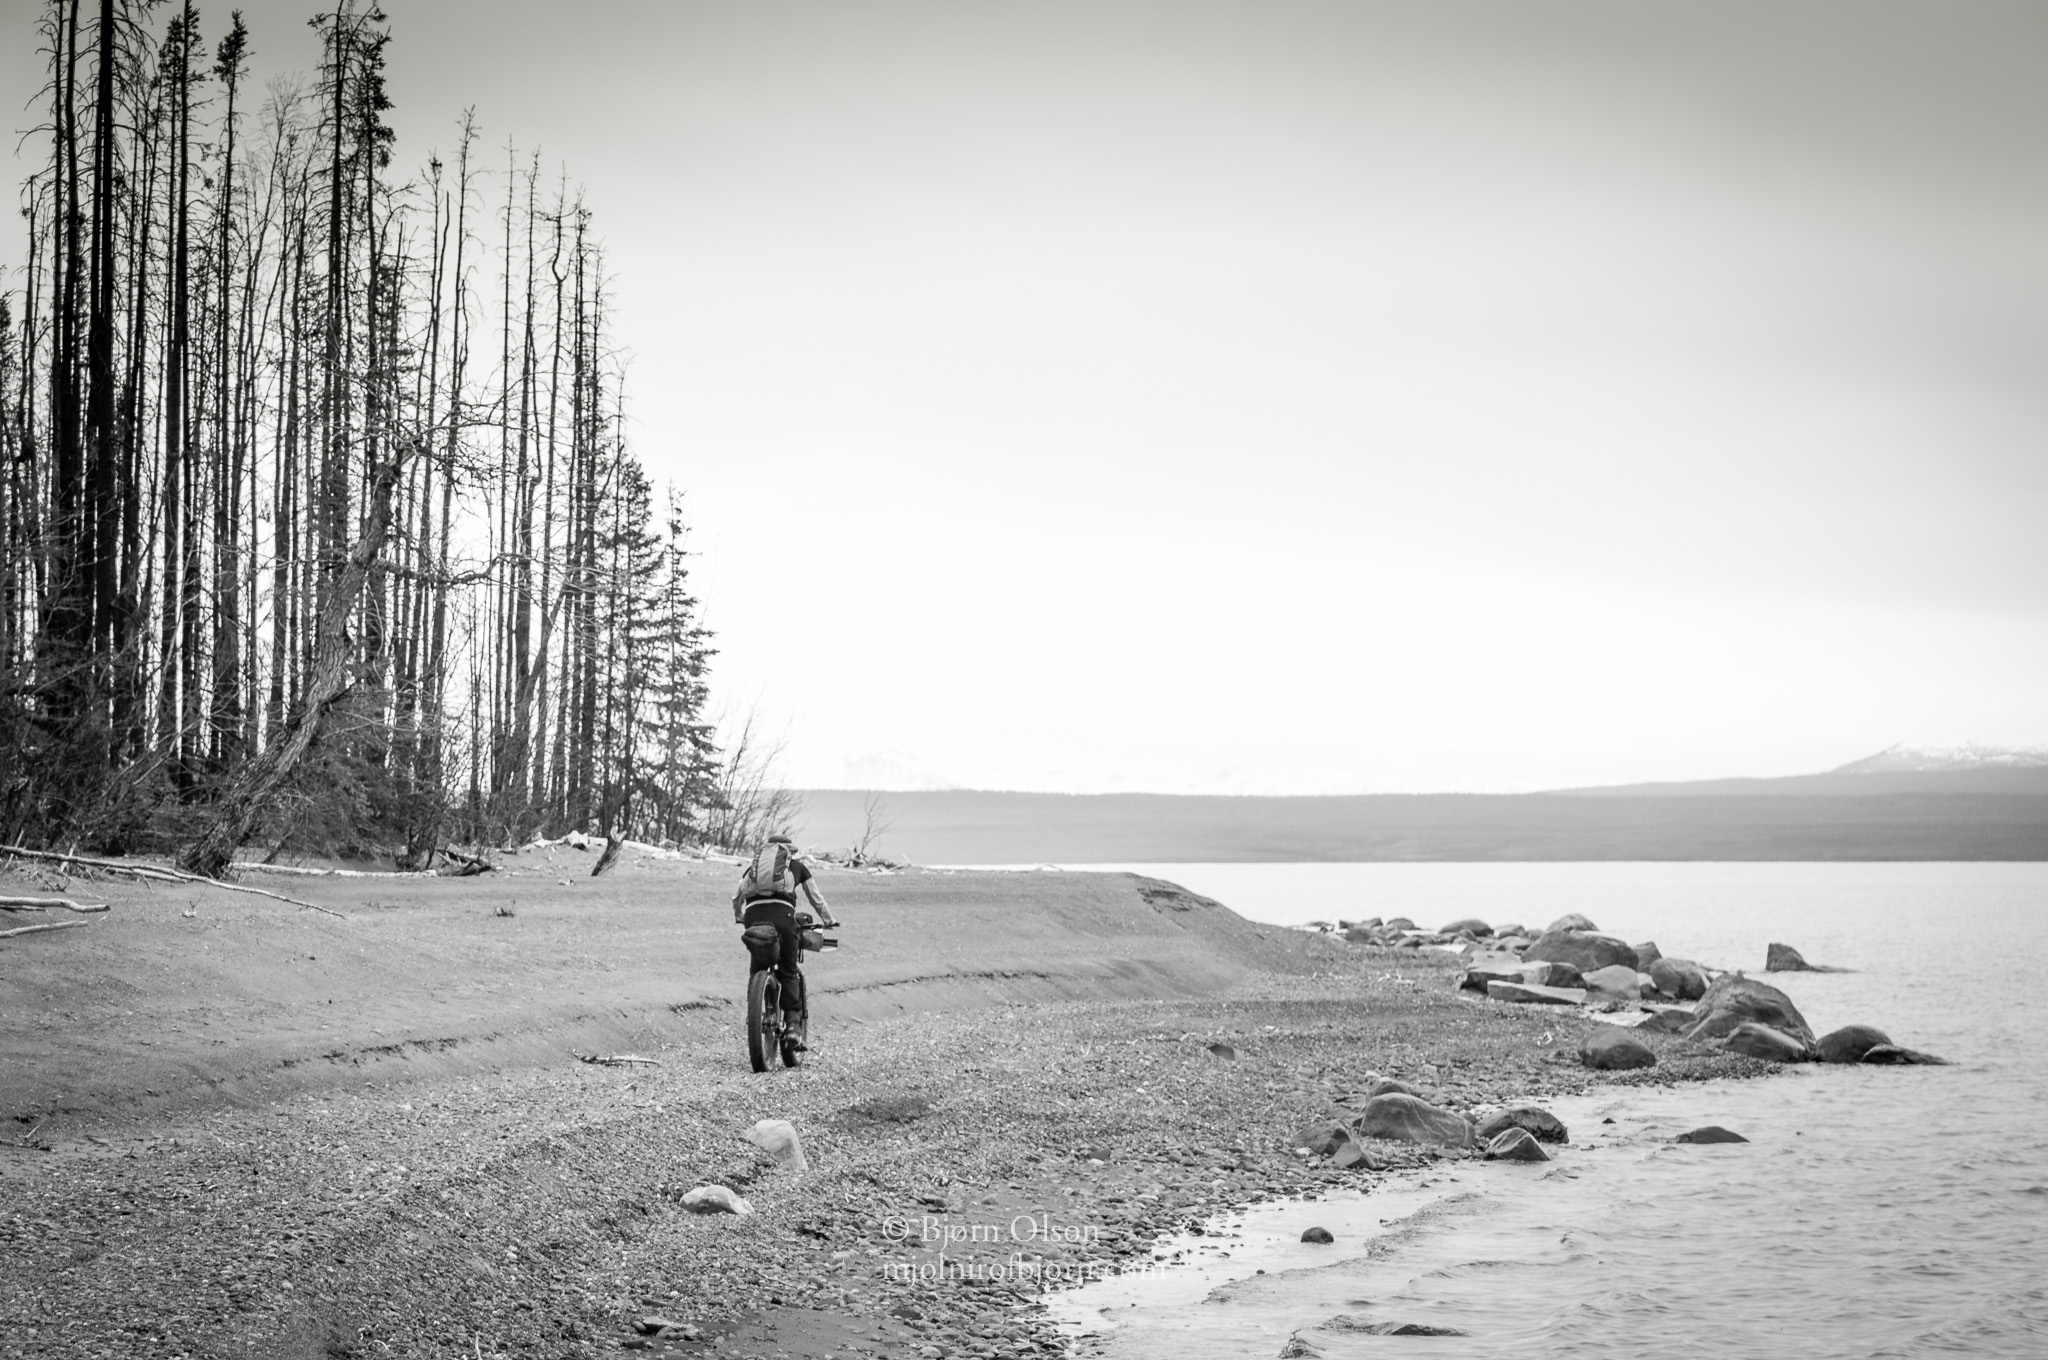
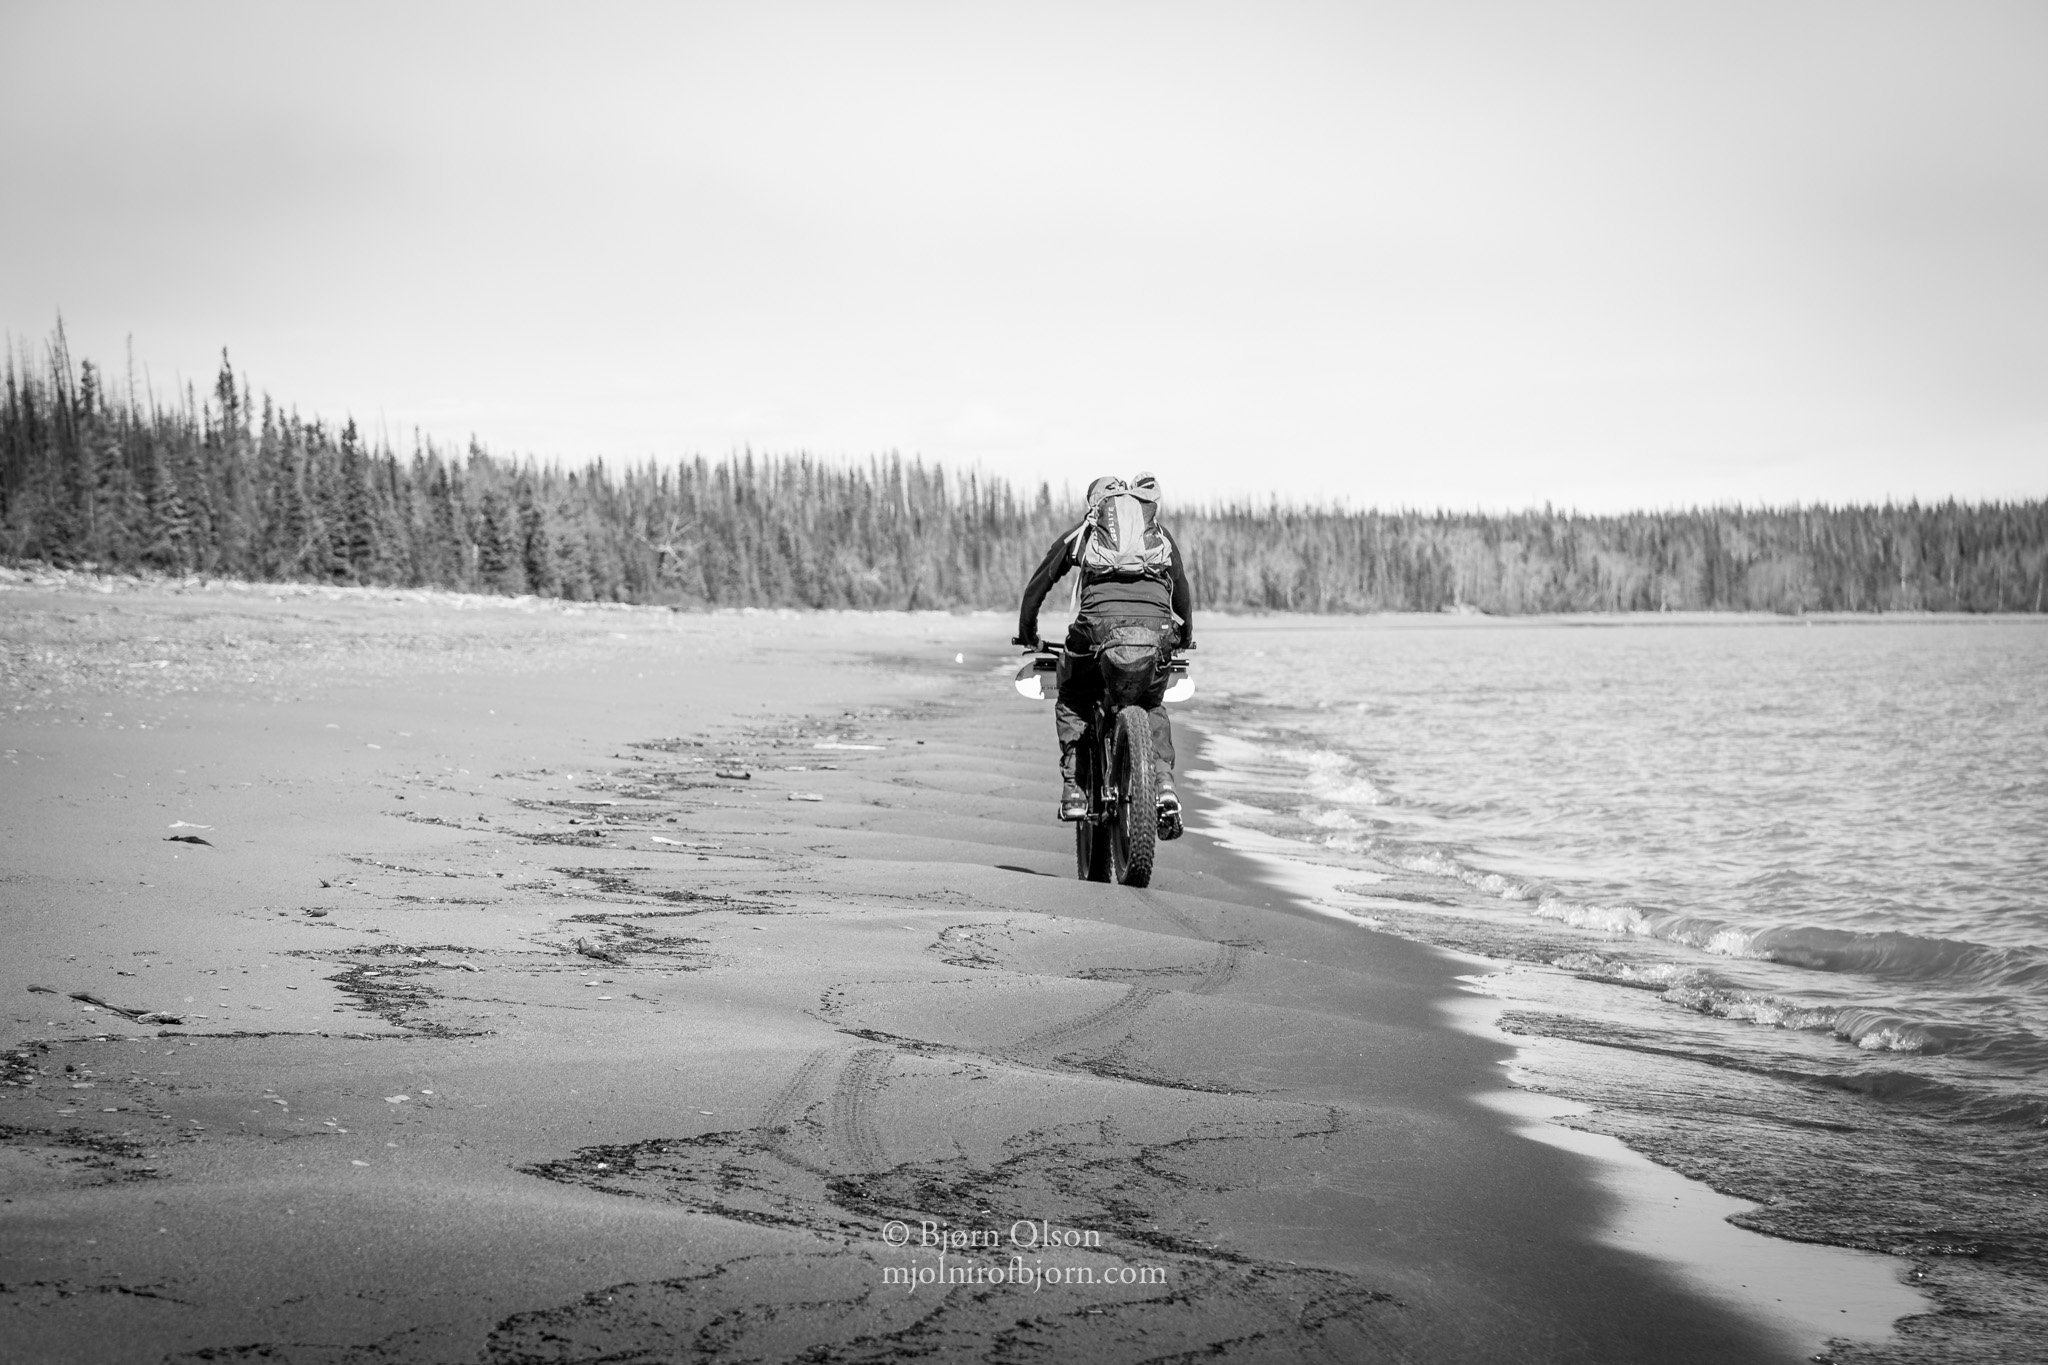
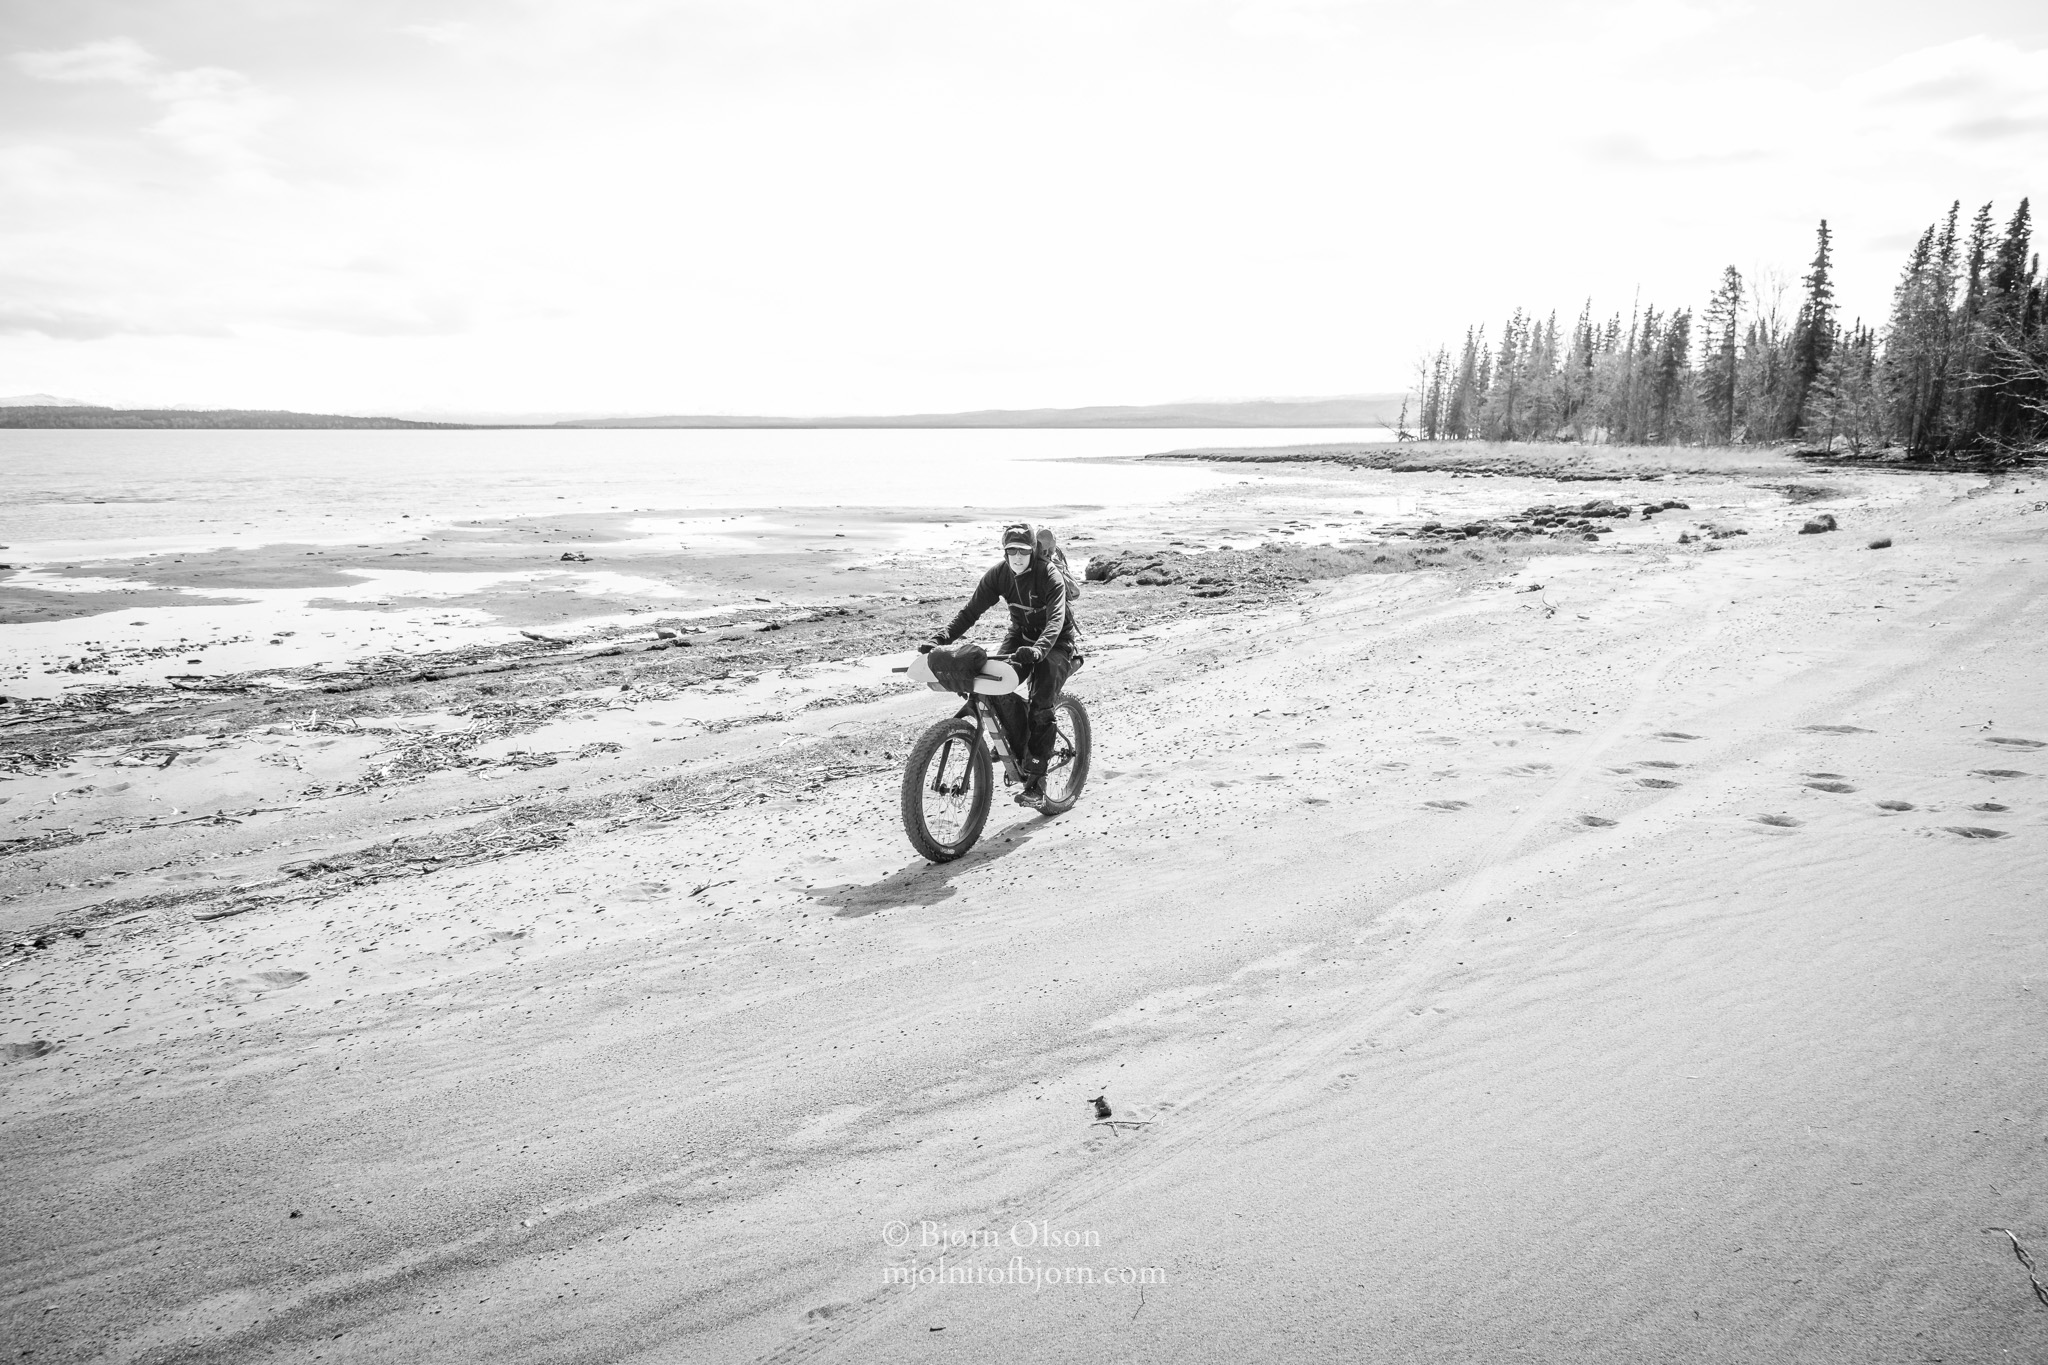
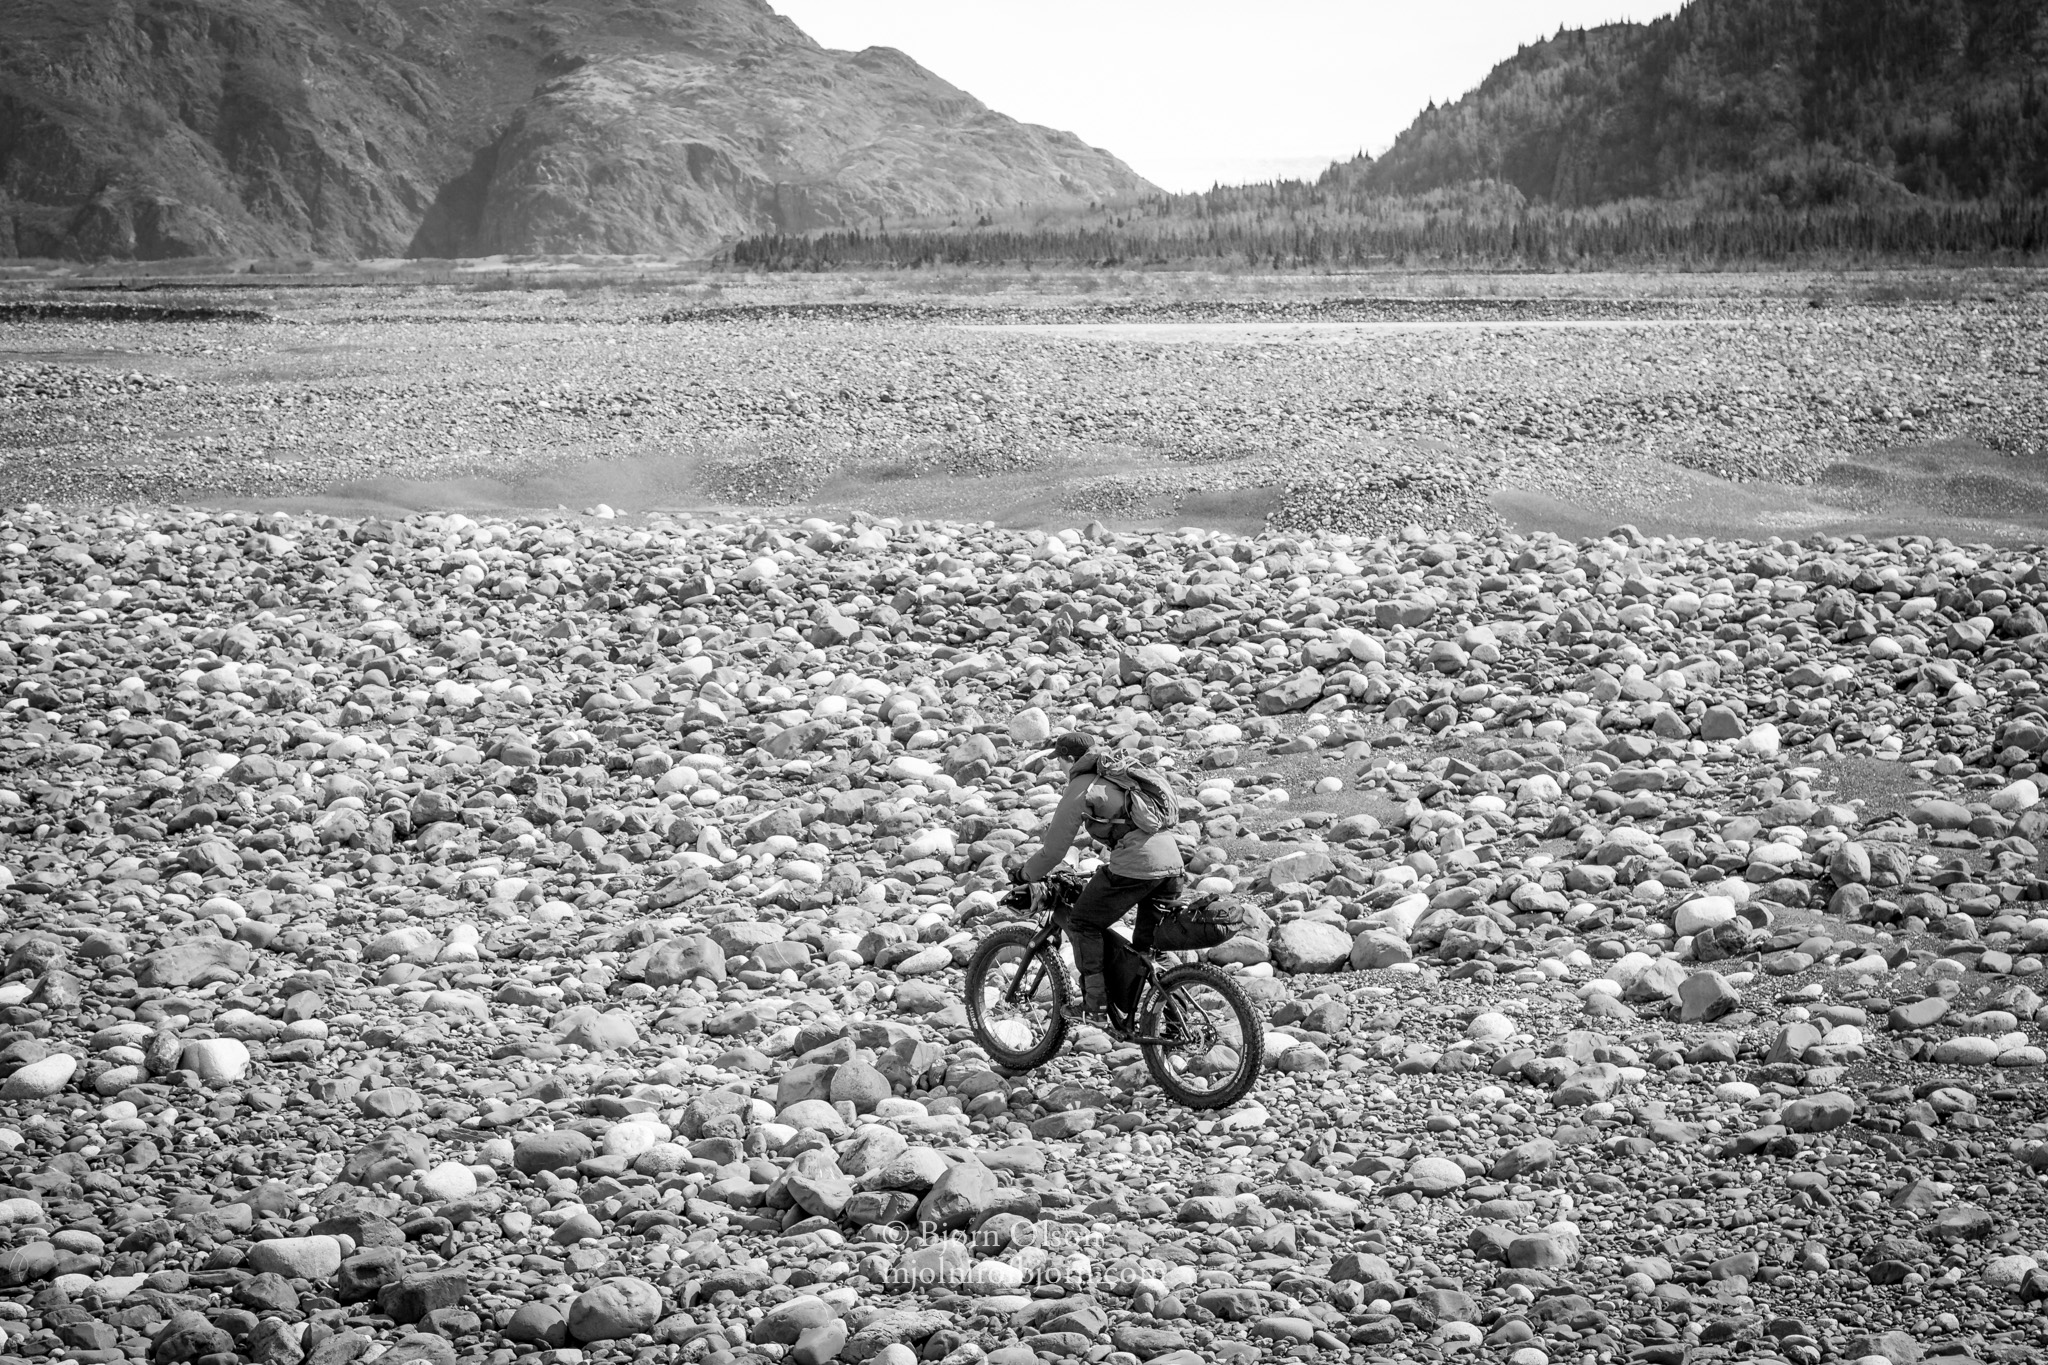
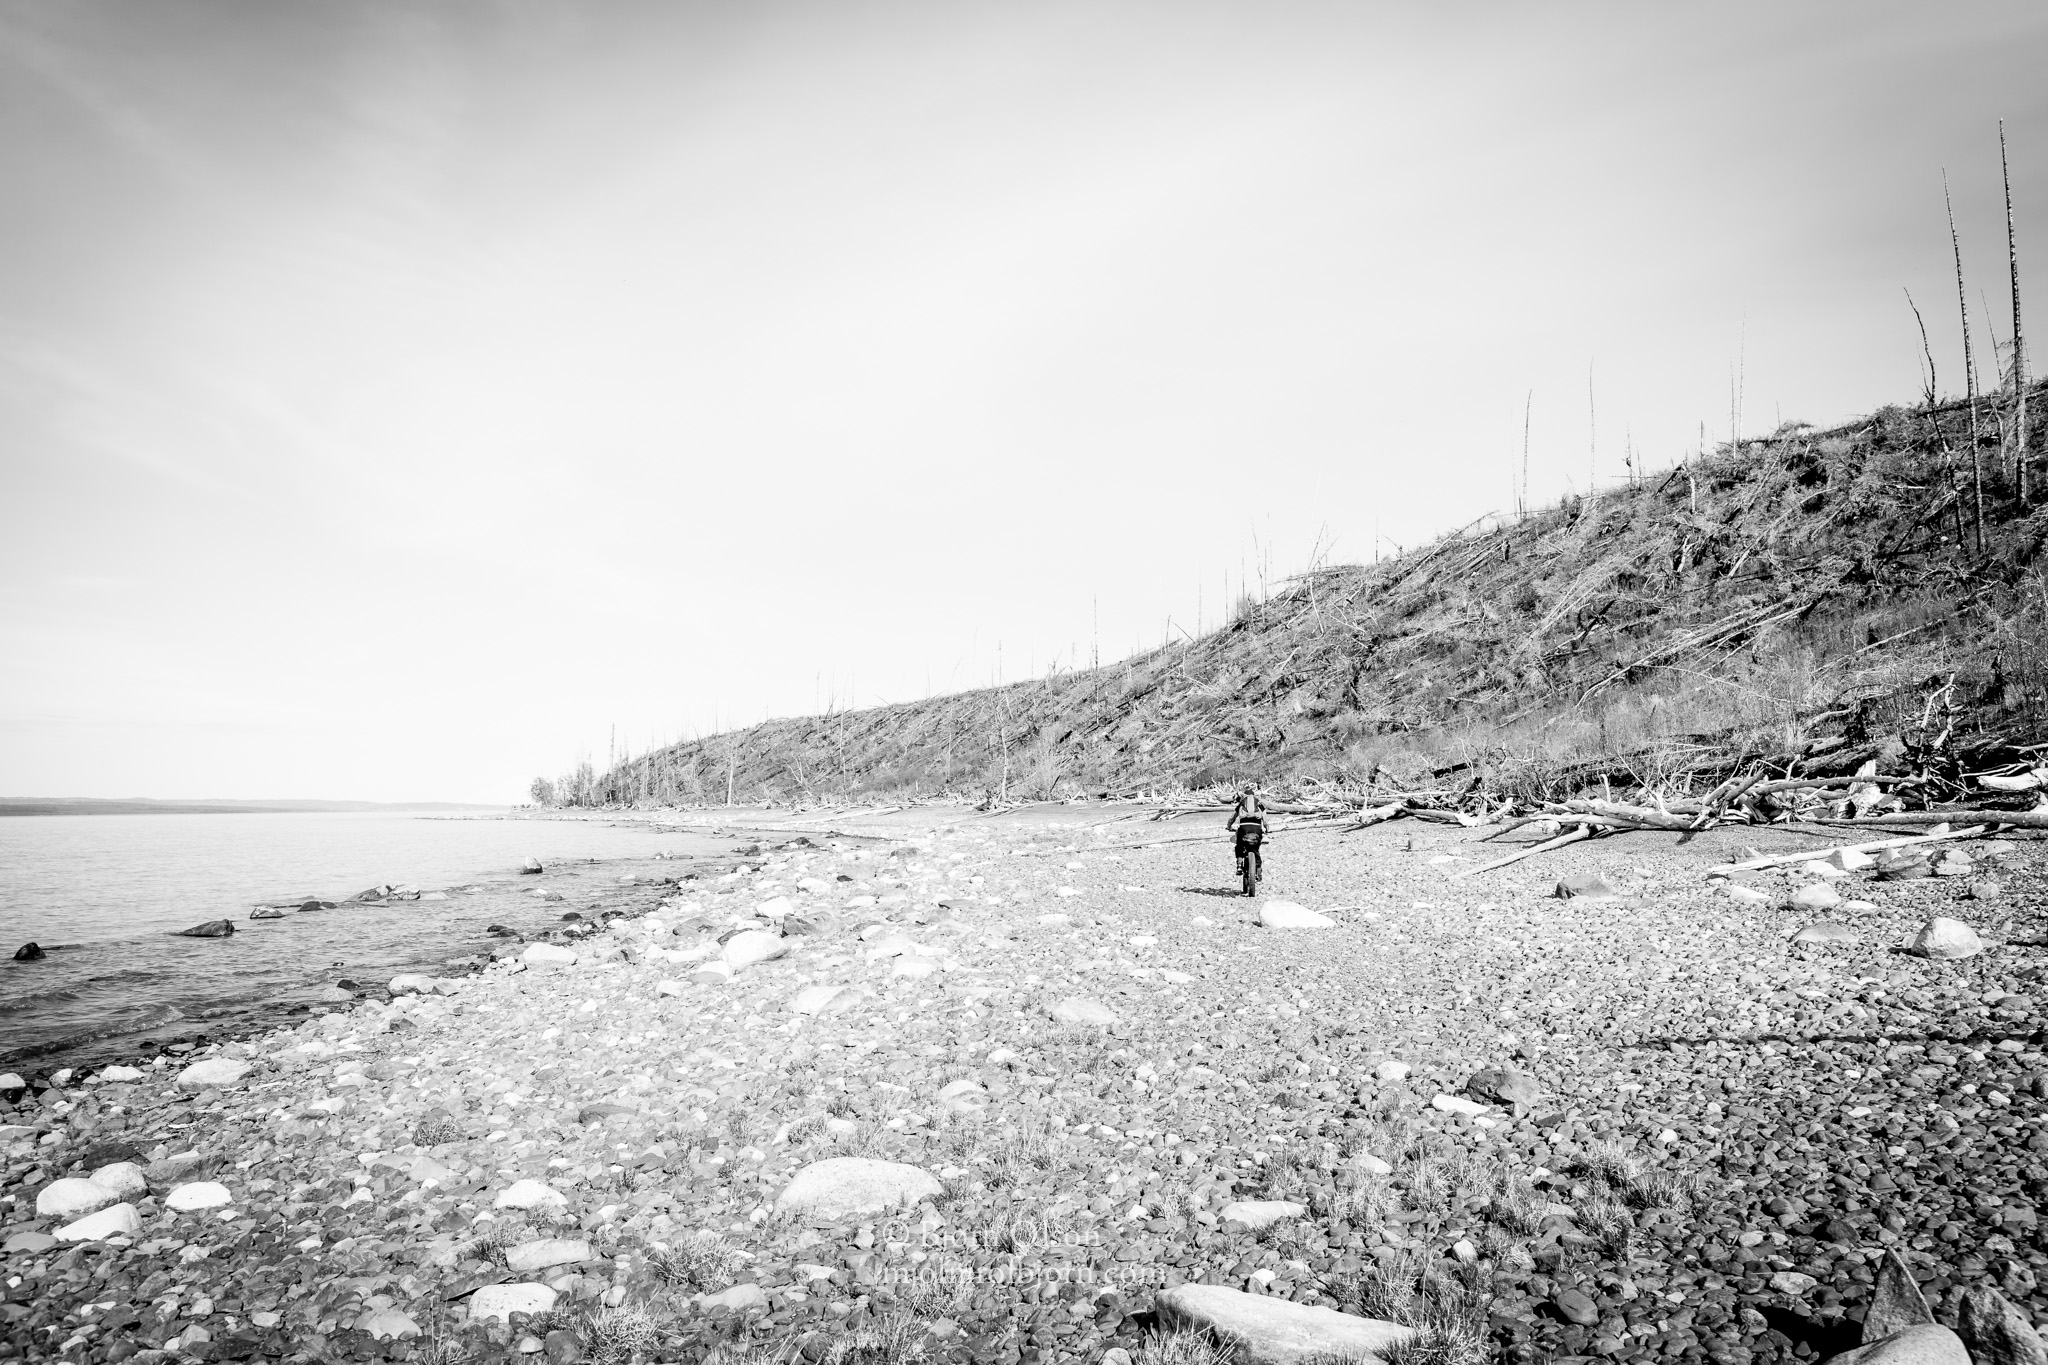
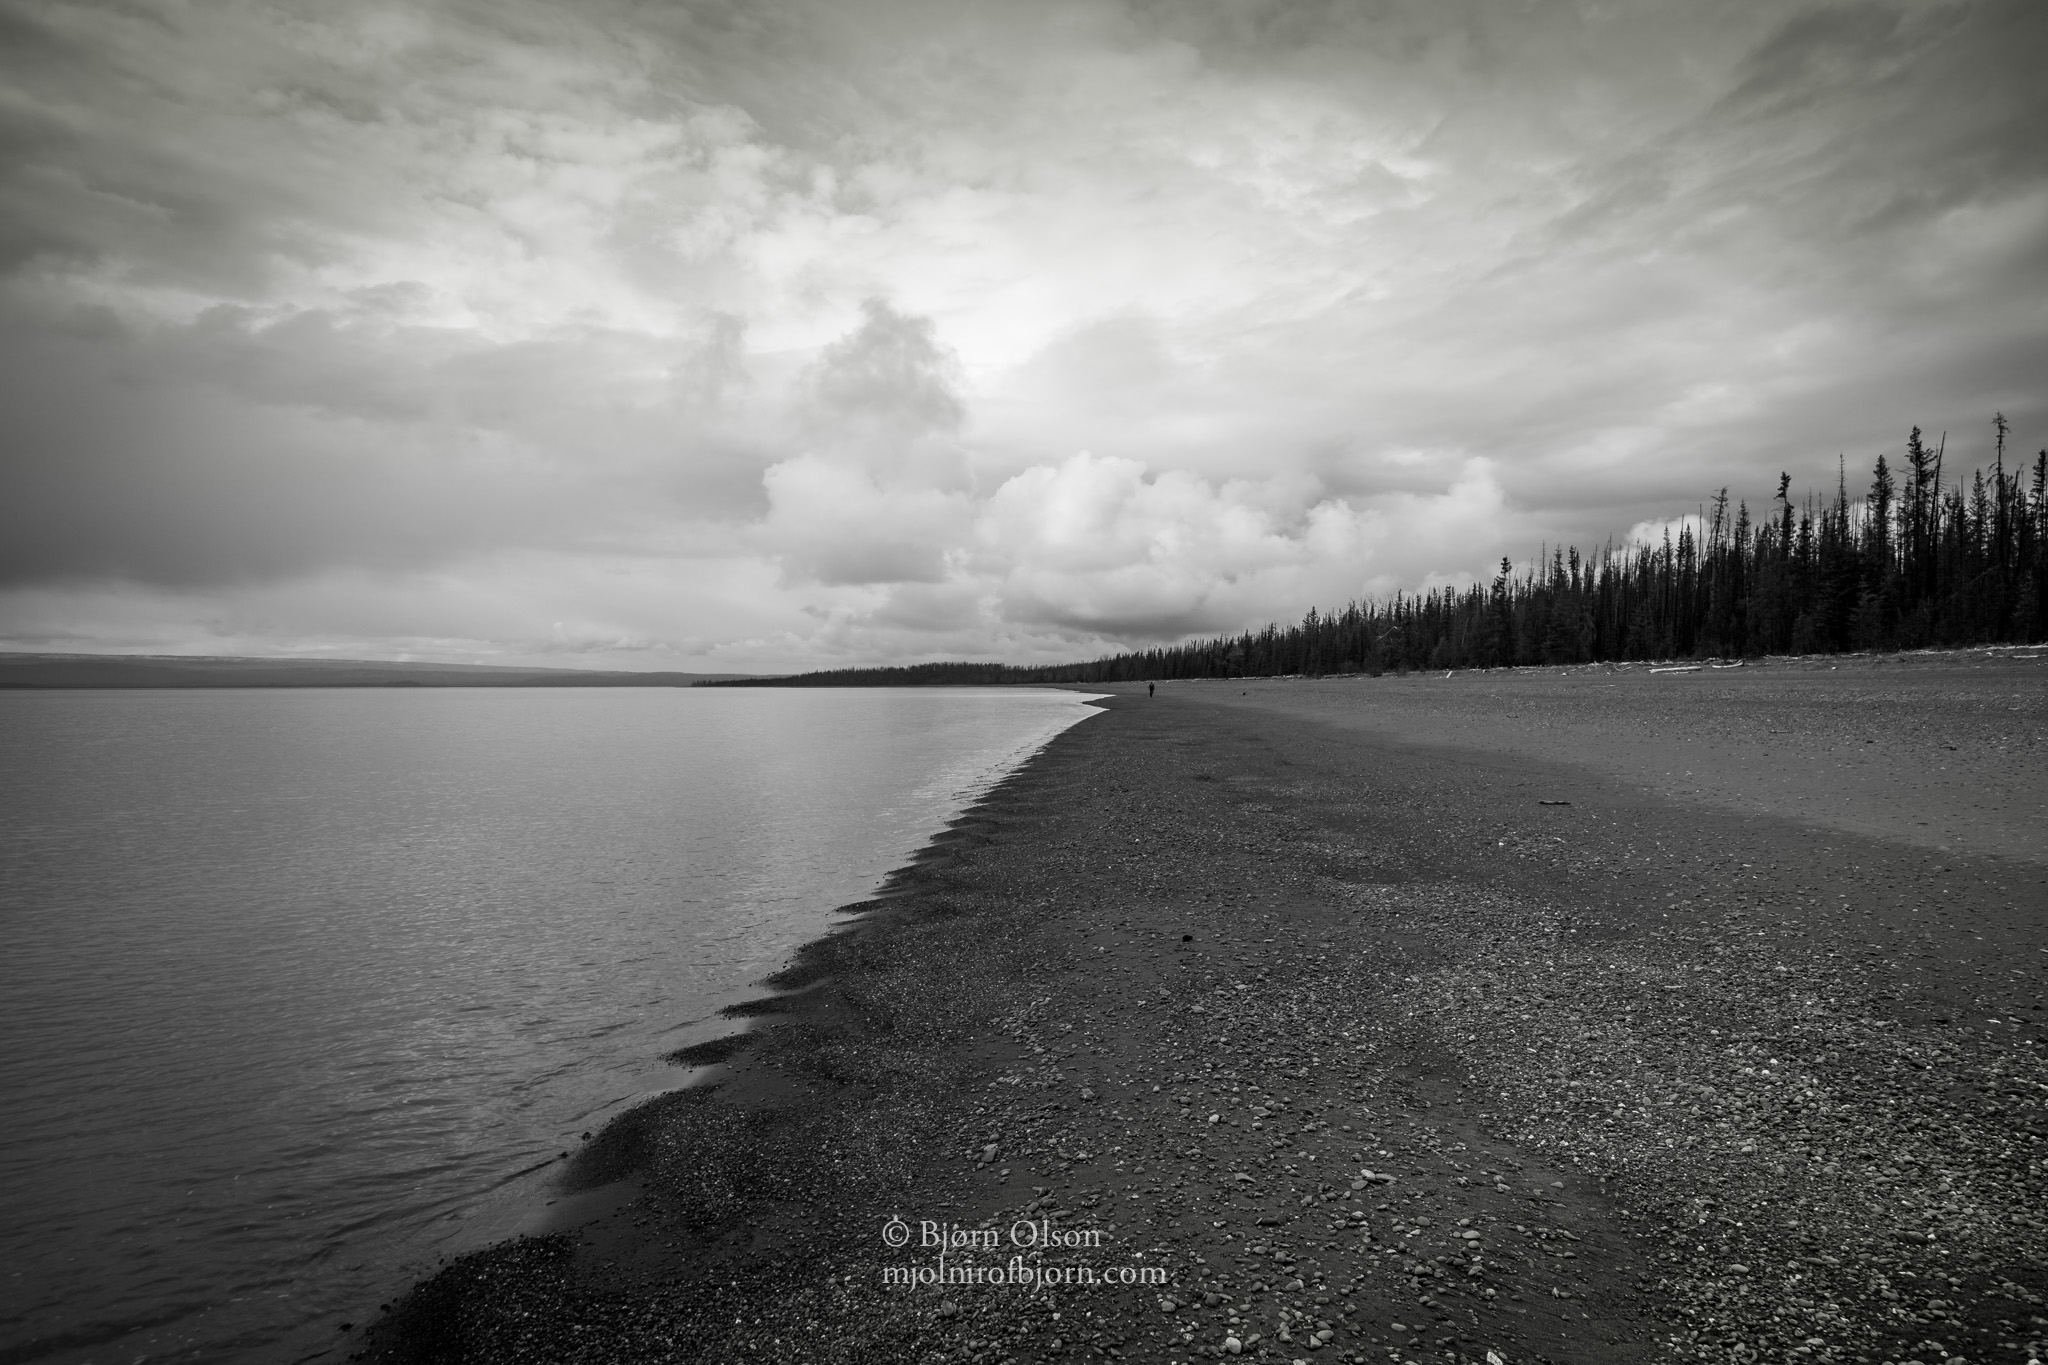
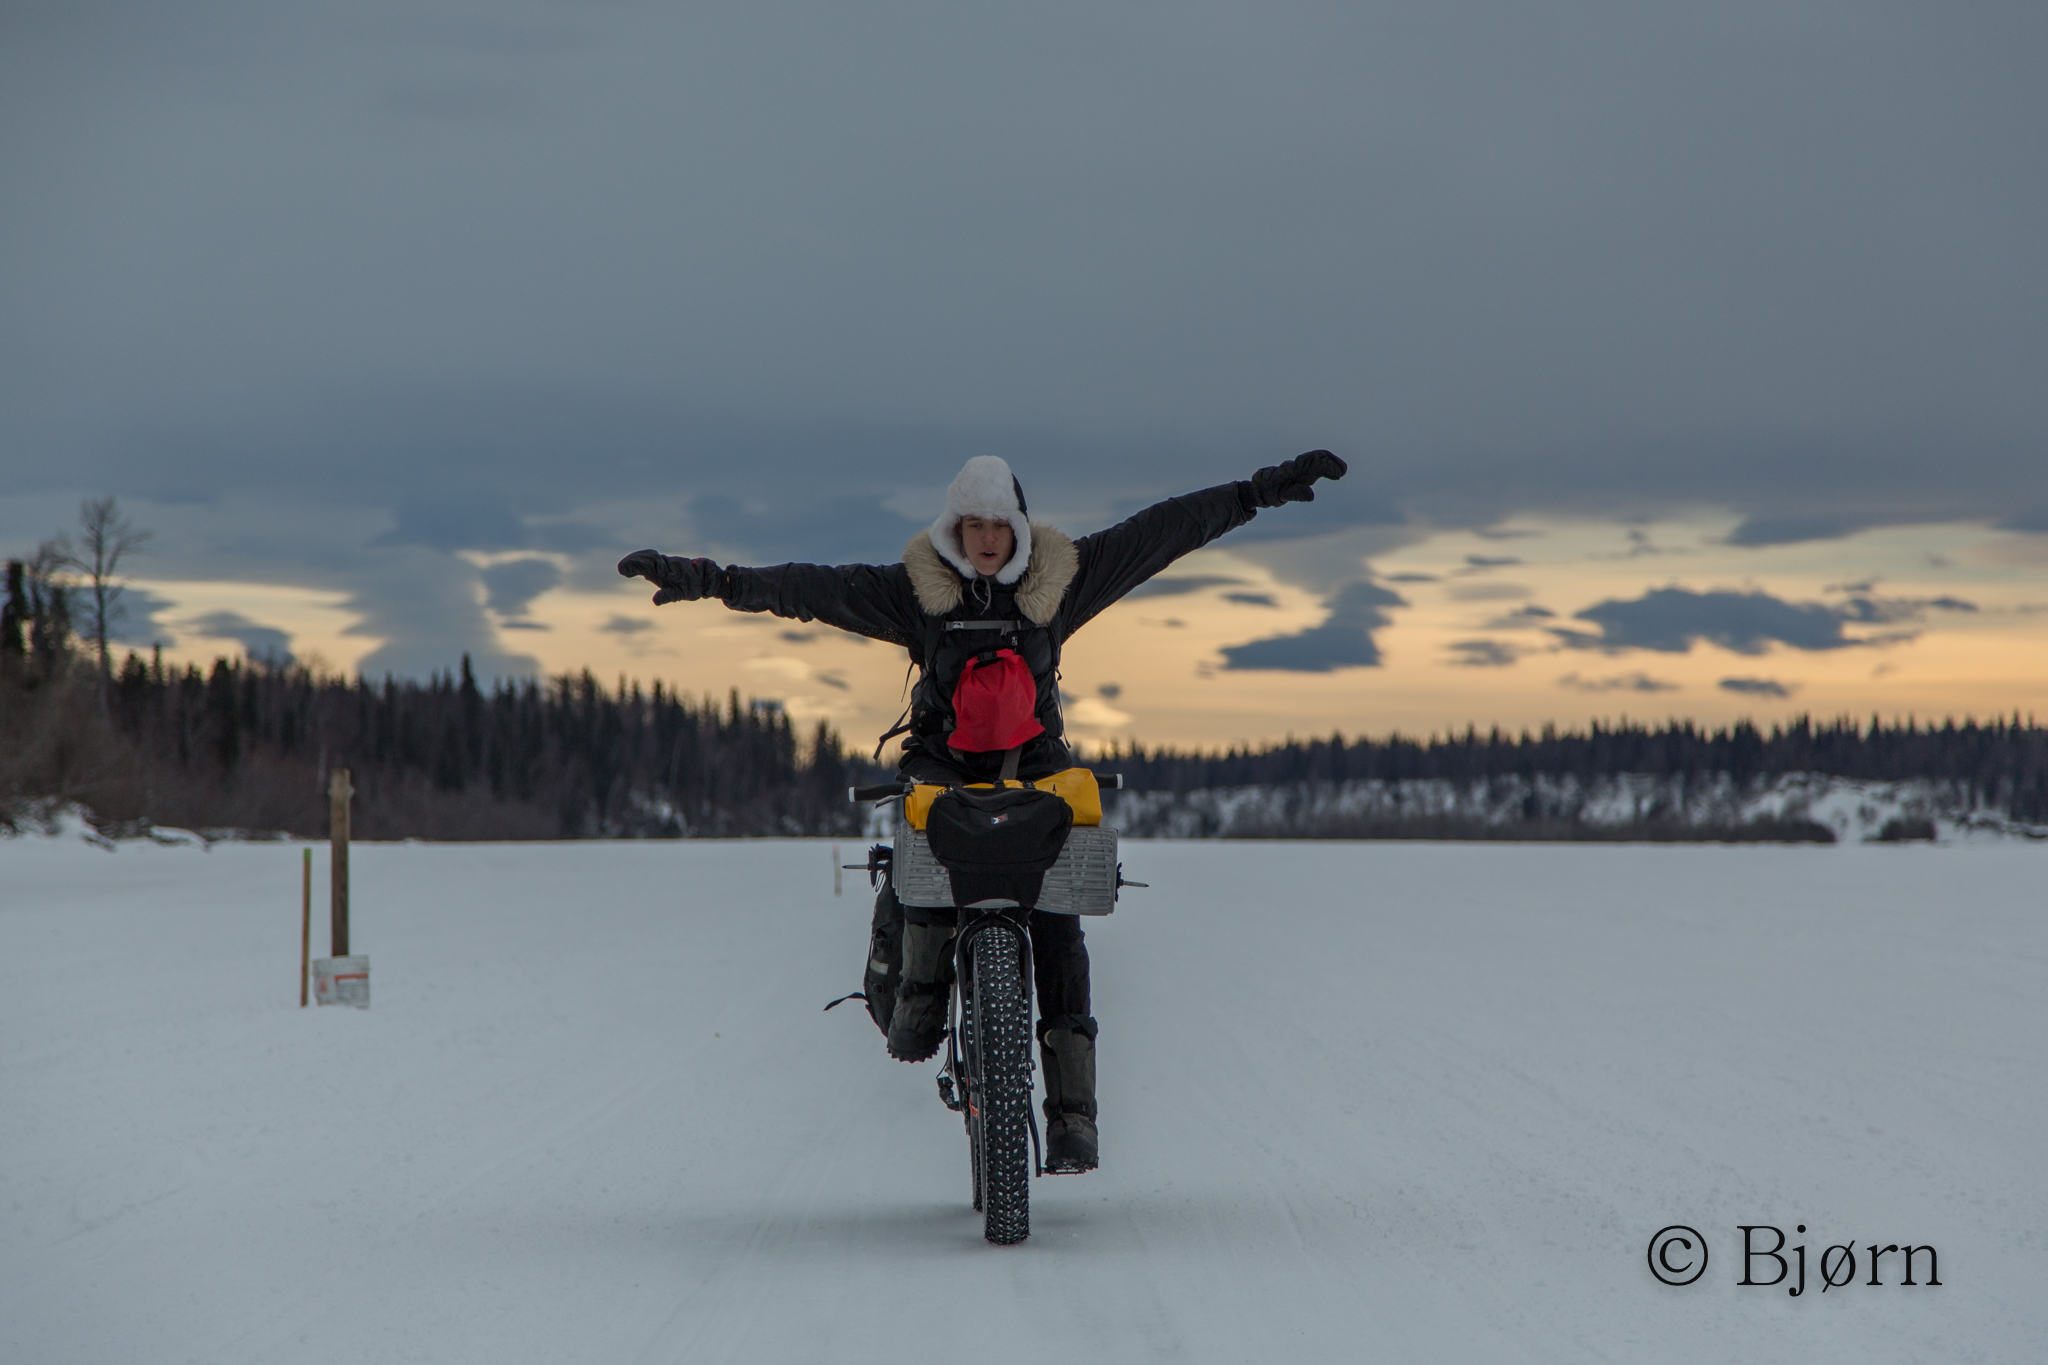
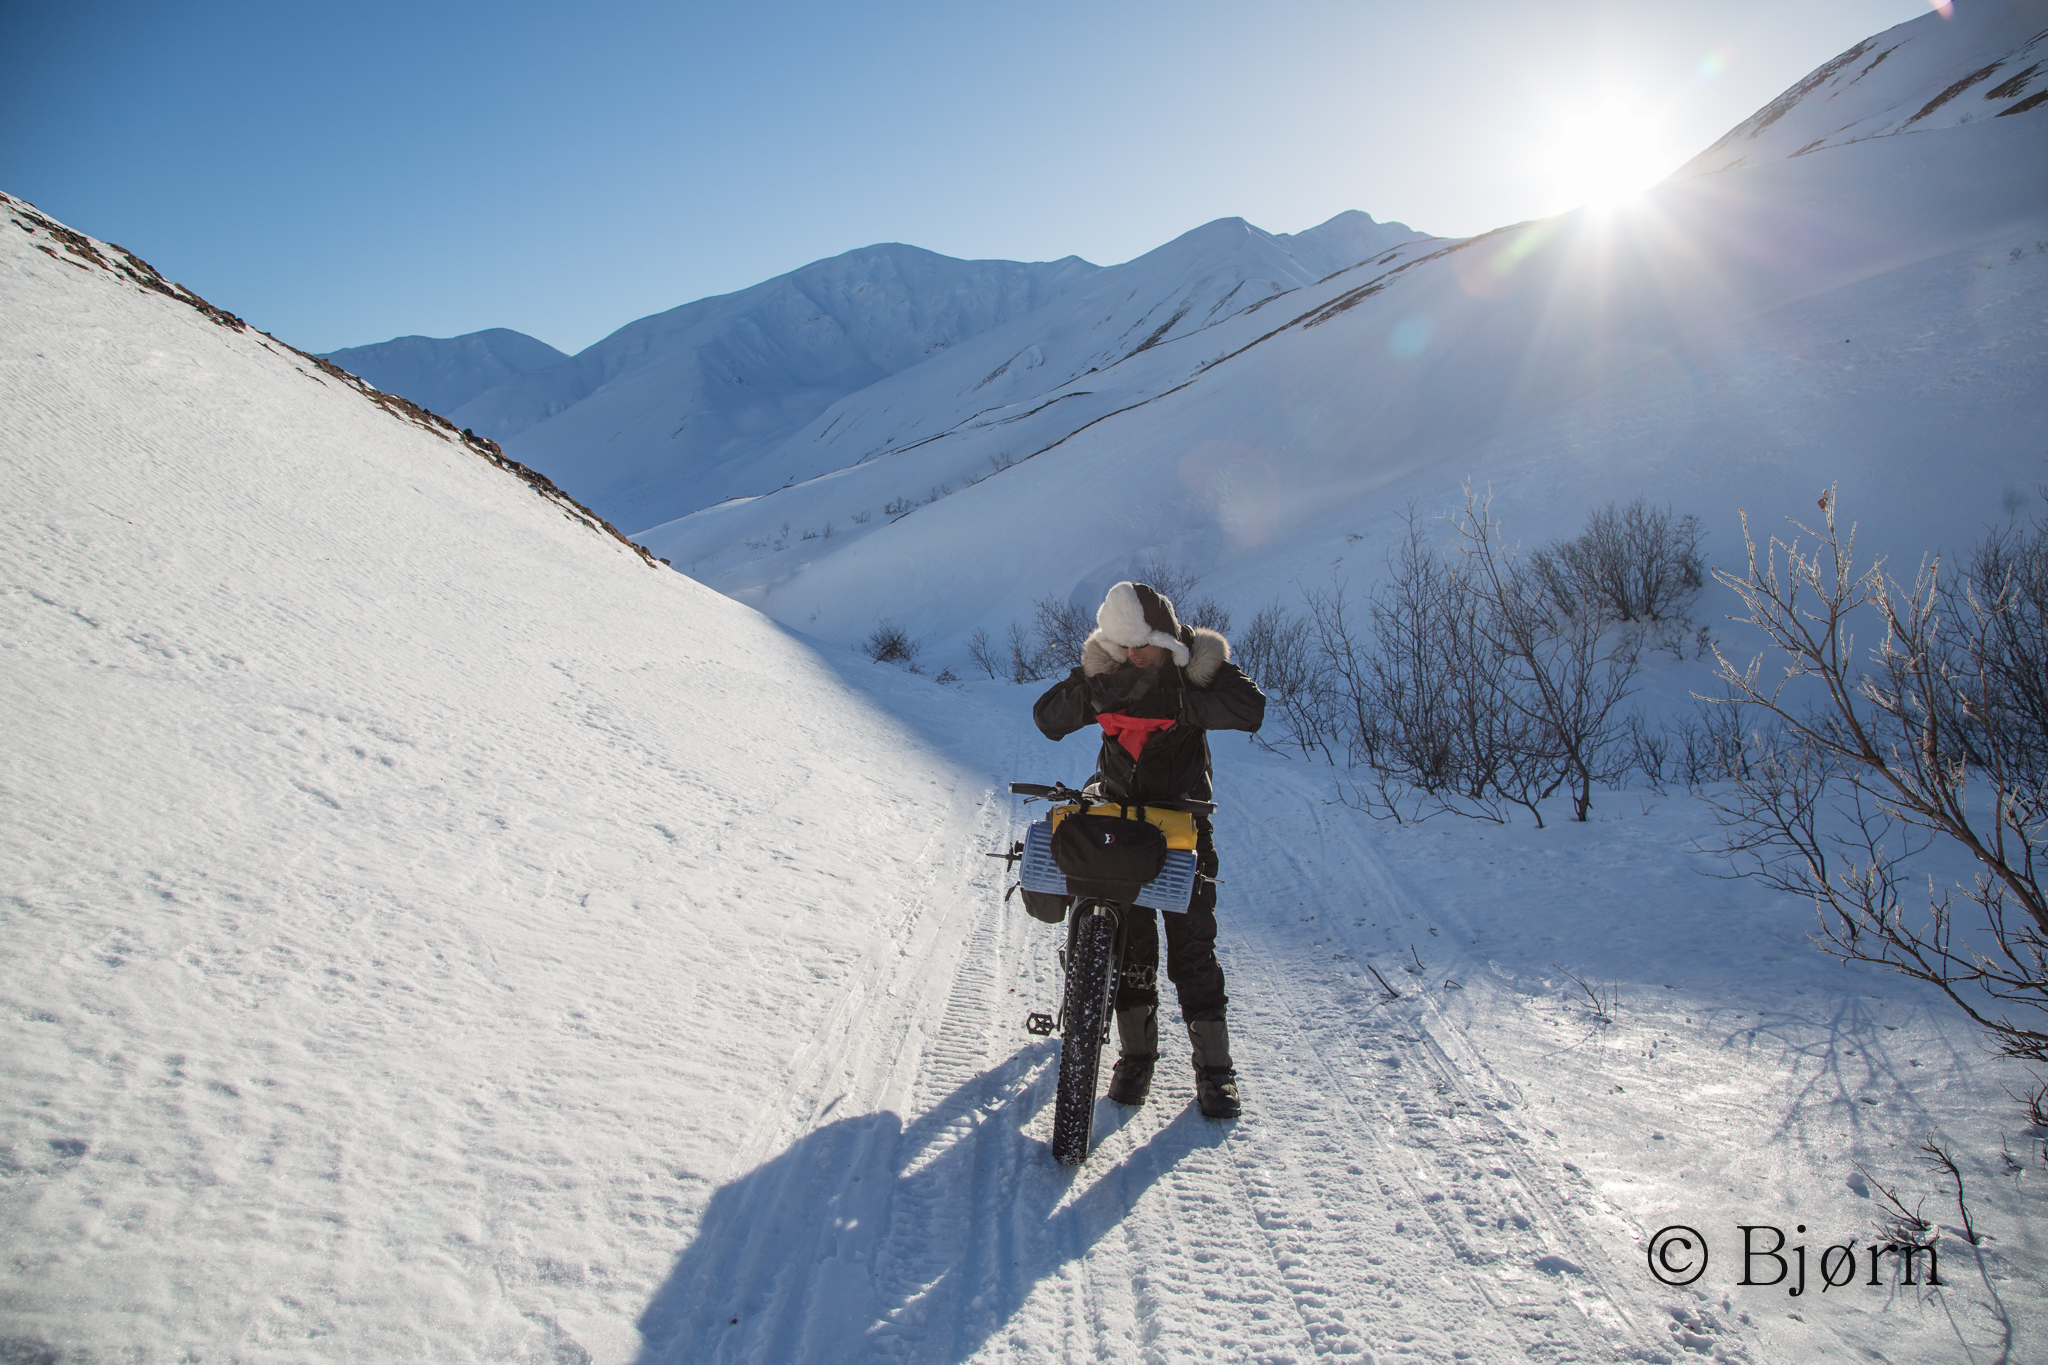
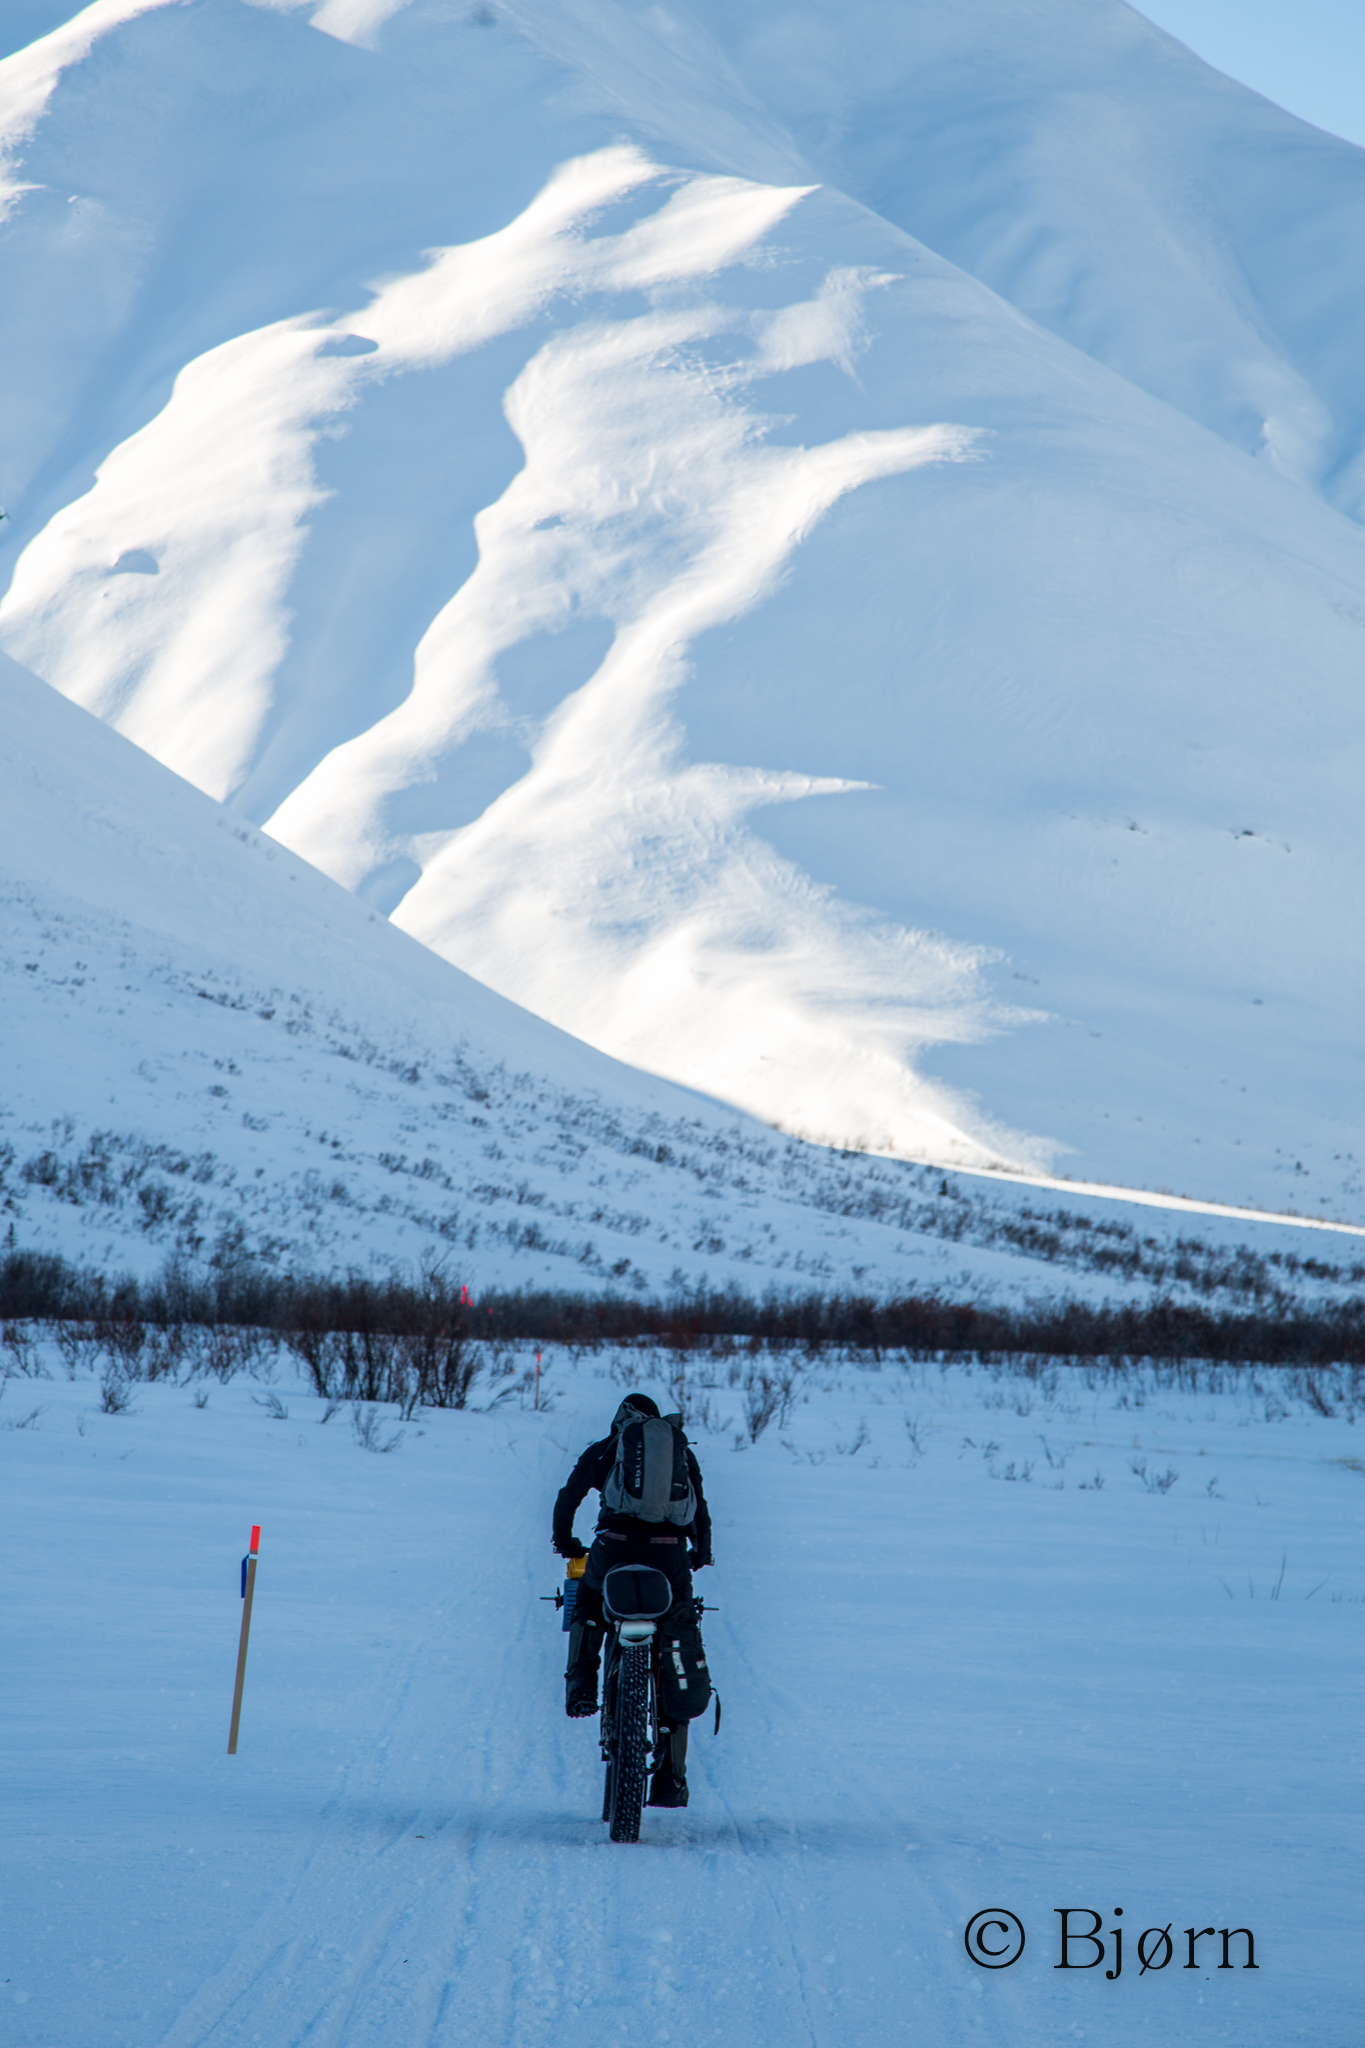
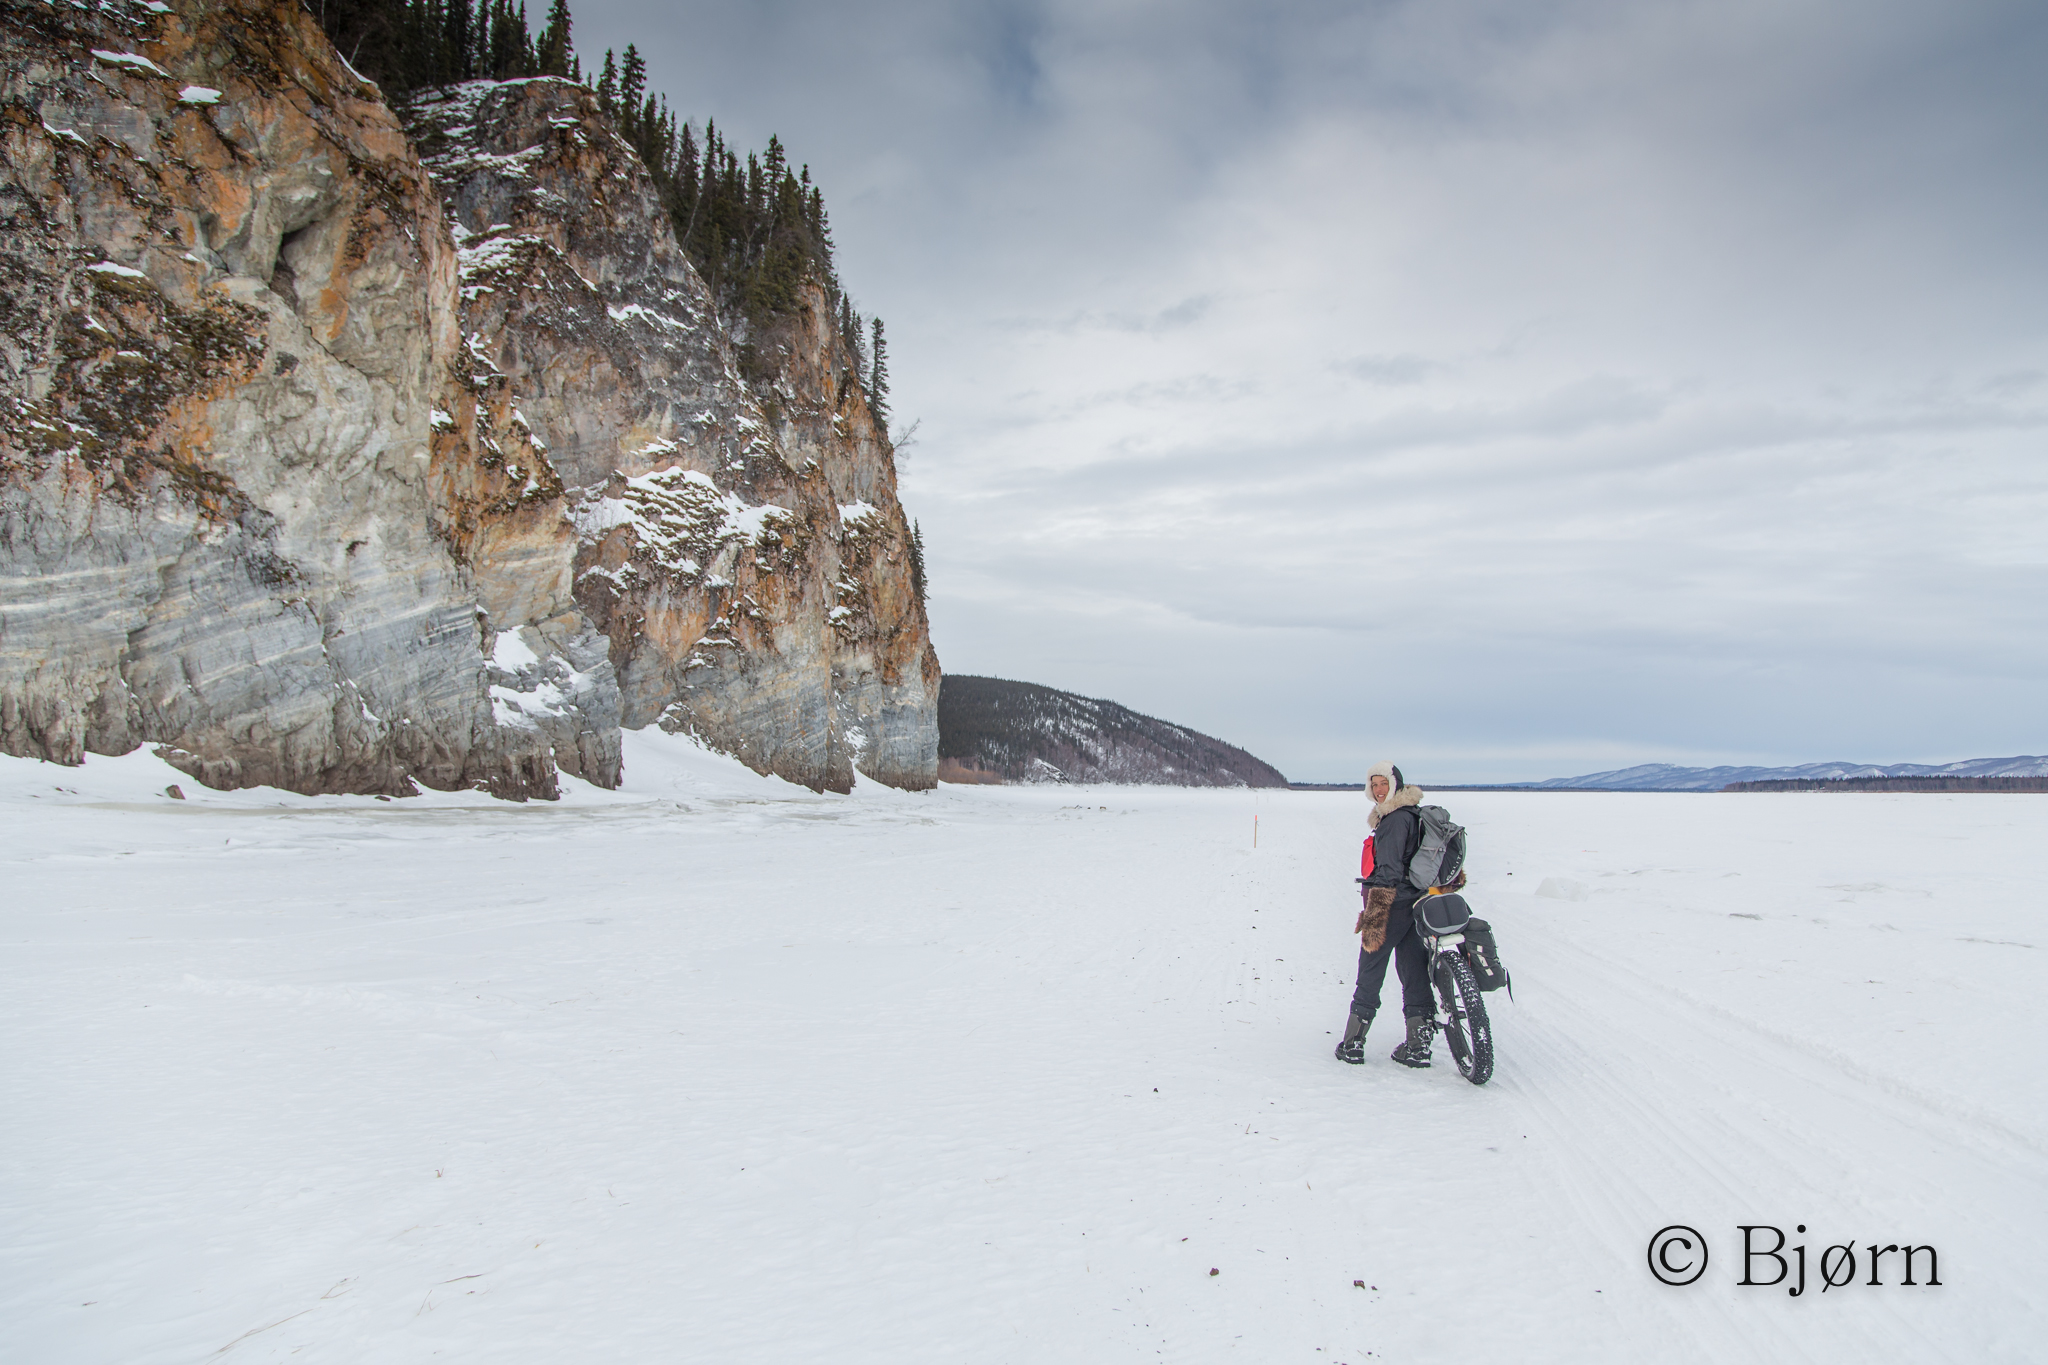
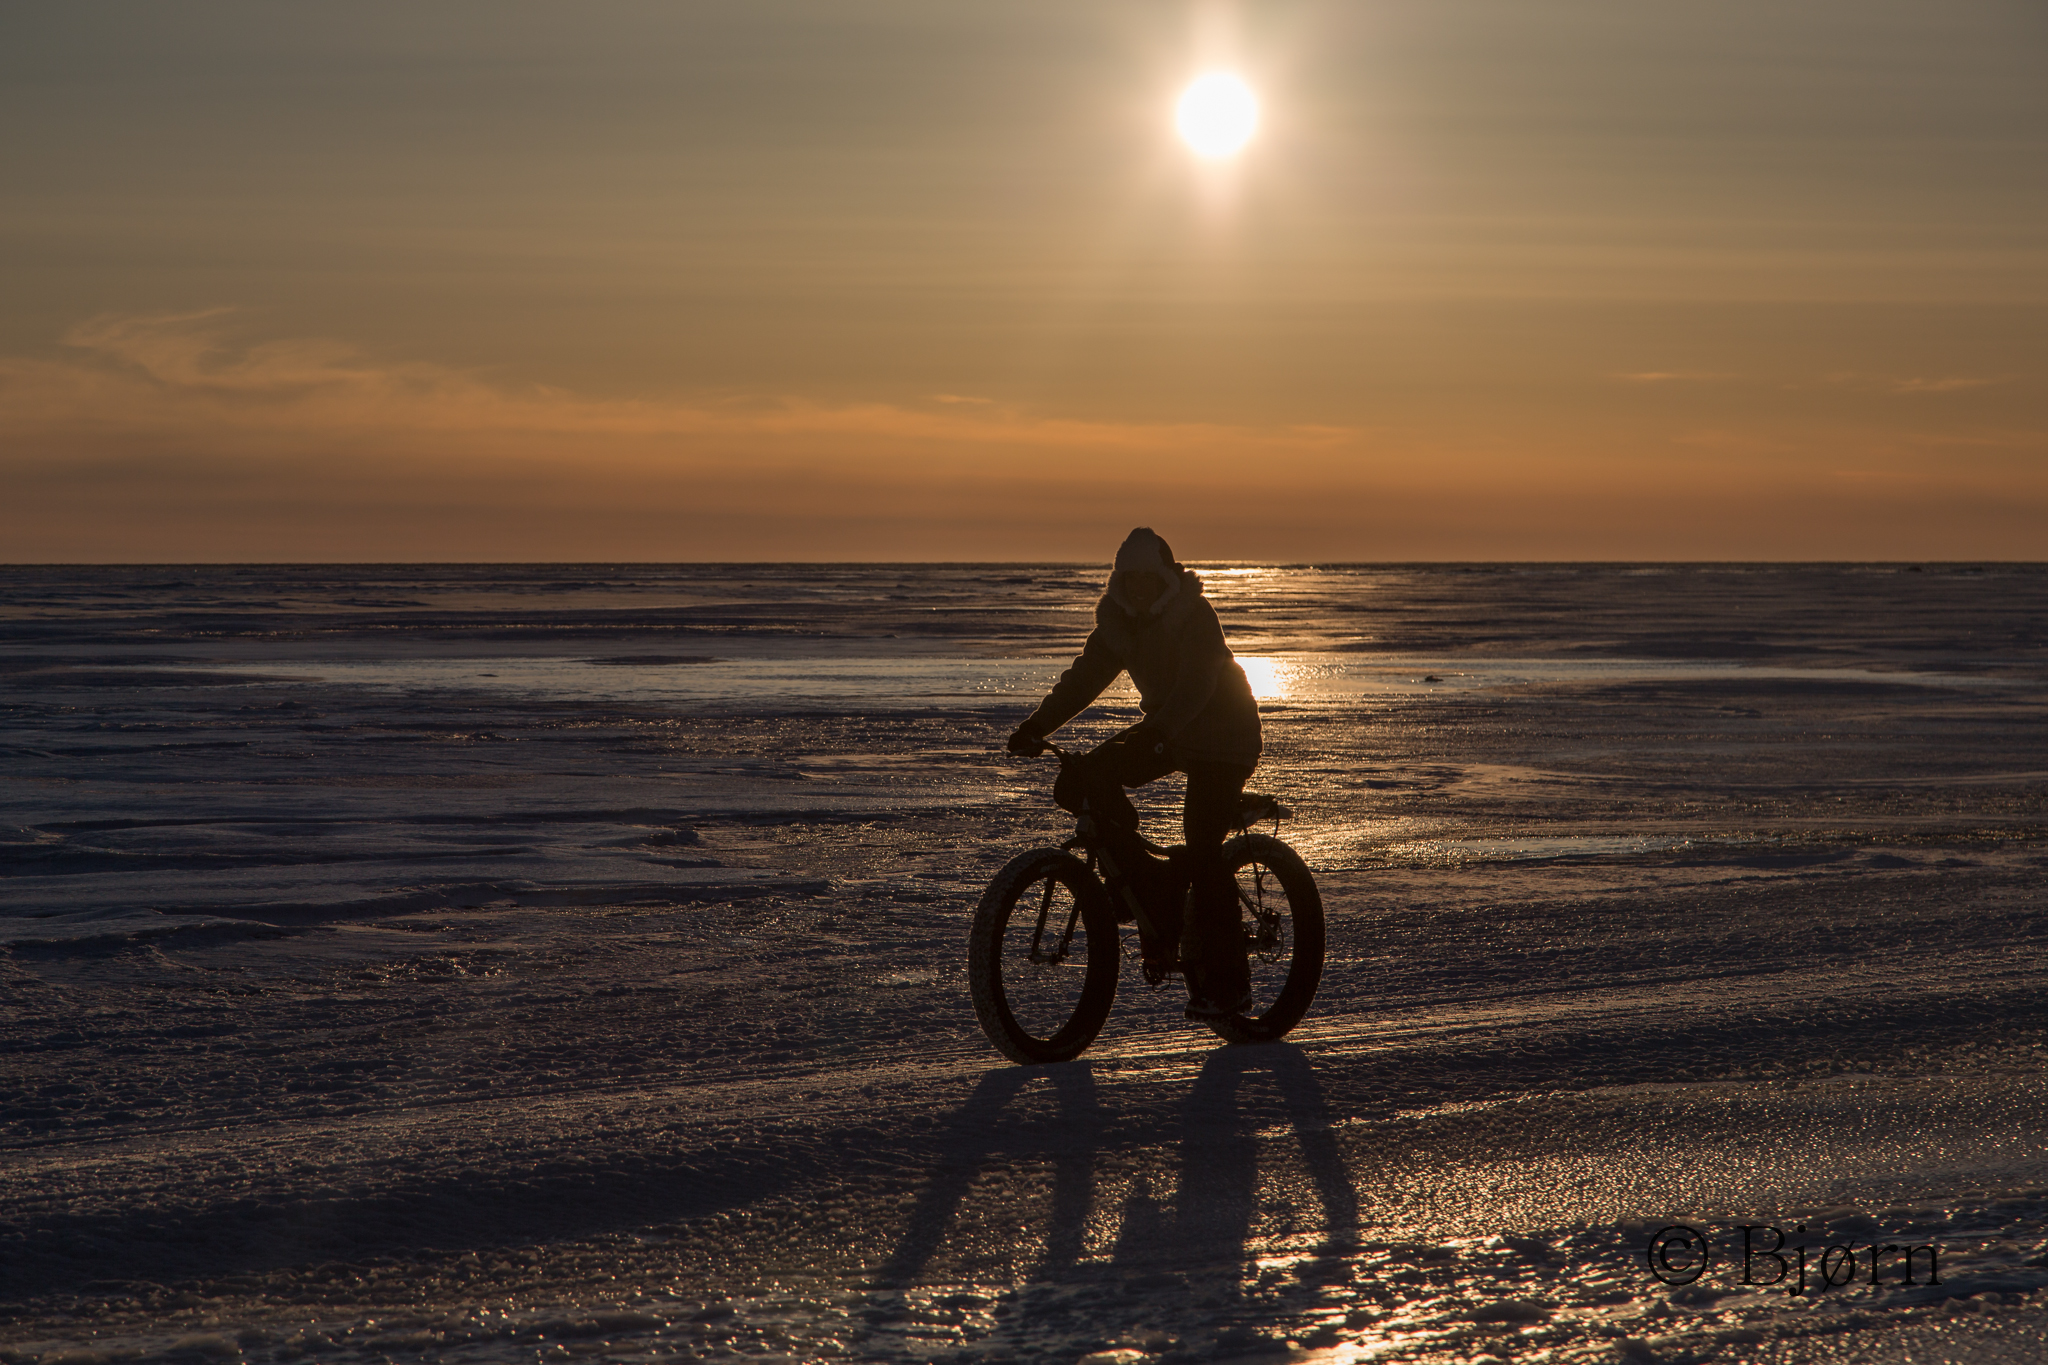
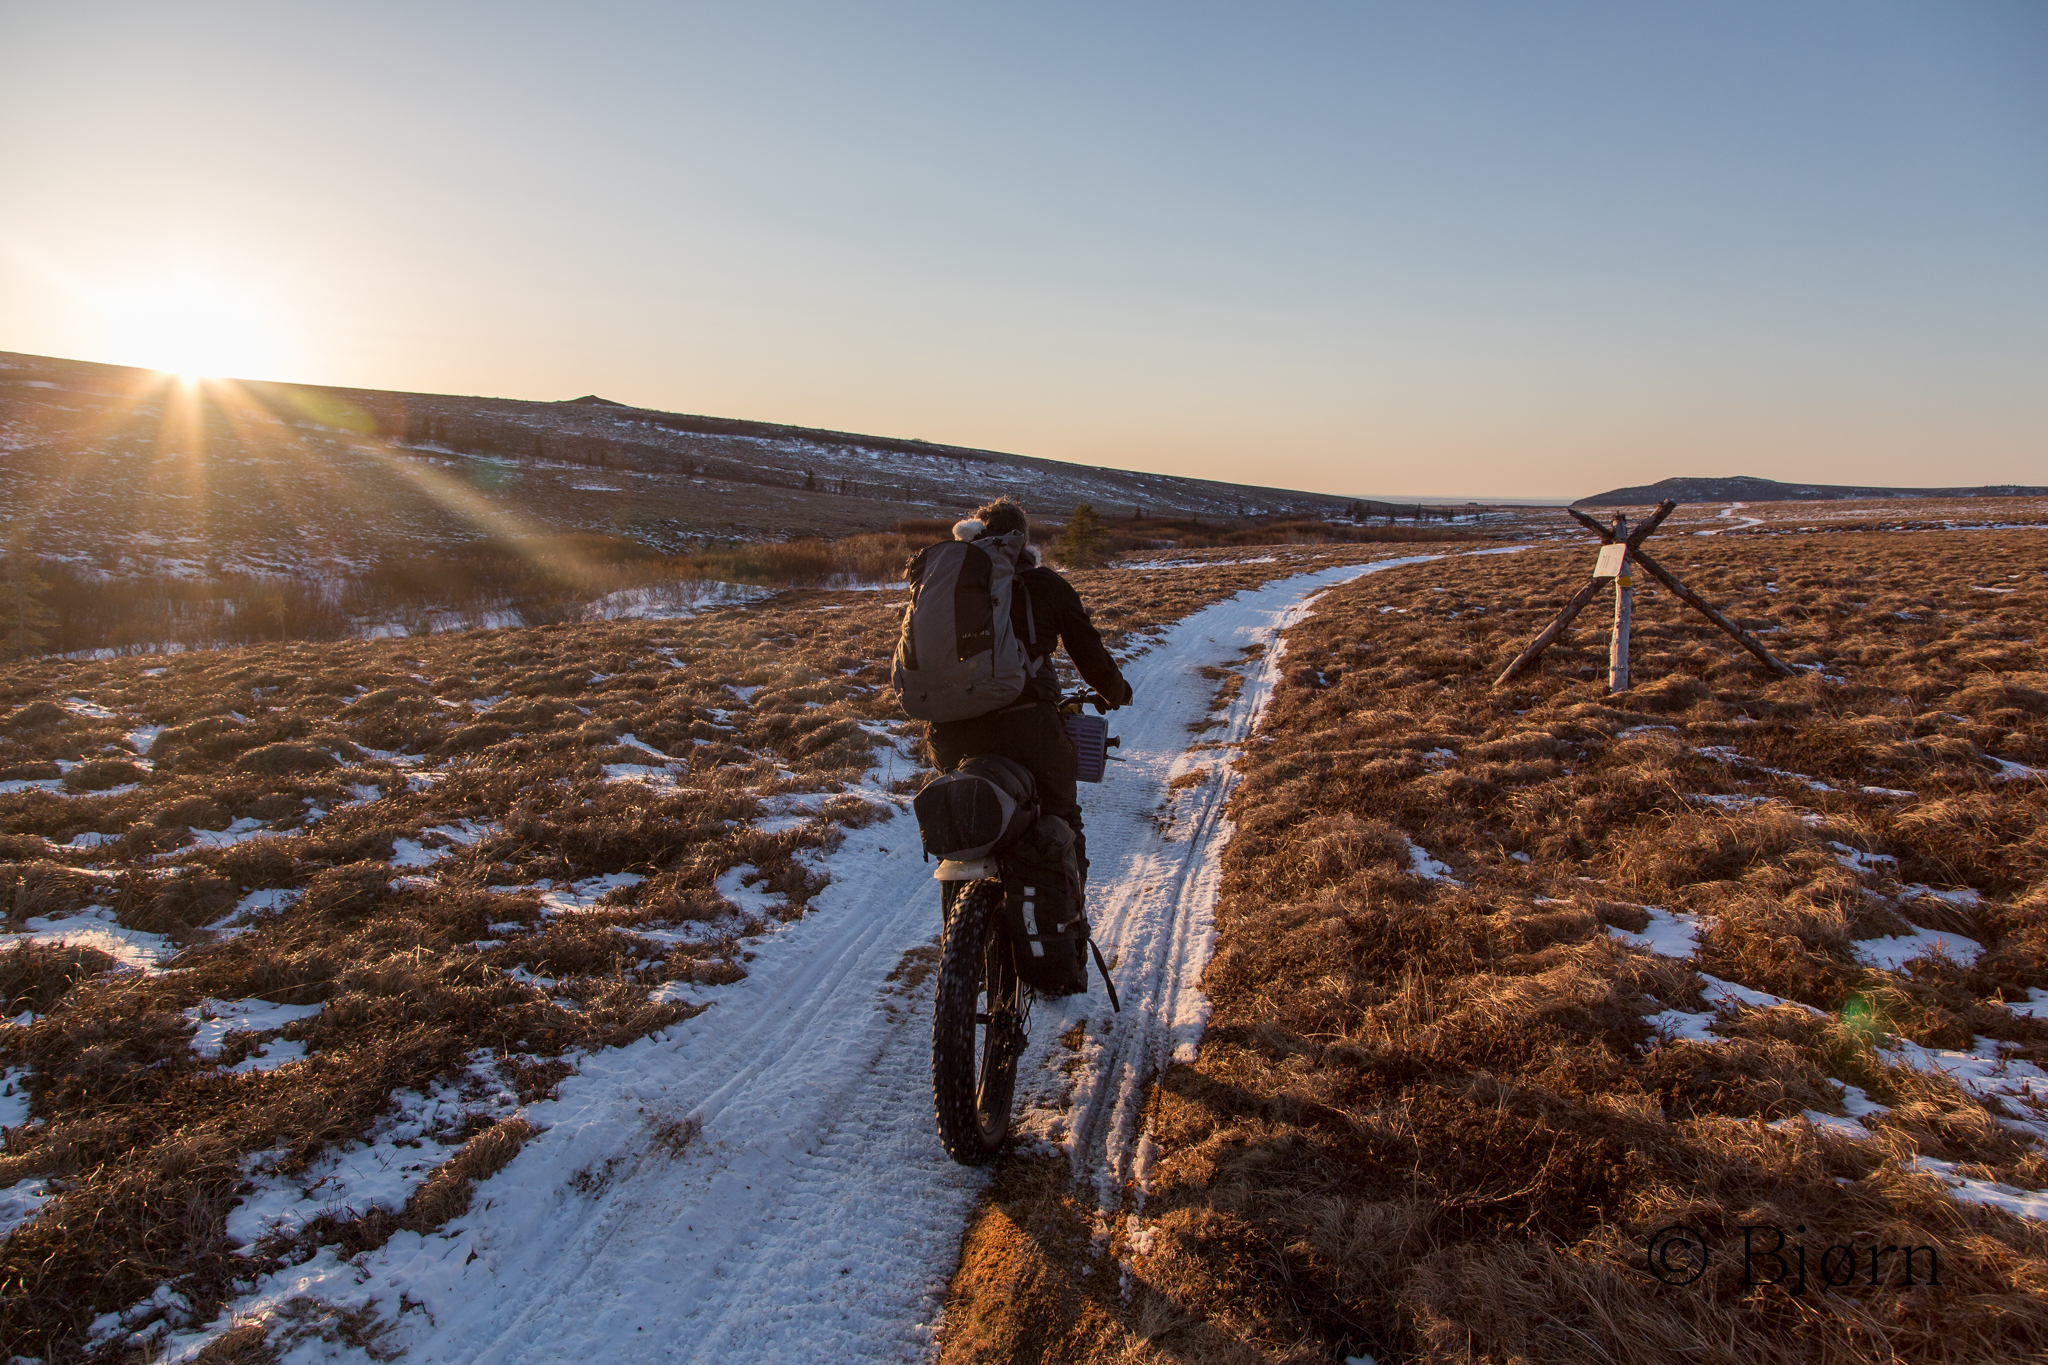
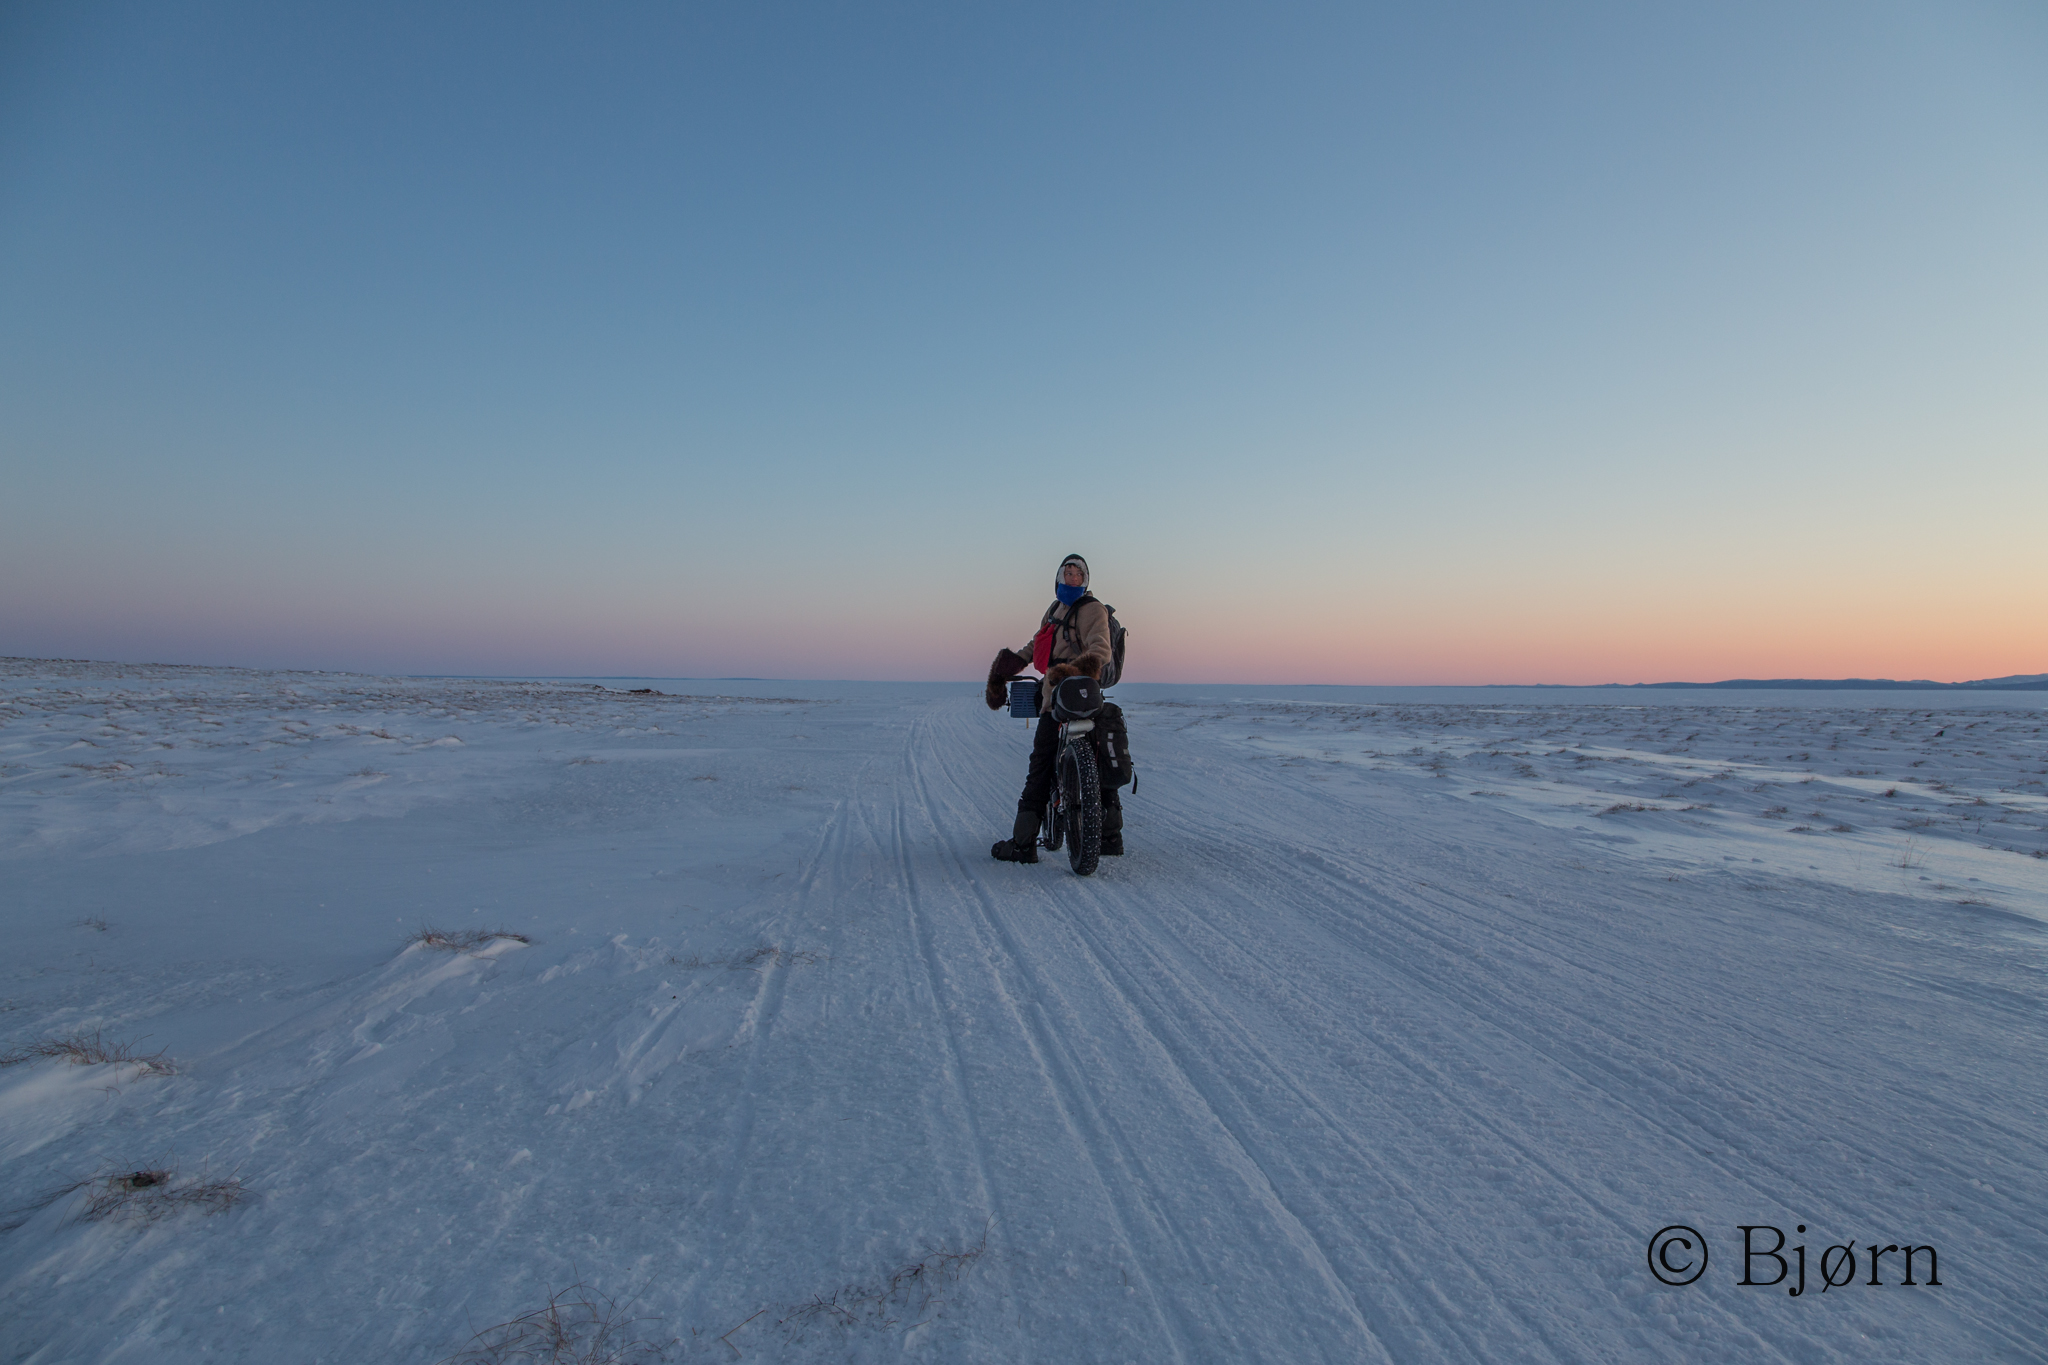
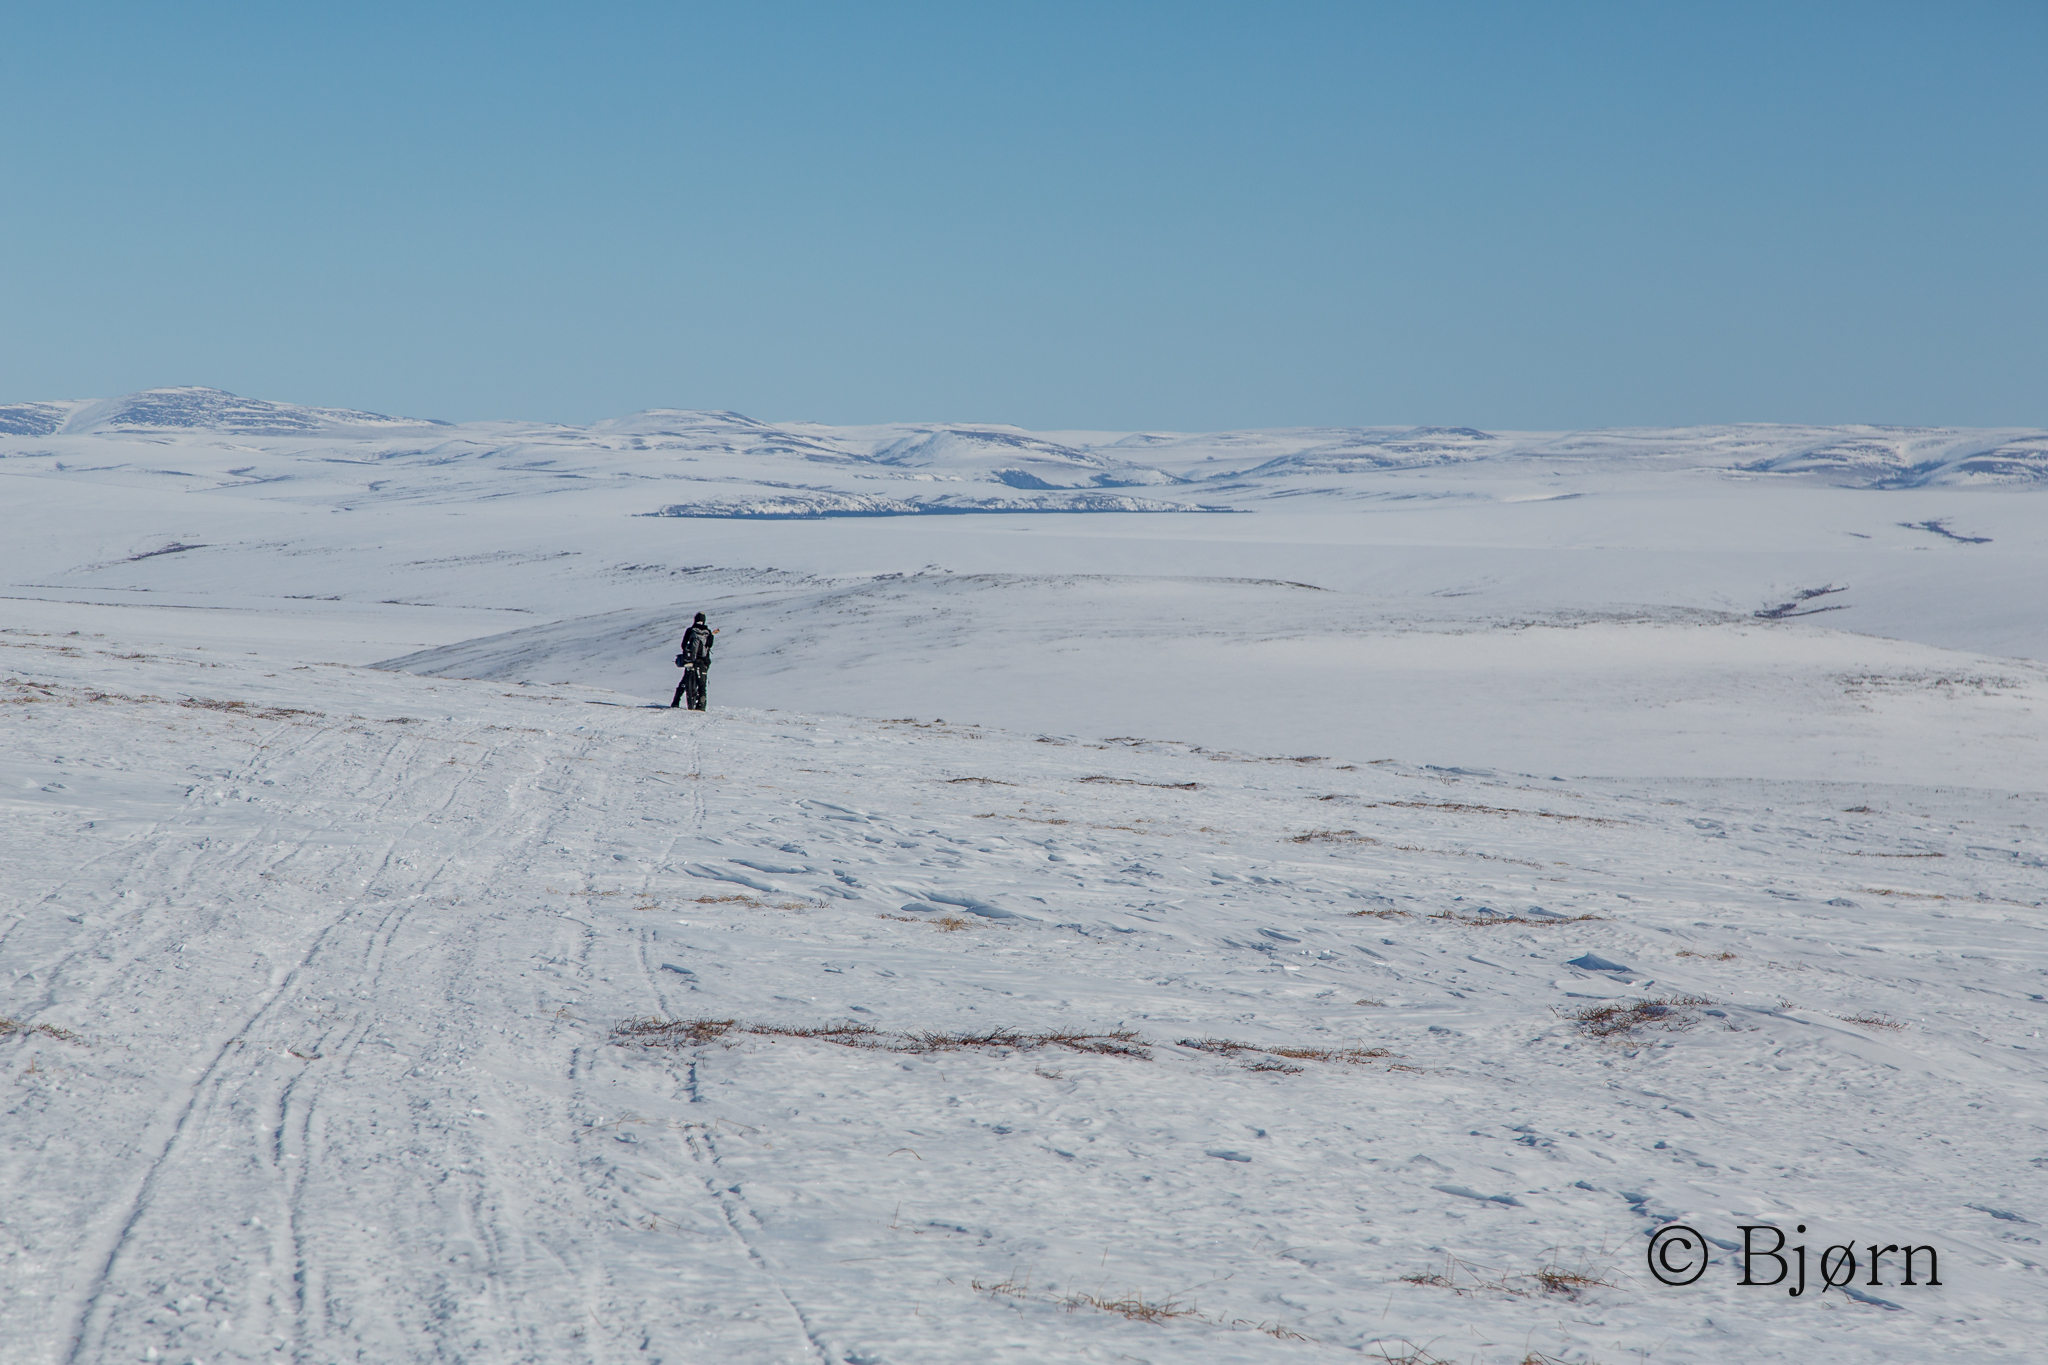
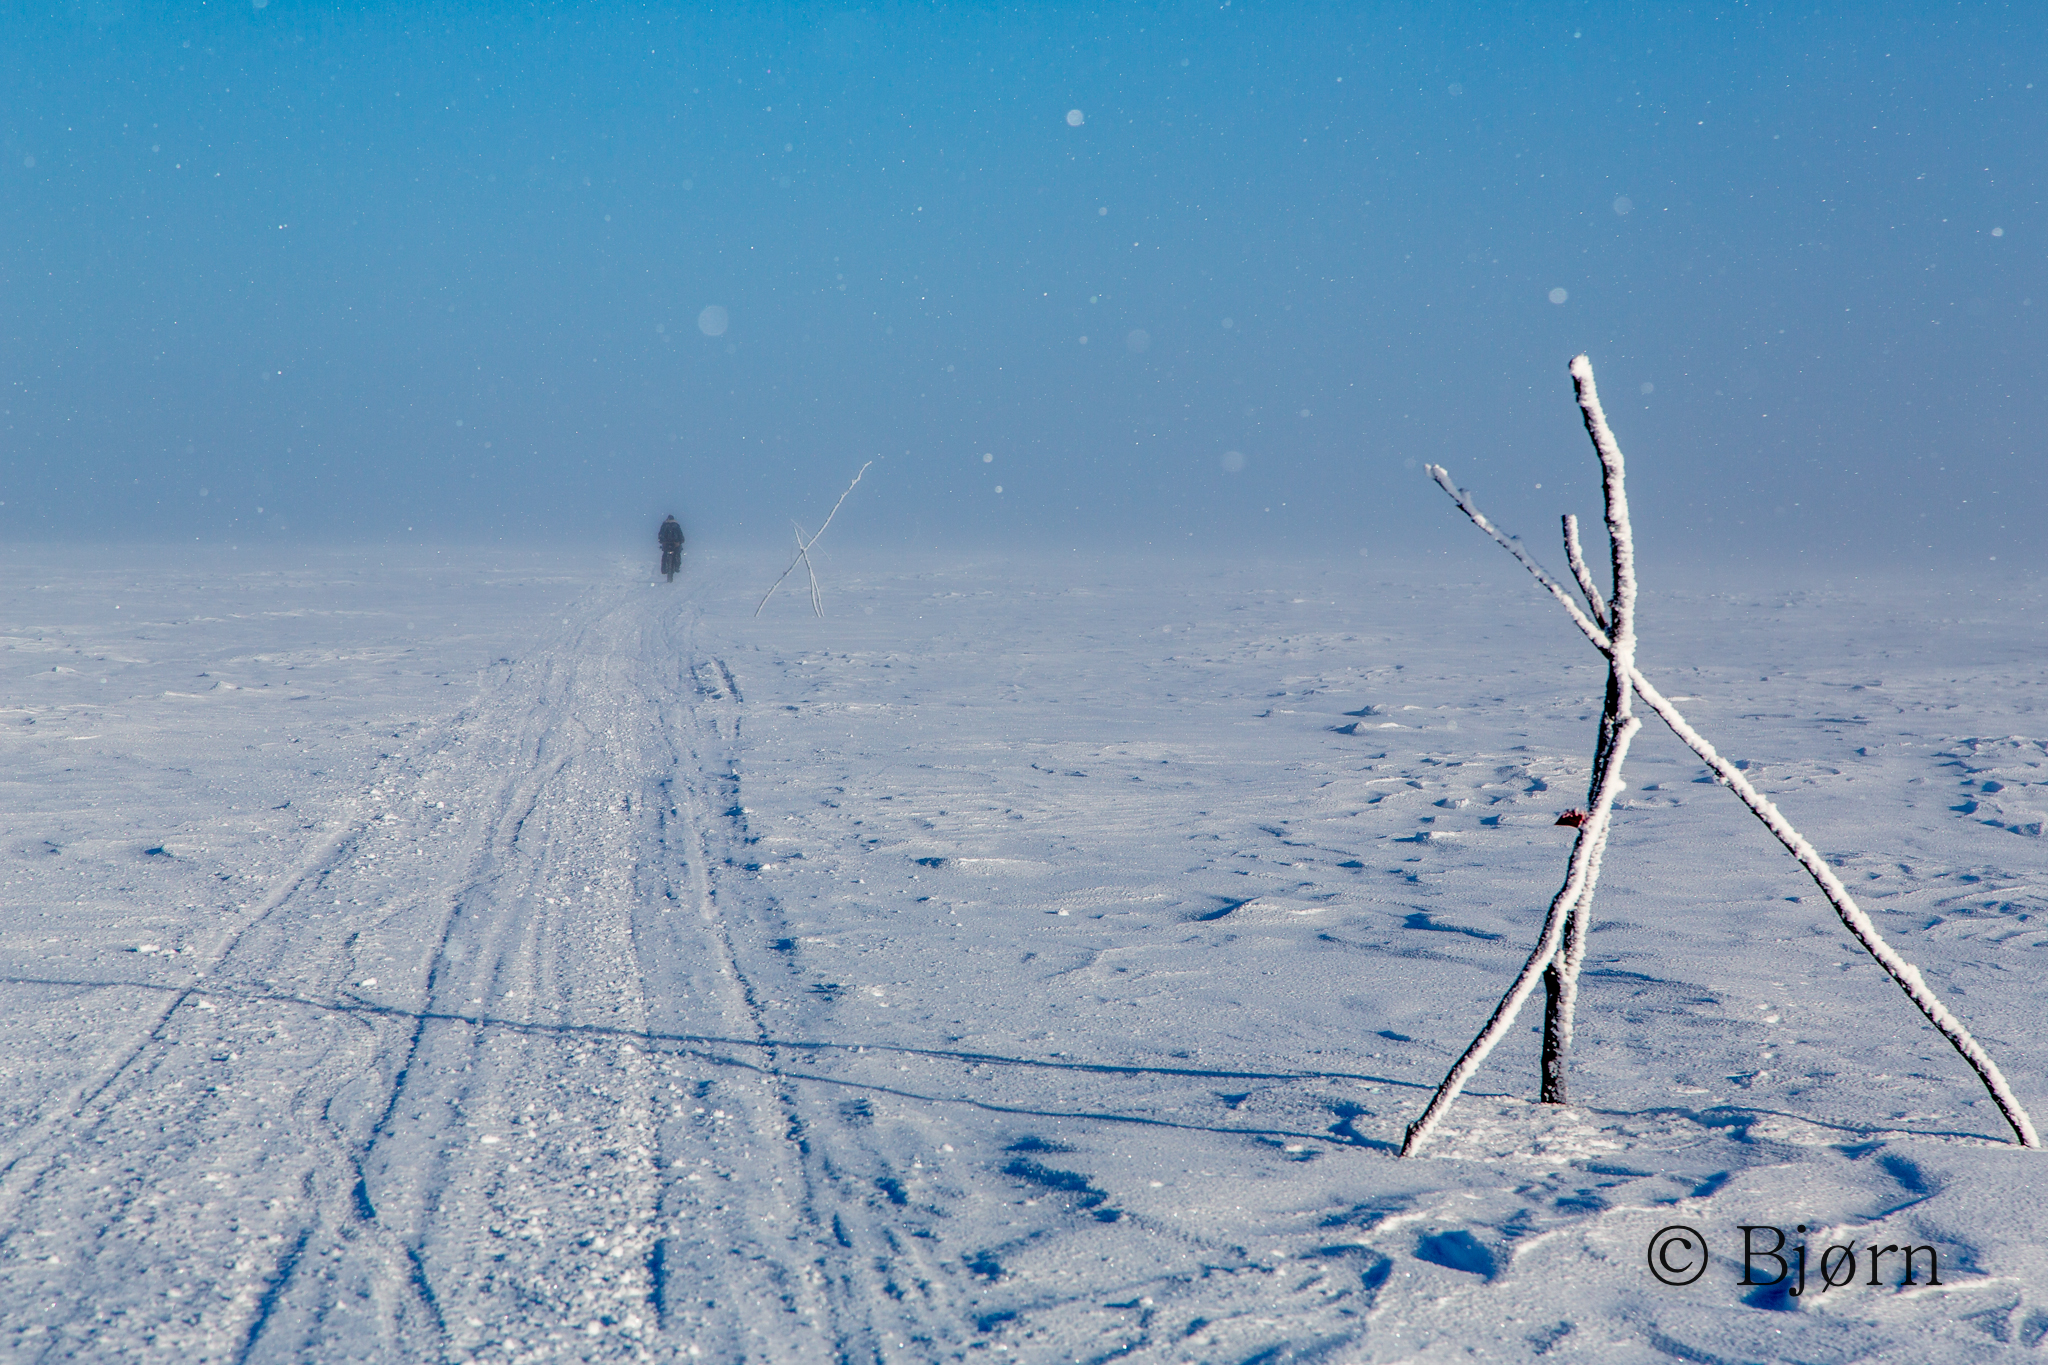
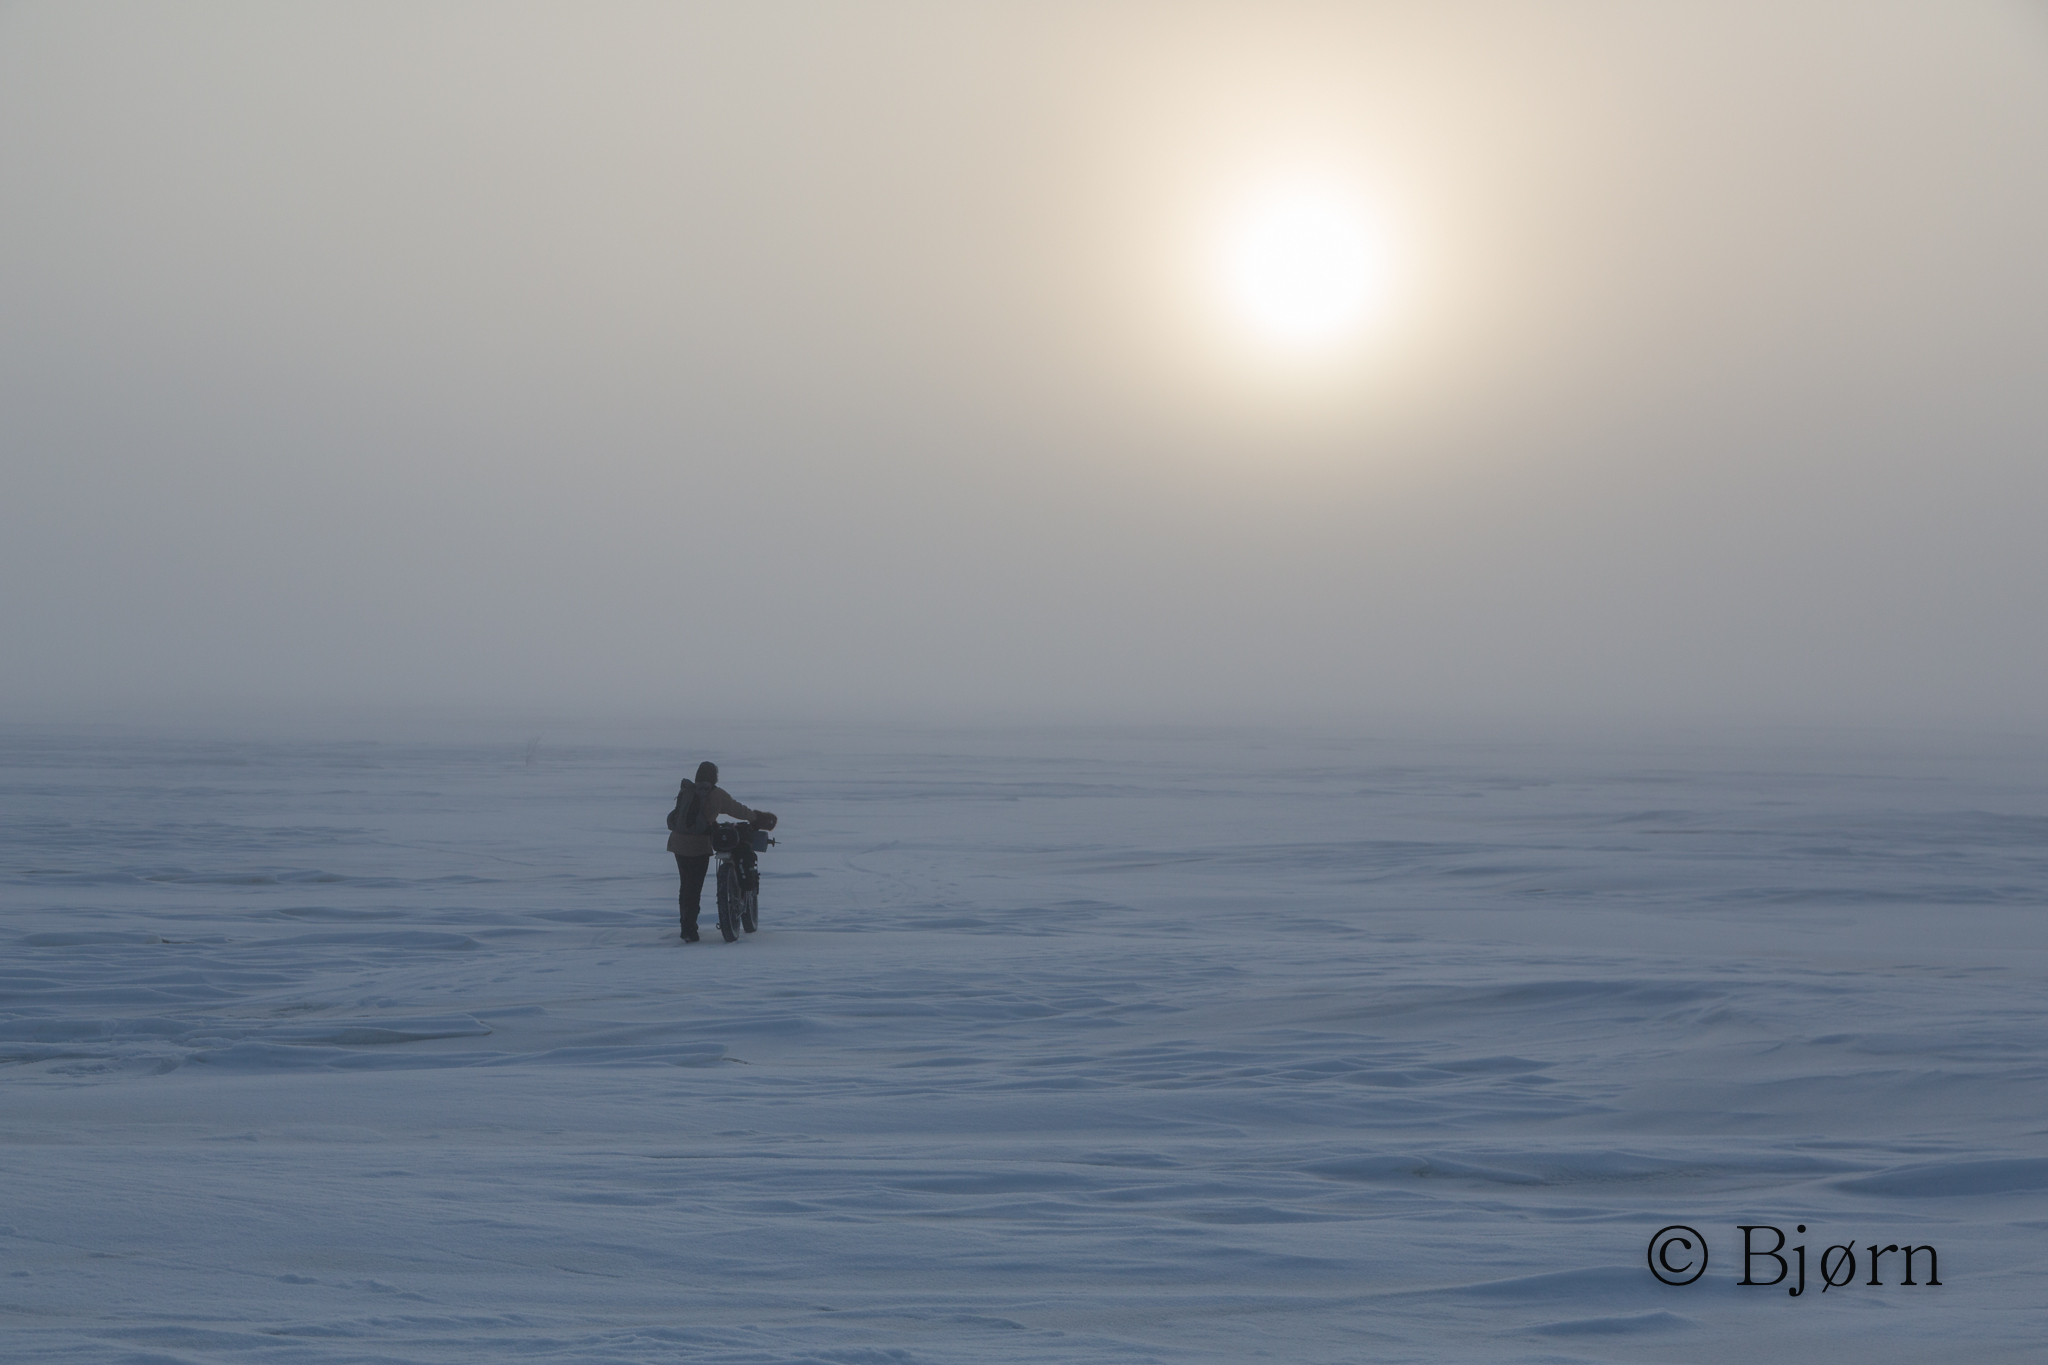
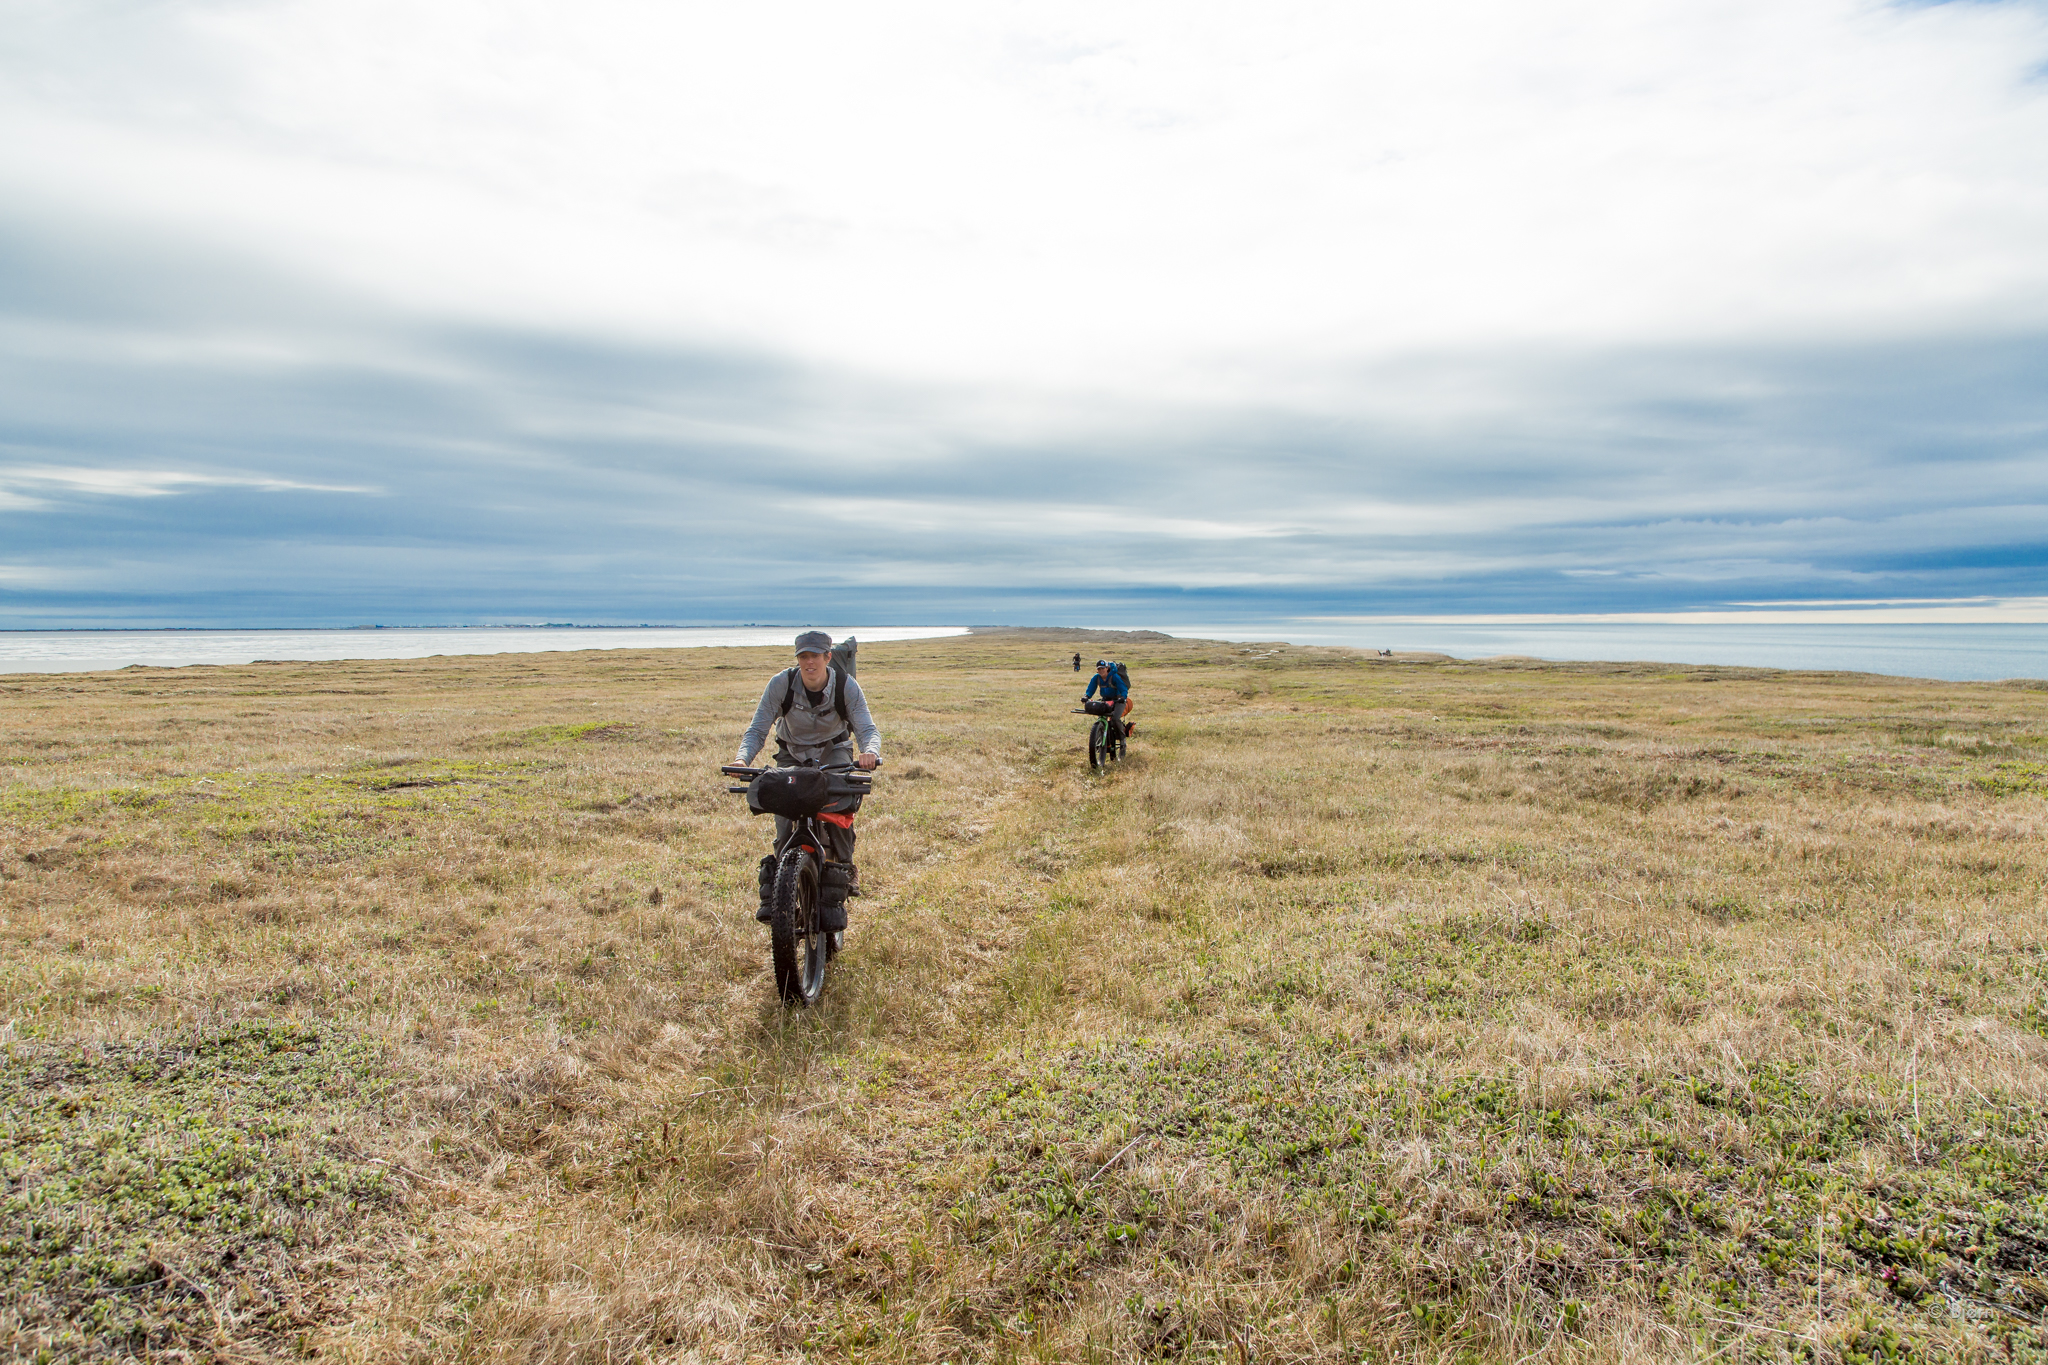
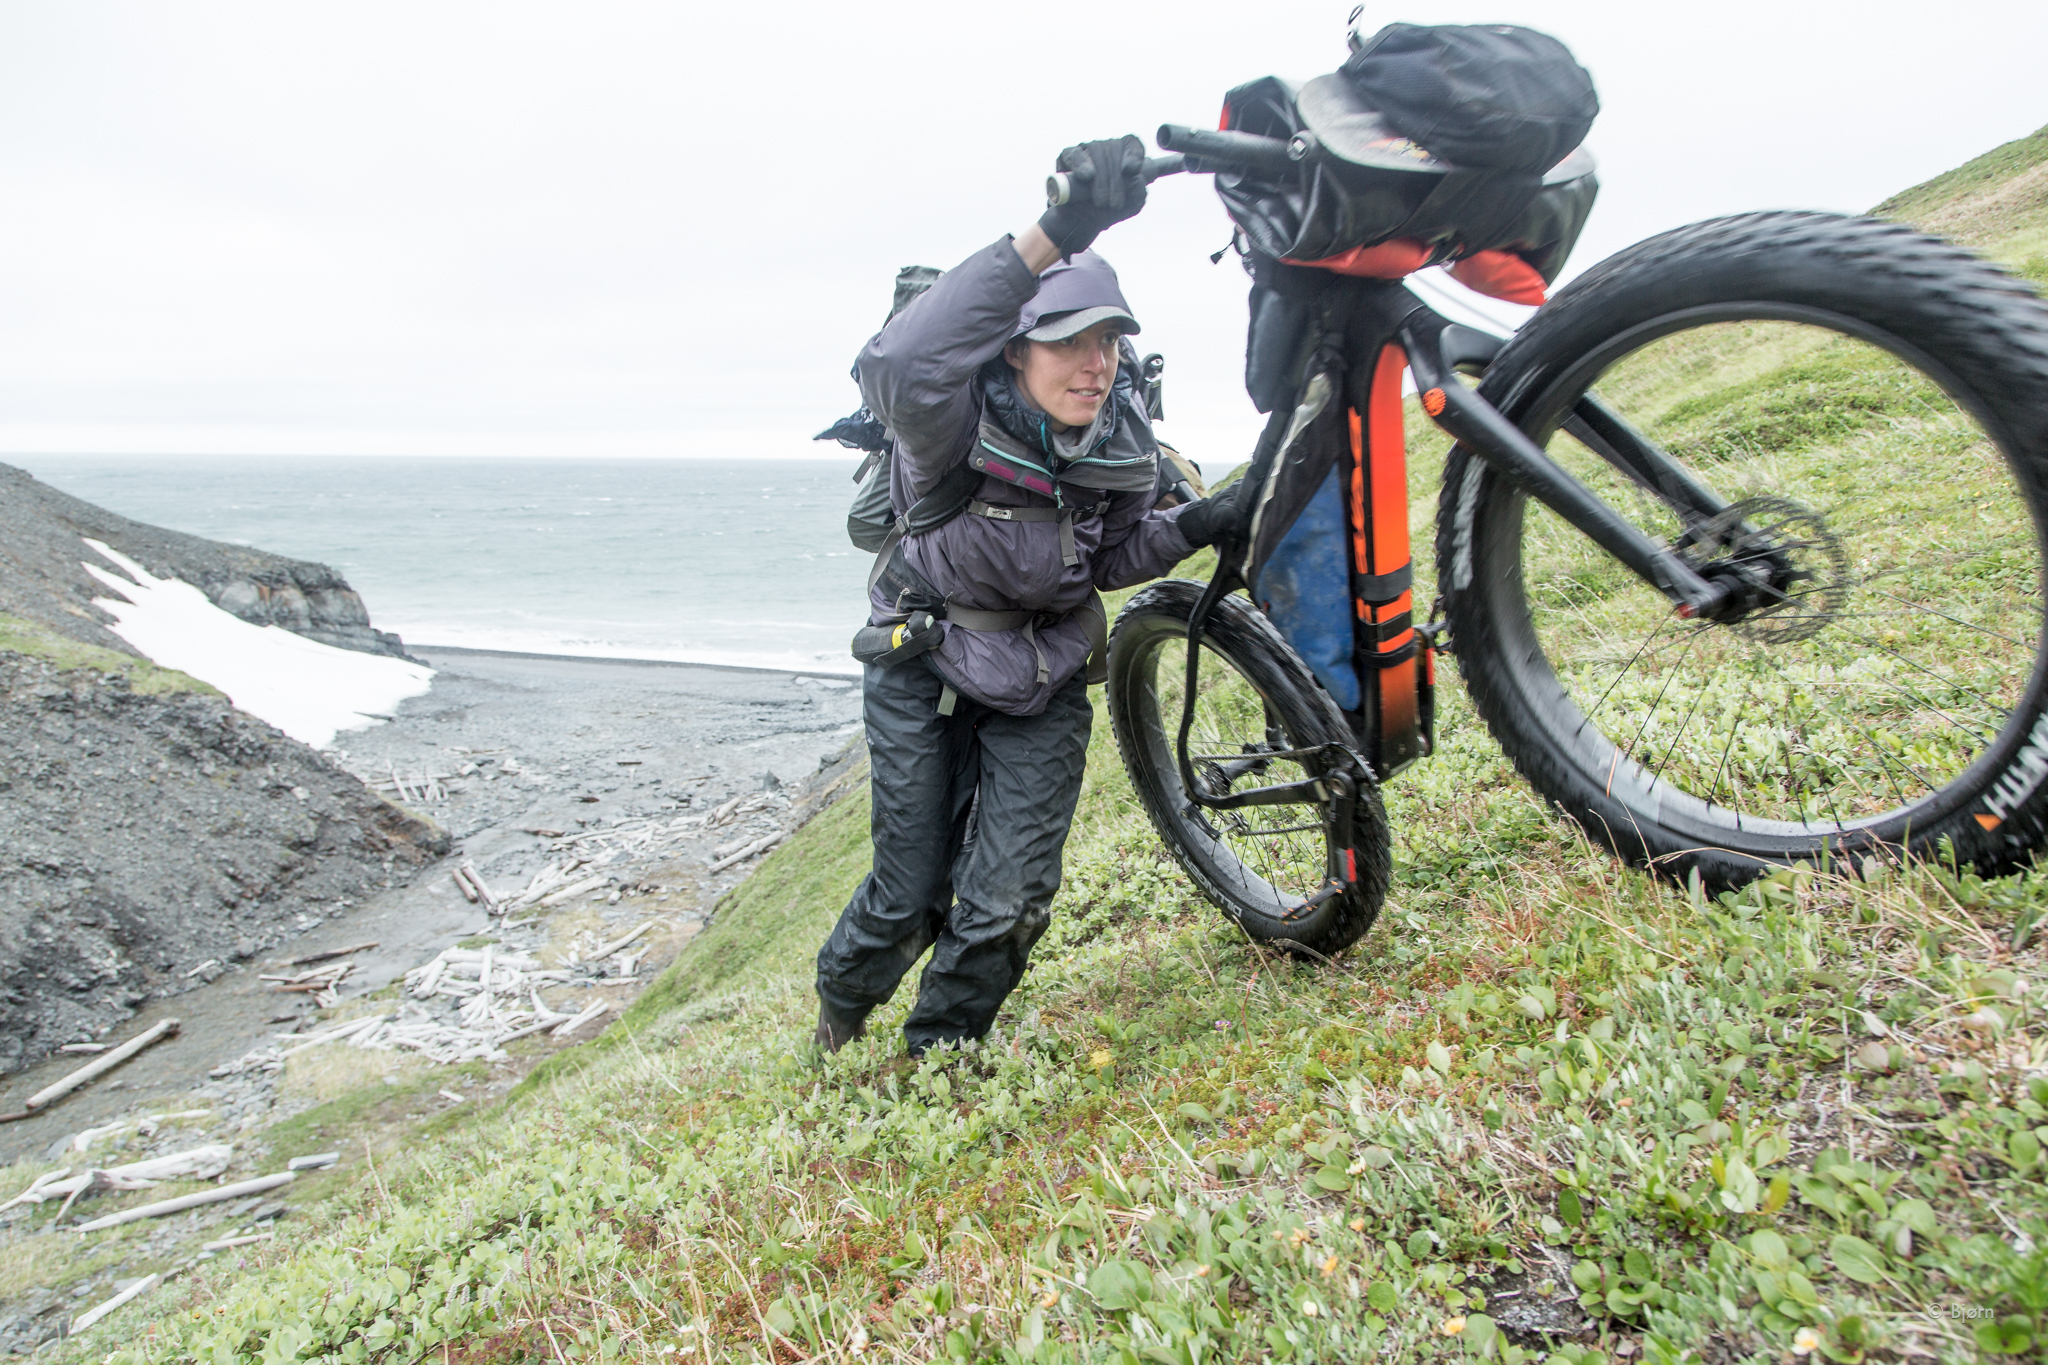
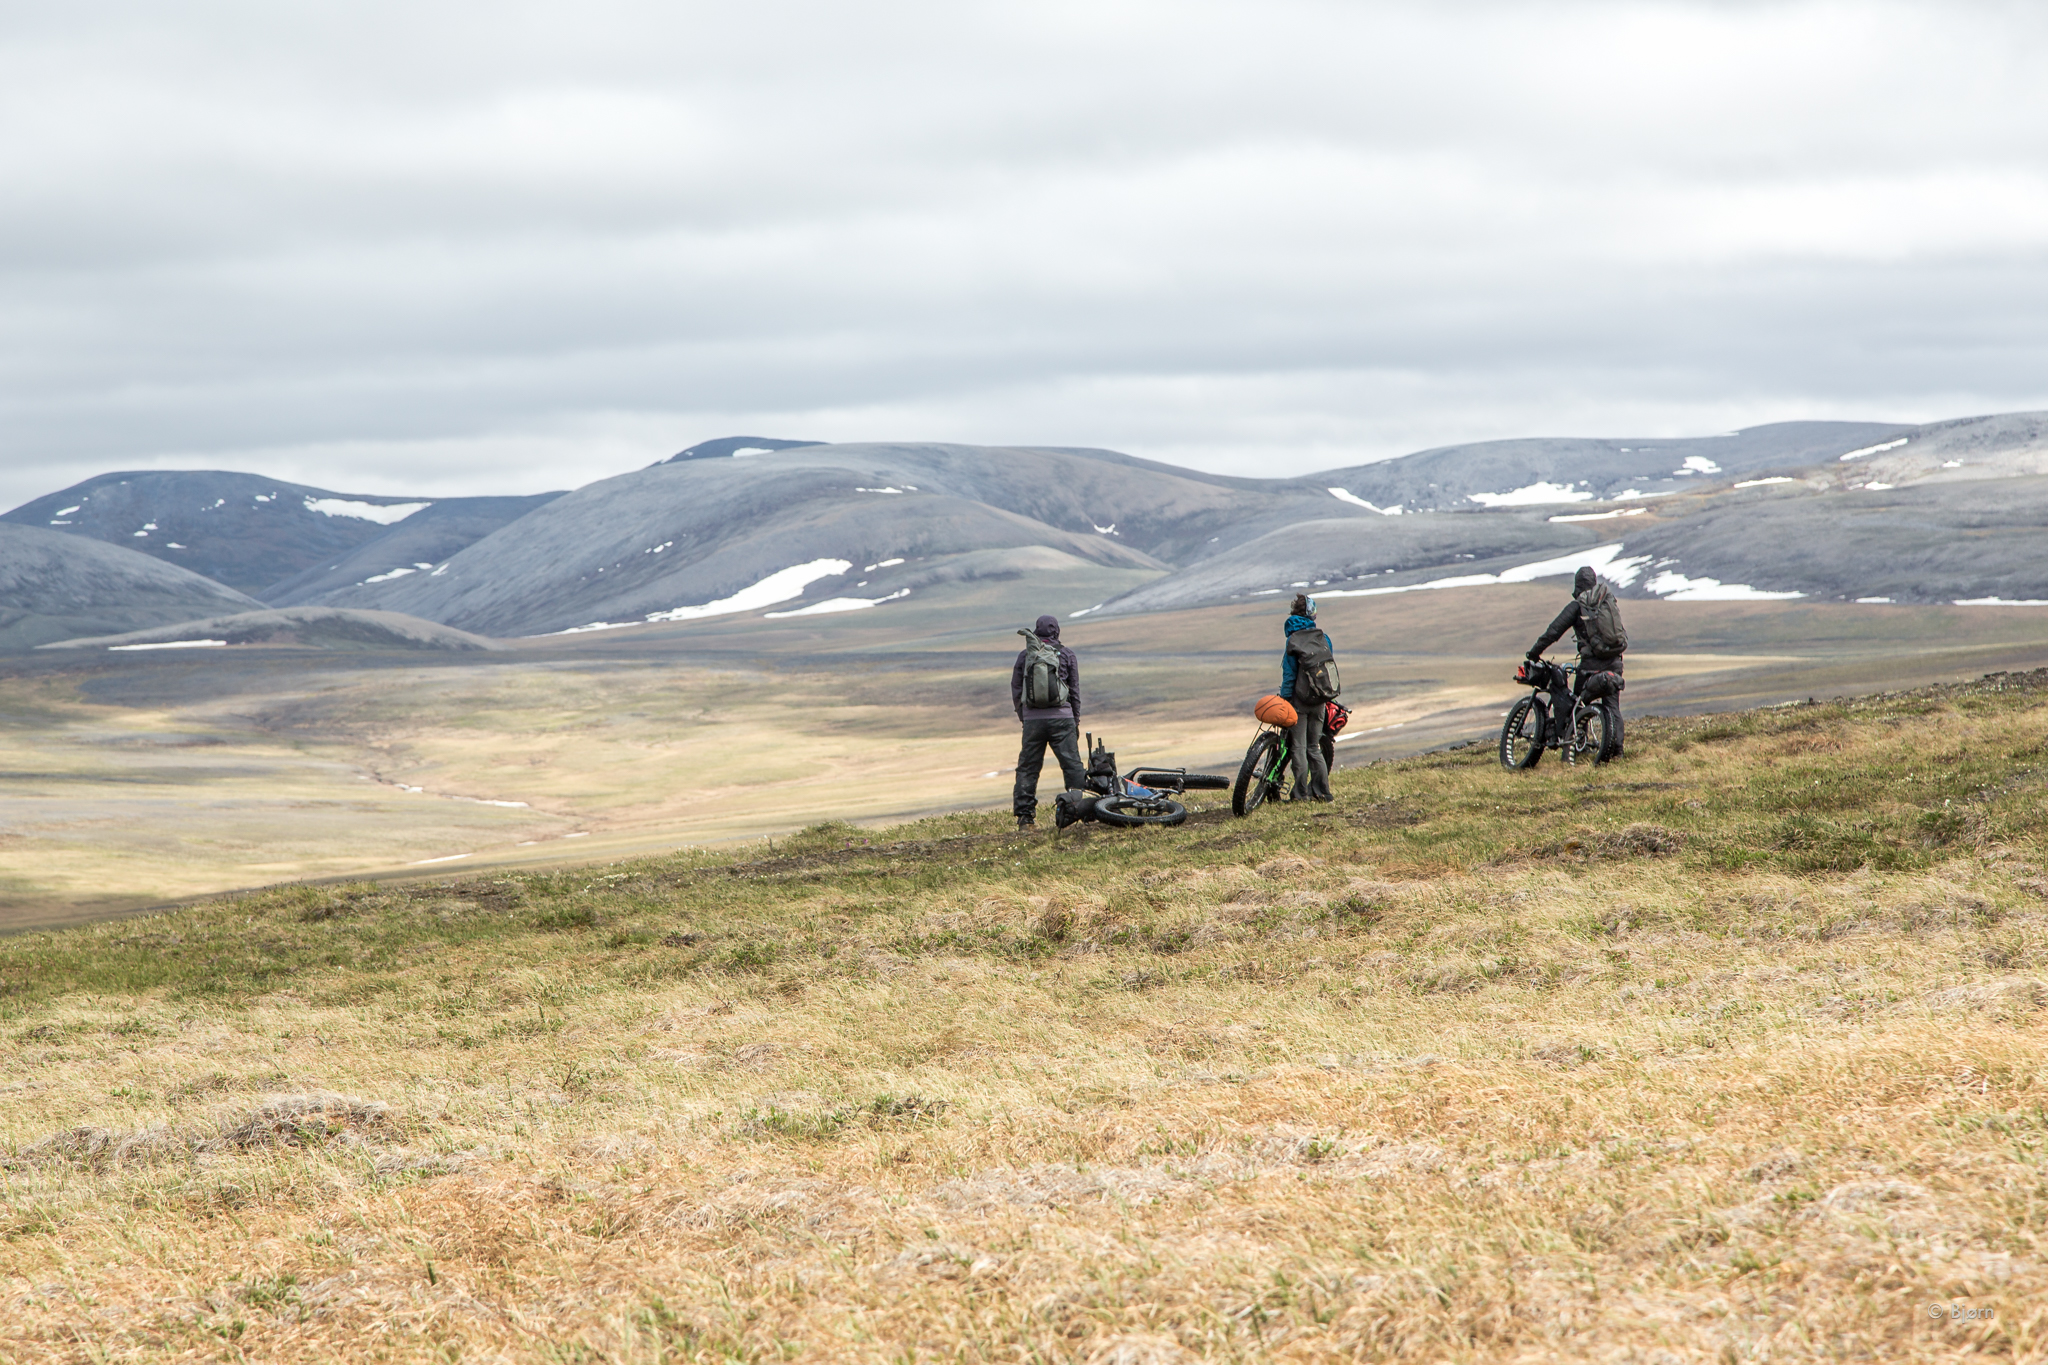
For the entirety of our trip we were above the Arctic Circle. We cycled over mountainous terrain, tundra, beaches, and riverbeds and, once away from villages, saw little sign of human traffic. We paddled where necessary and pushed our bikes very little. Much to our astonishment and delight, this trail-less wilderness route was attained almost exclusively from the saddle of our bikes.
Each trip reveals new insights into technique and gear and every year new innovations in equipment design stand on the shoulders of the previous incarnations. Below is an overview and review of the equipment we used.

Bike:
Since the fat-bike was first conceived, refinement has yet to cease. In the late 1980s, Alaskan shade-tree bike innovators welded two rims together and laced them onto one hub to provide better flotation on snow trails. Since the mid 2000s, interest in this subculture sport has grown exponentially and innovation has been off the charts.
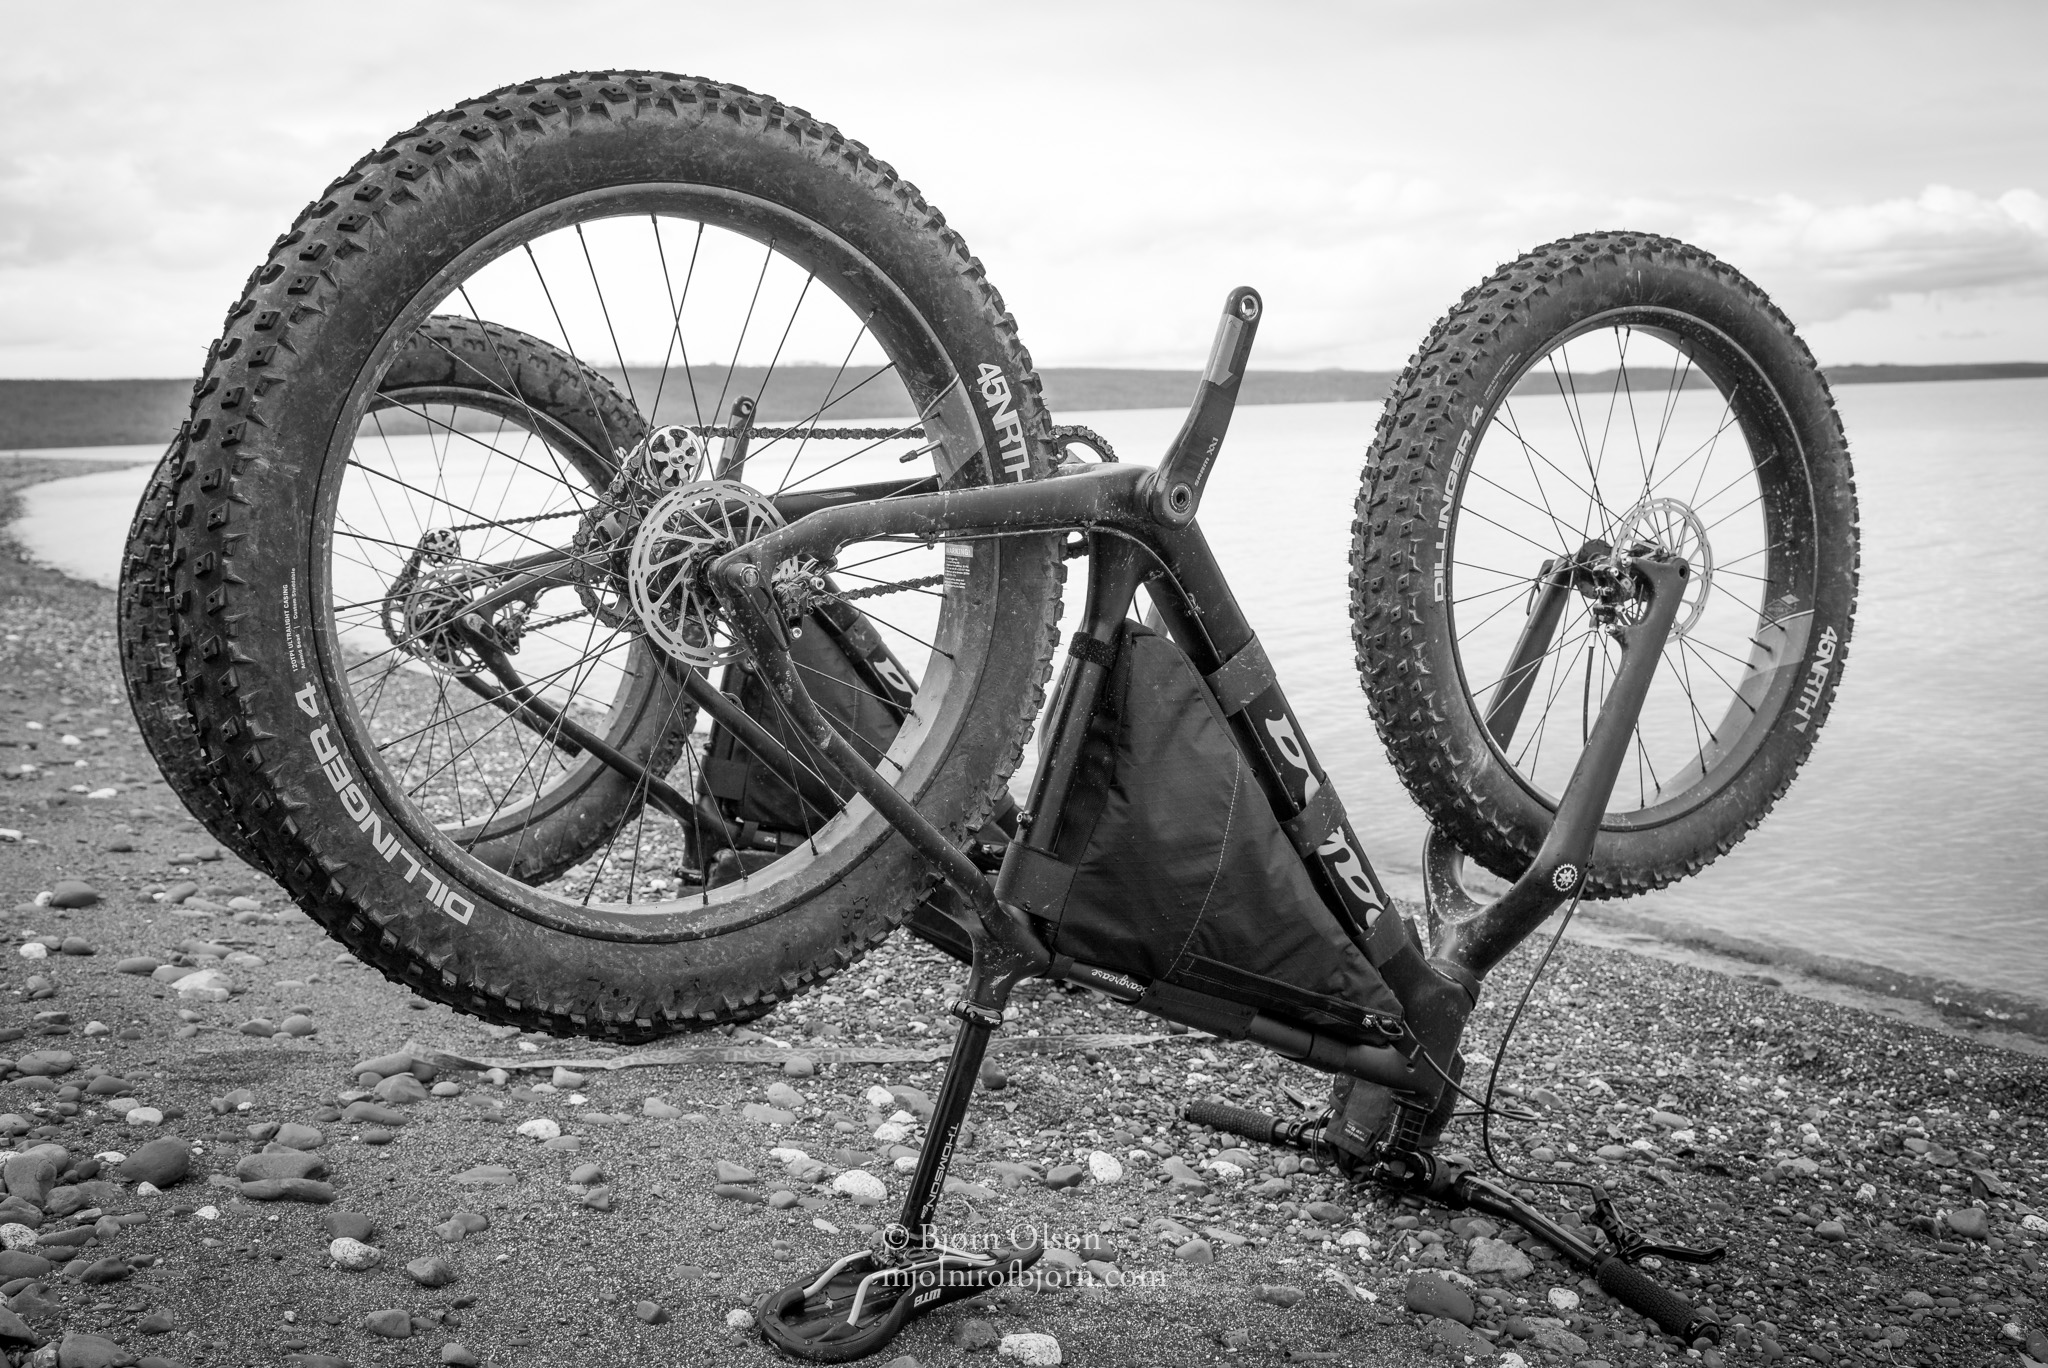
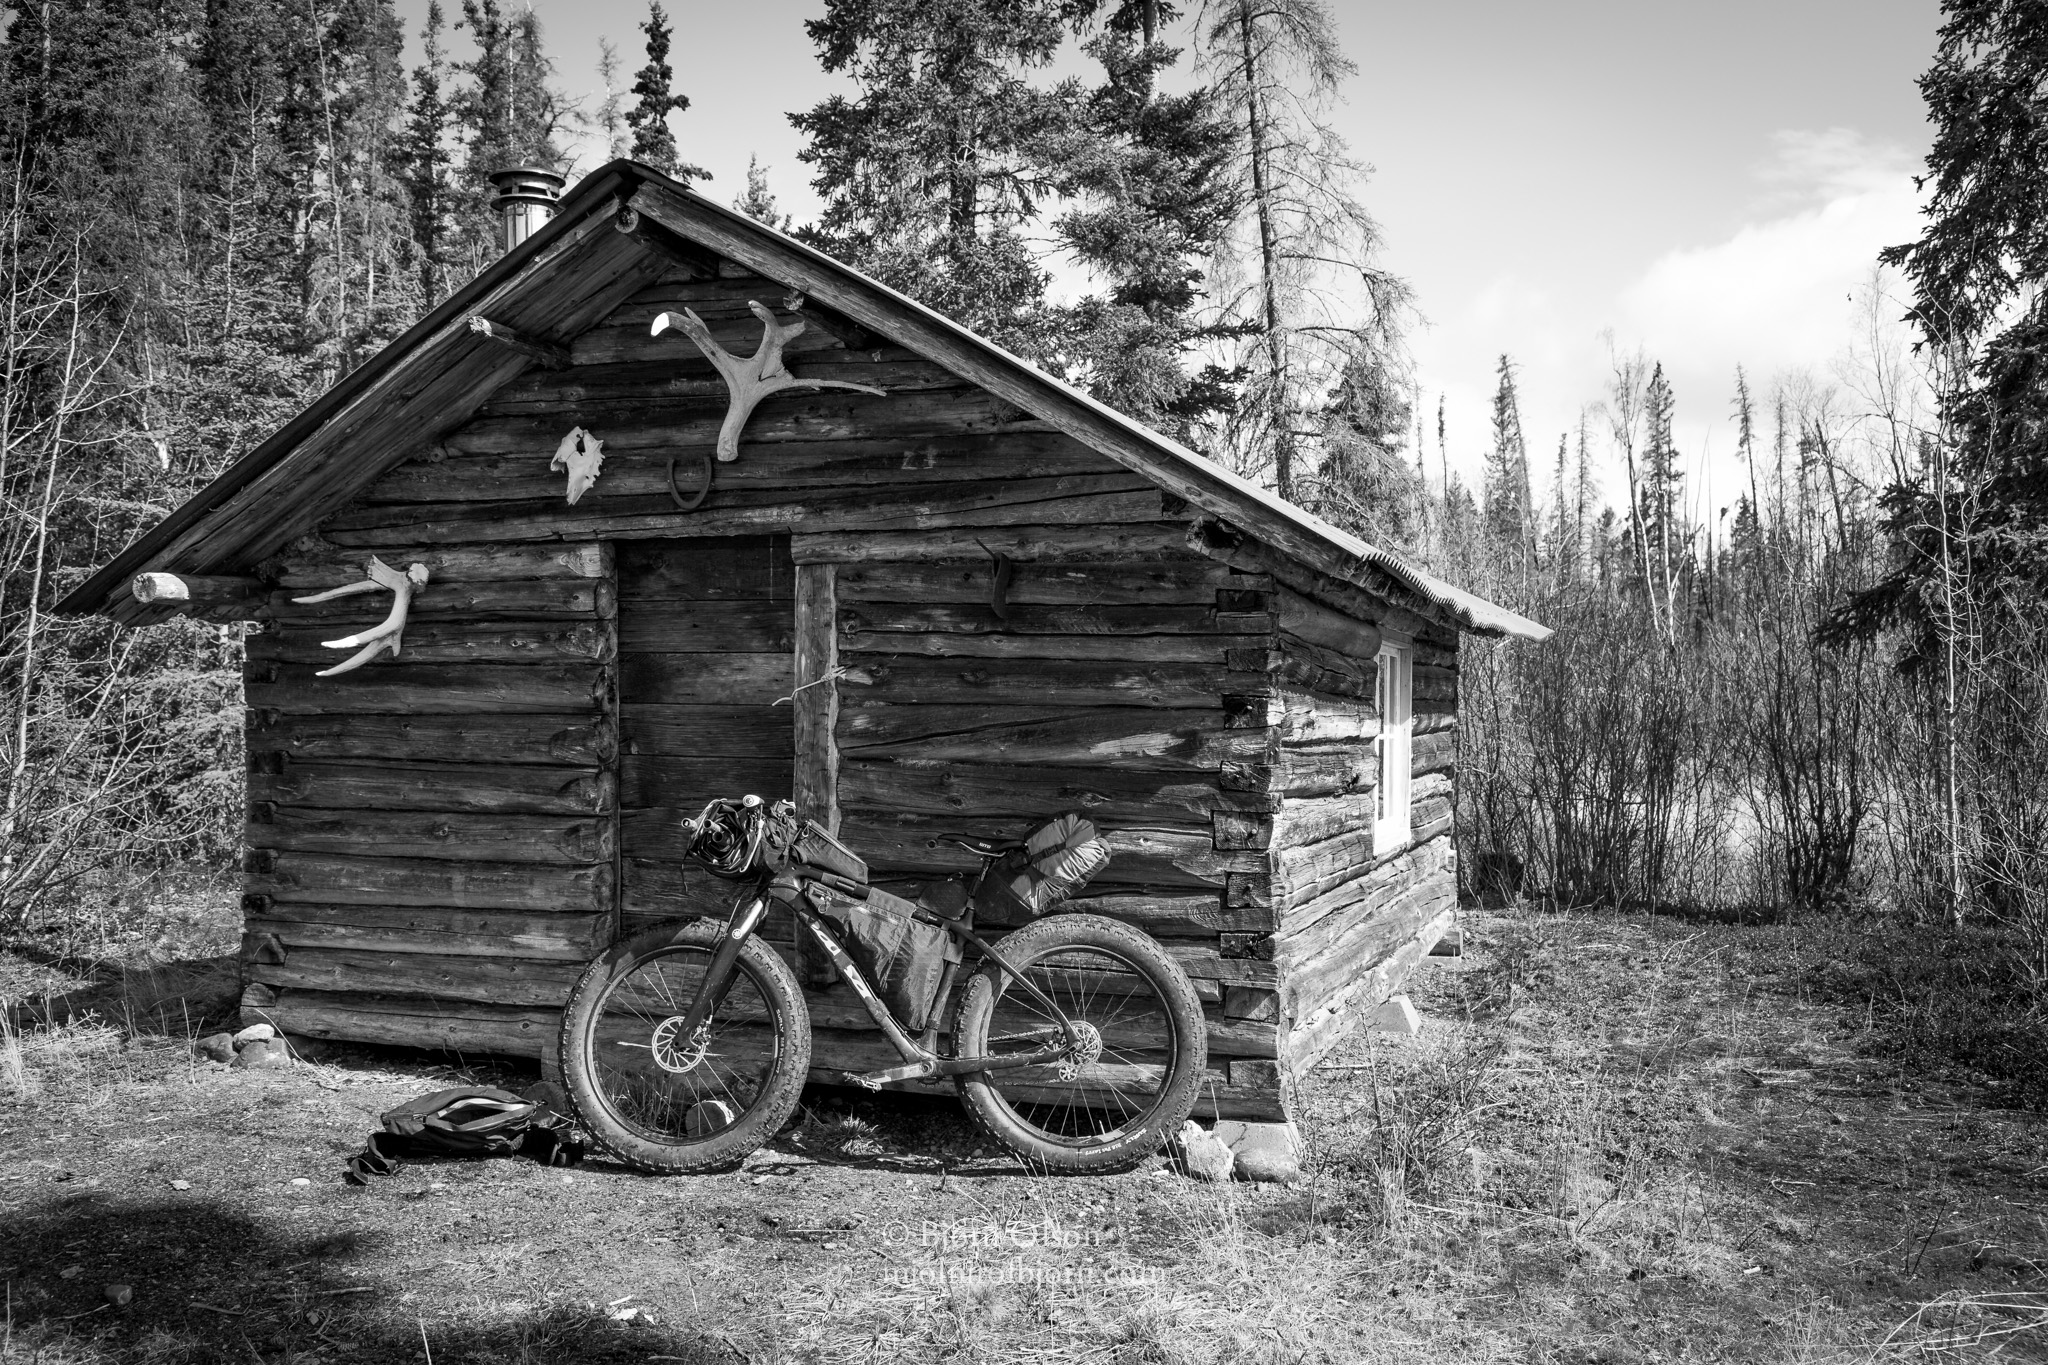
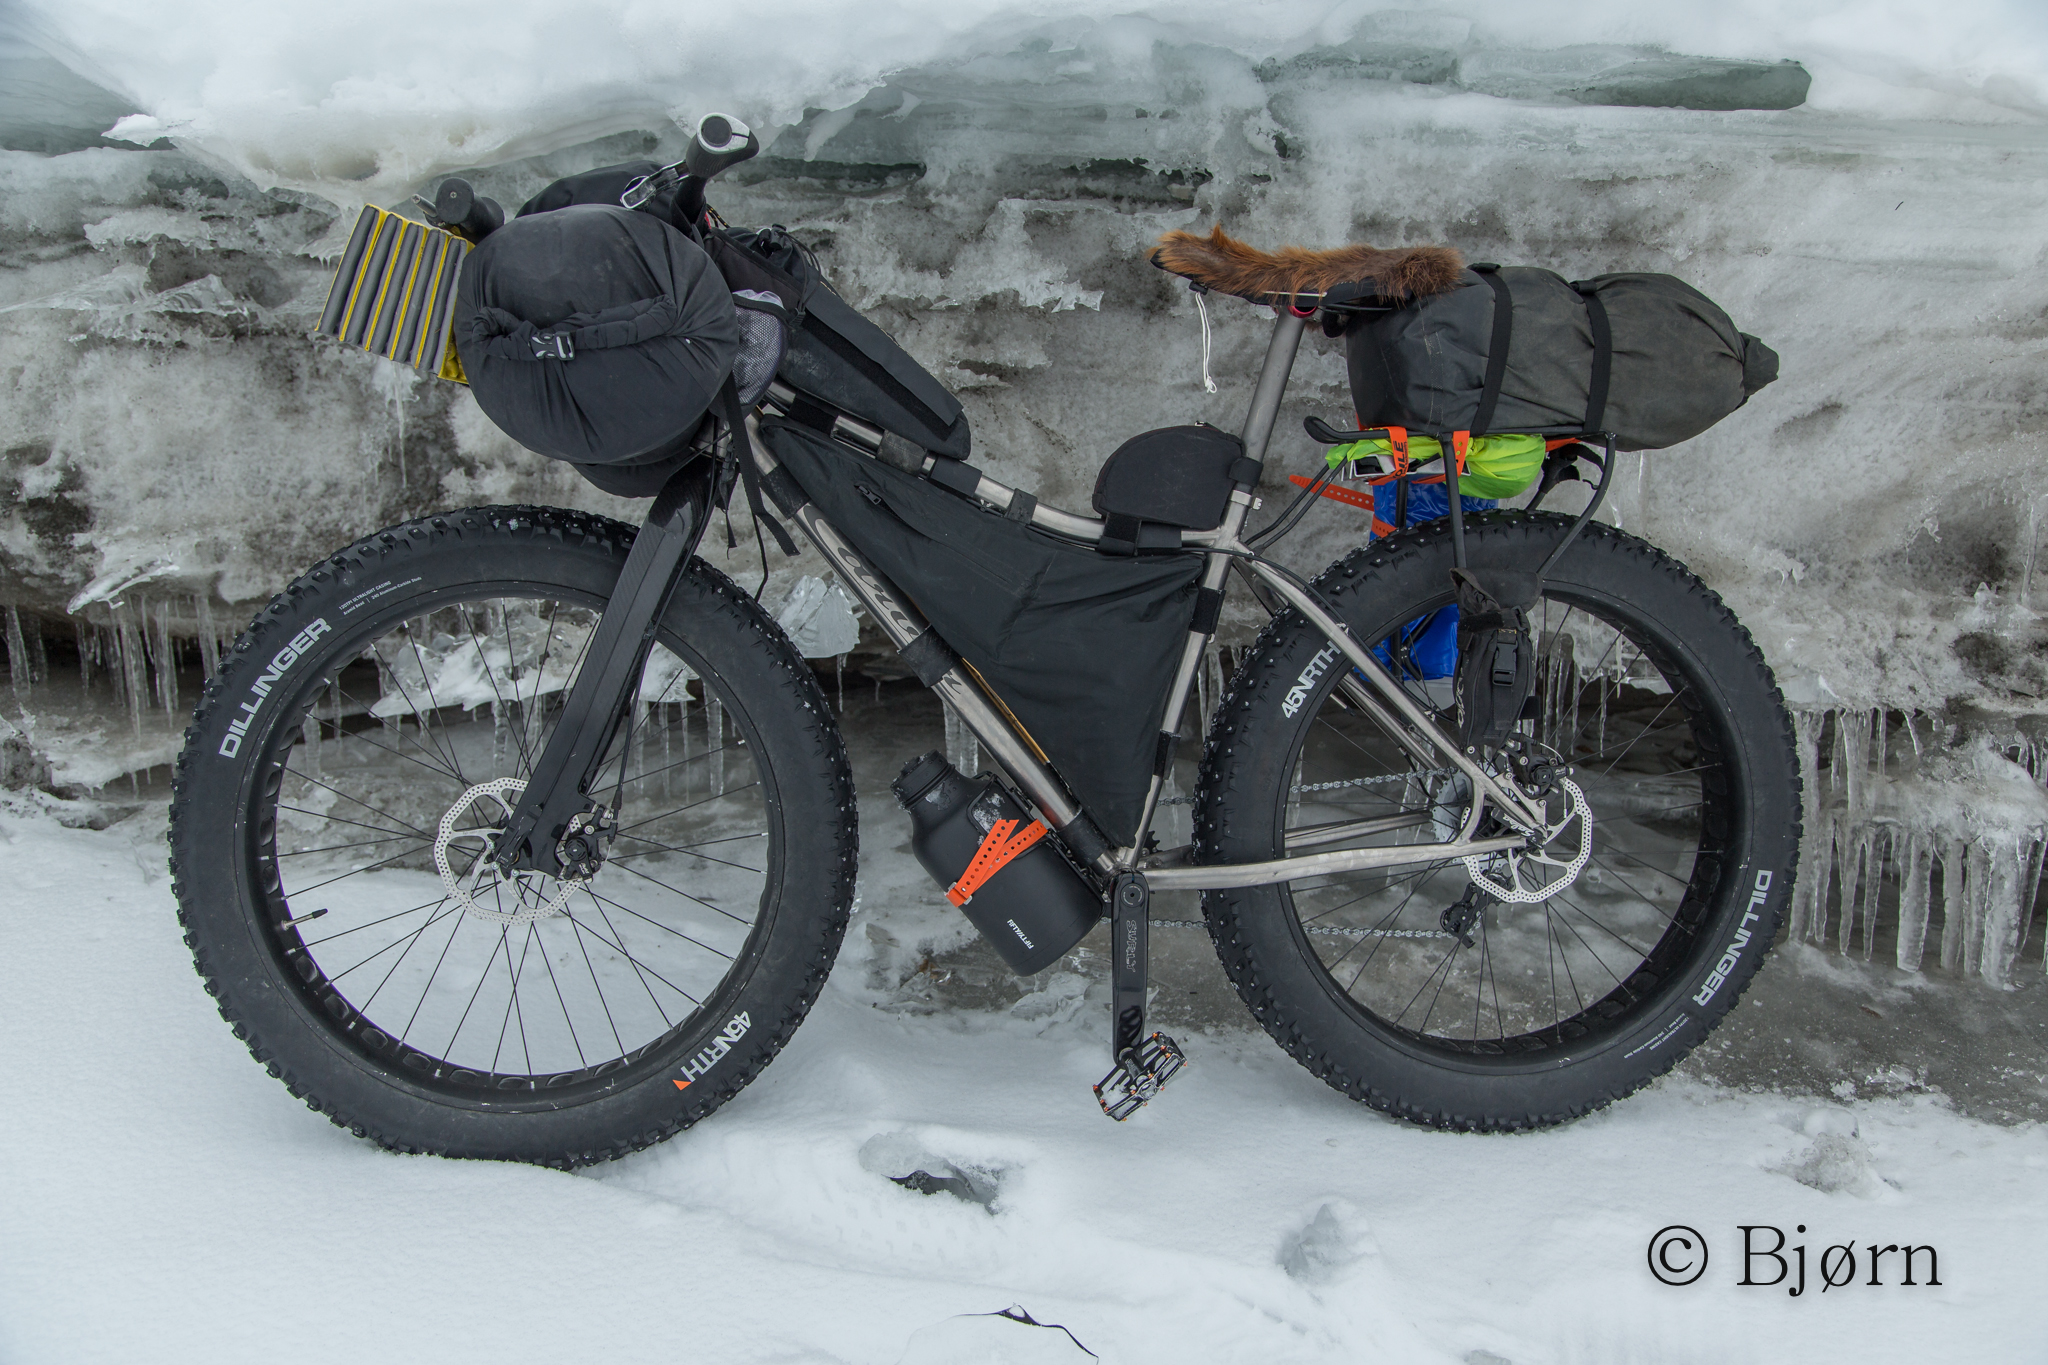
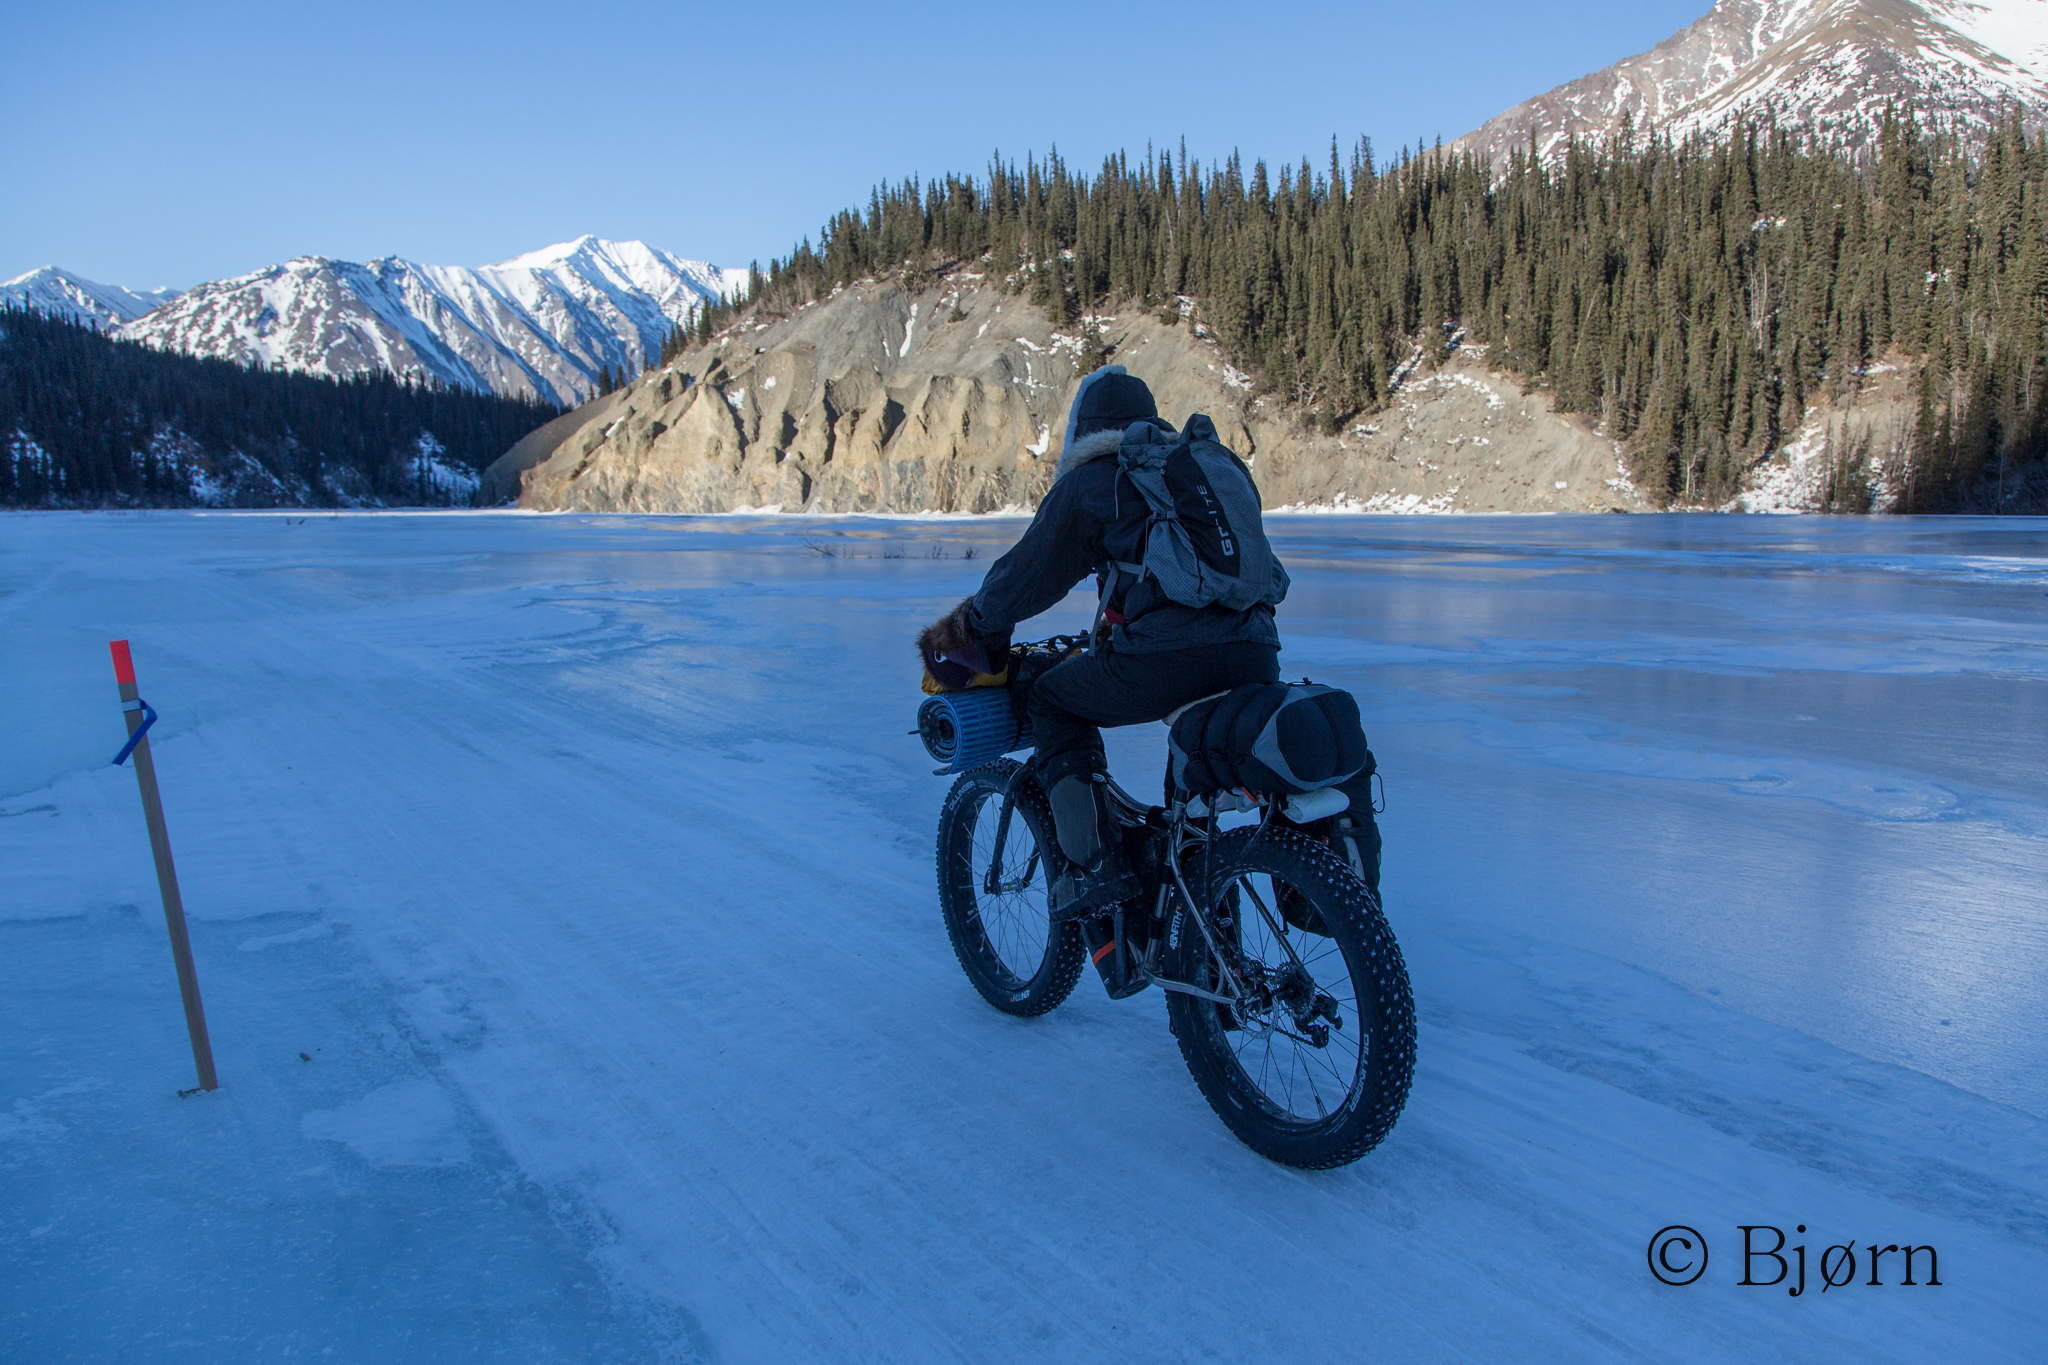
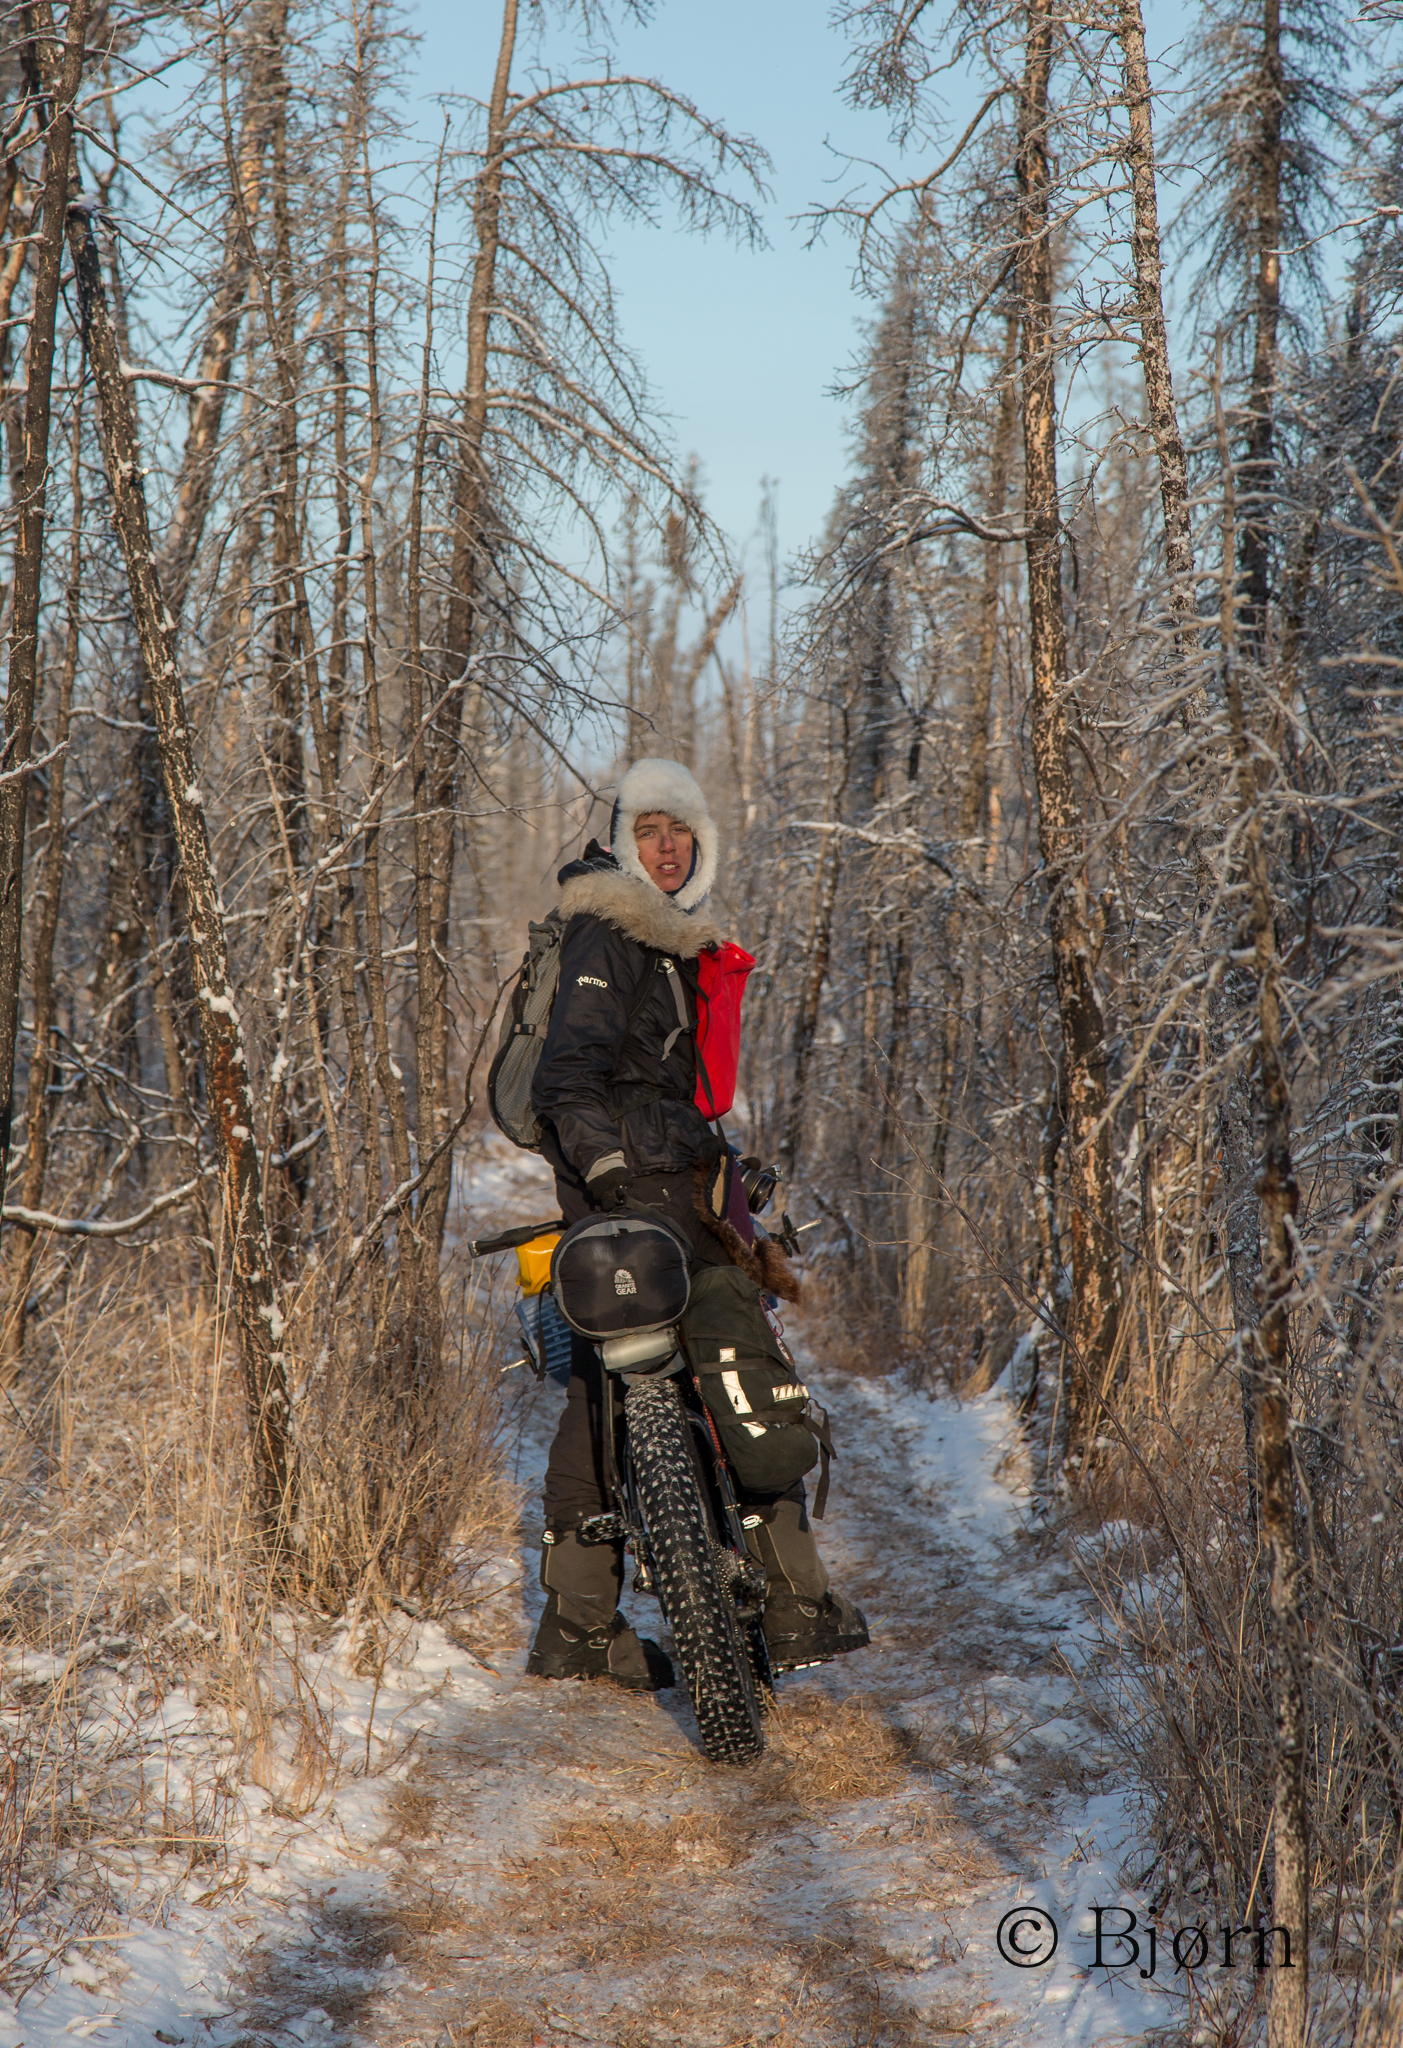
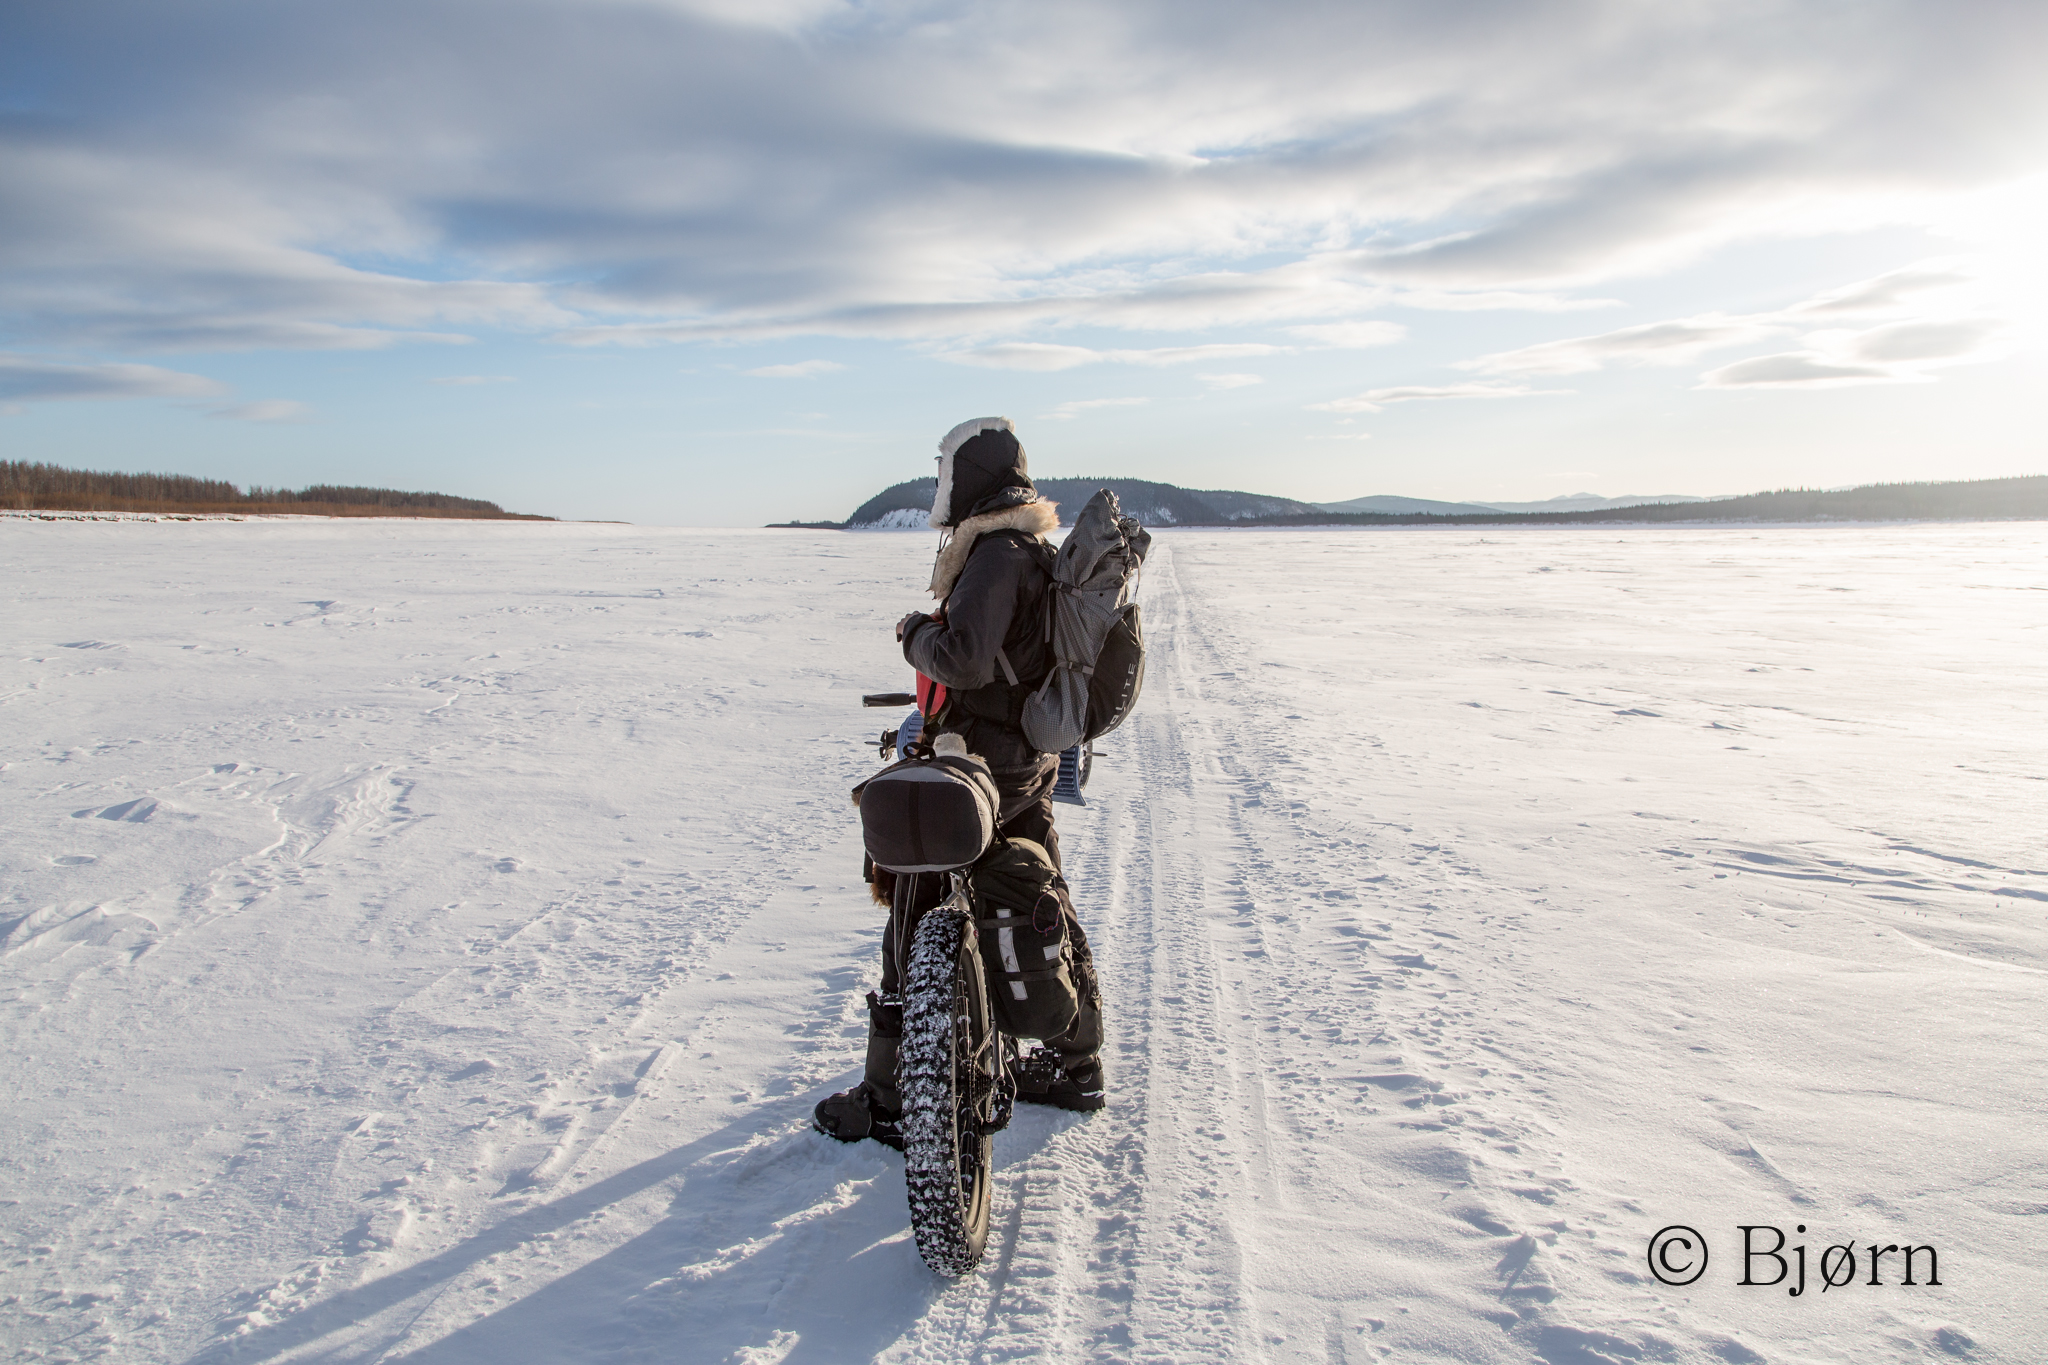
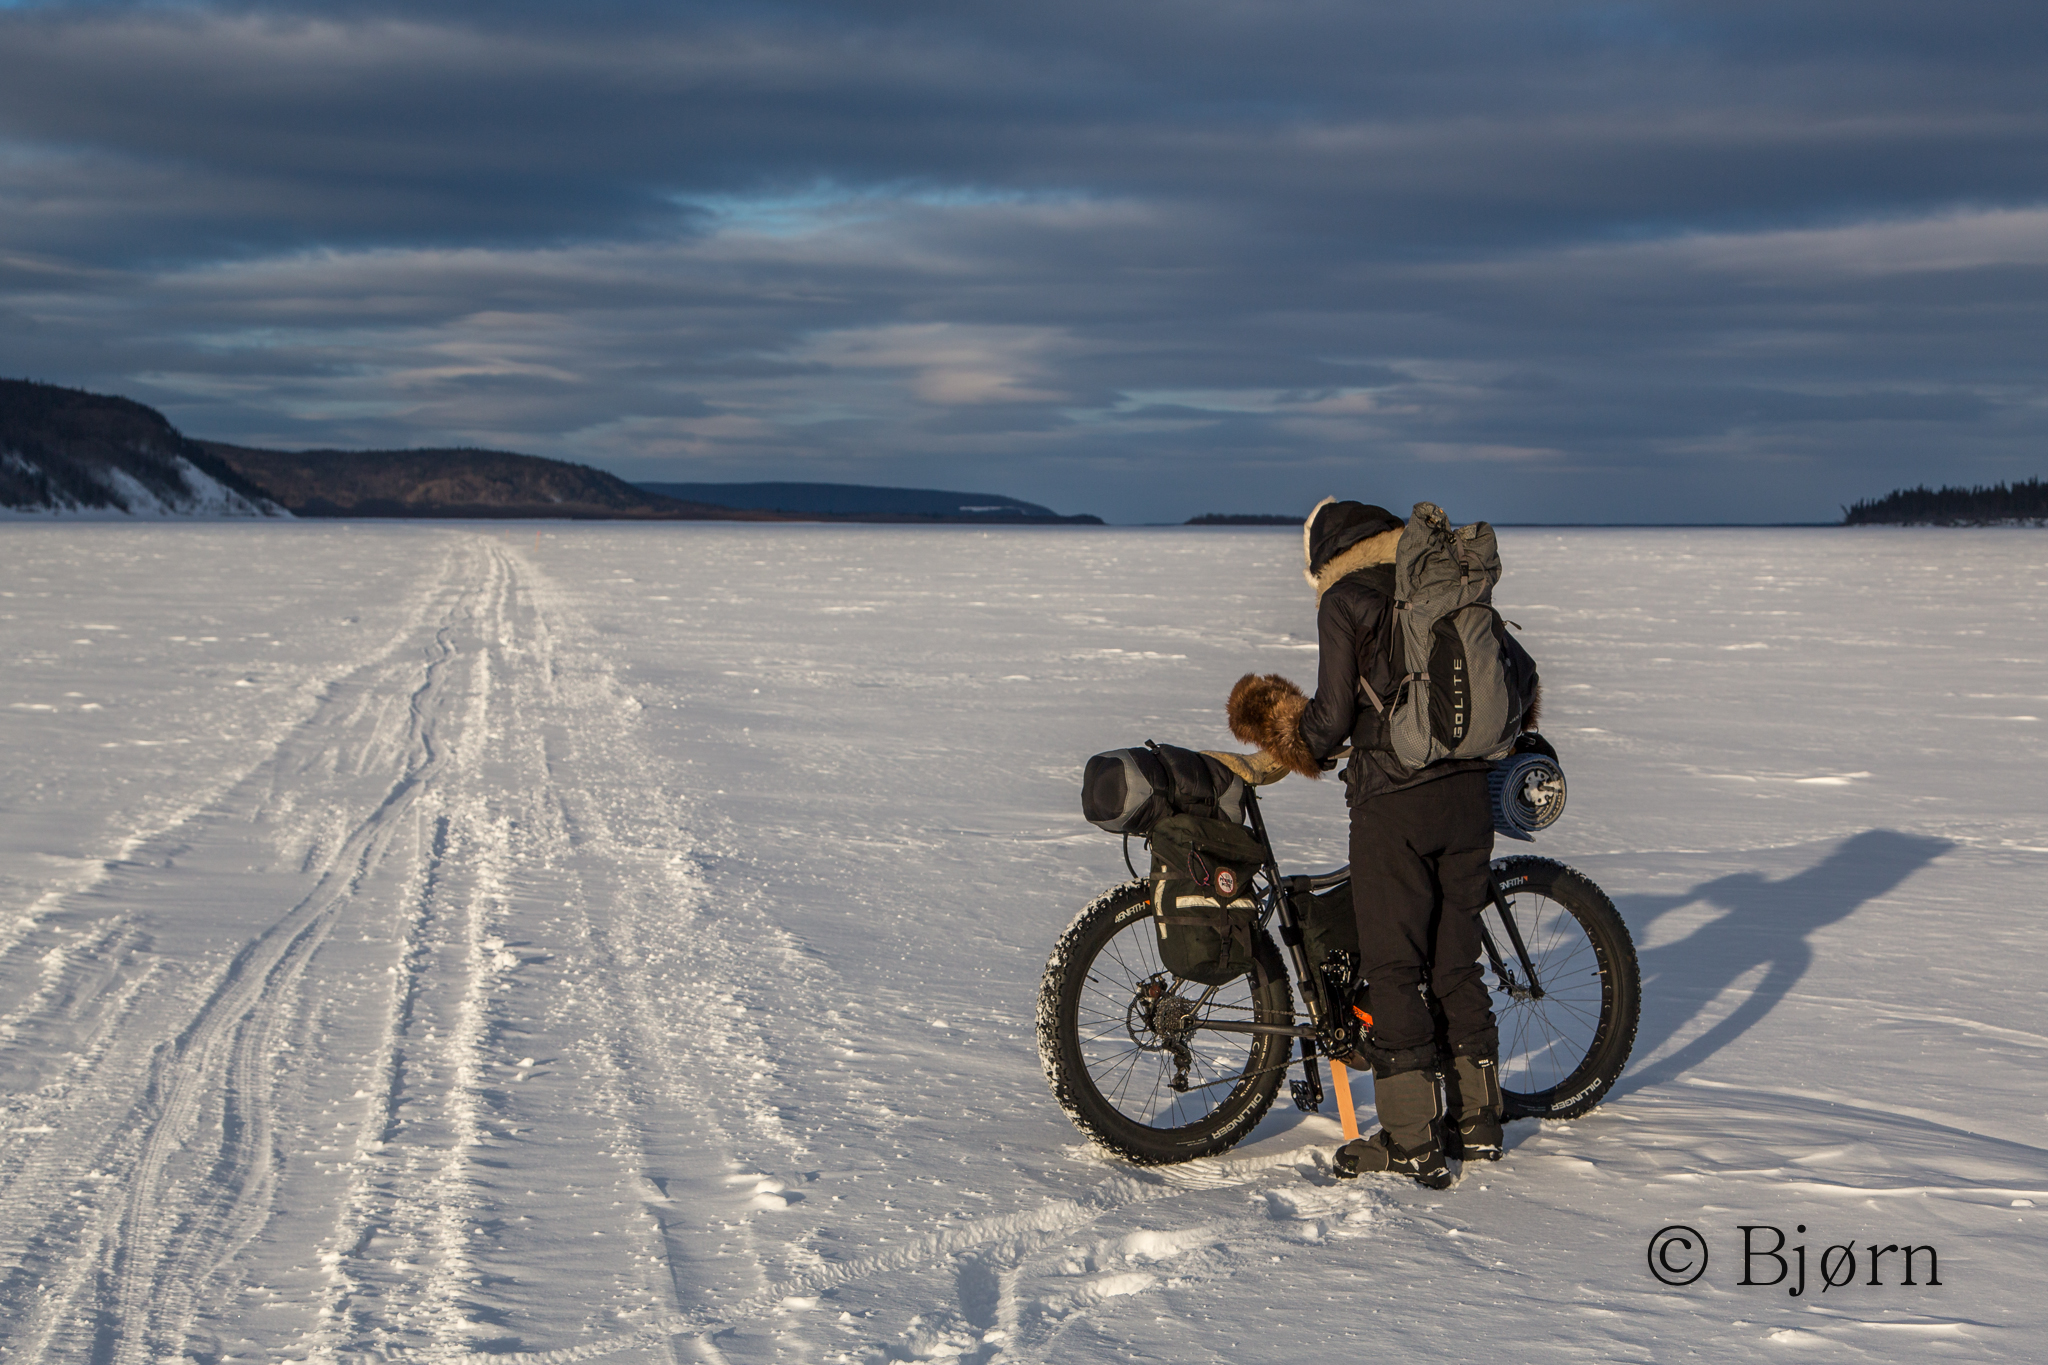
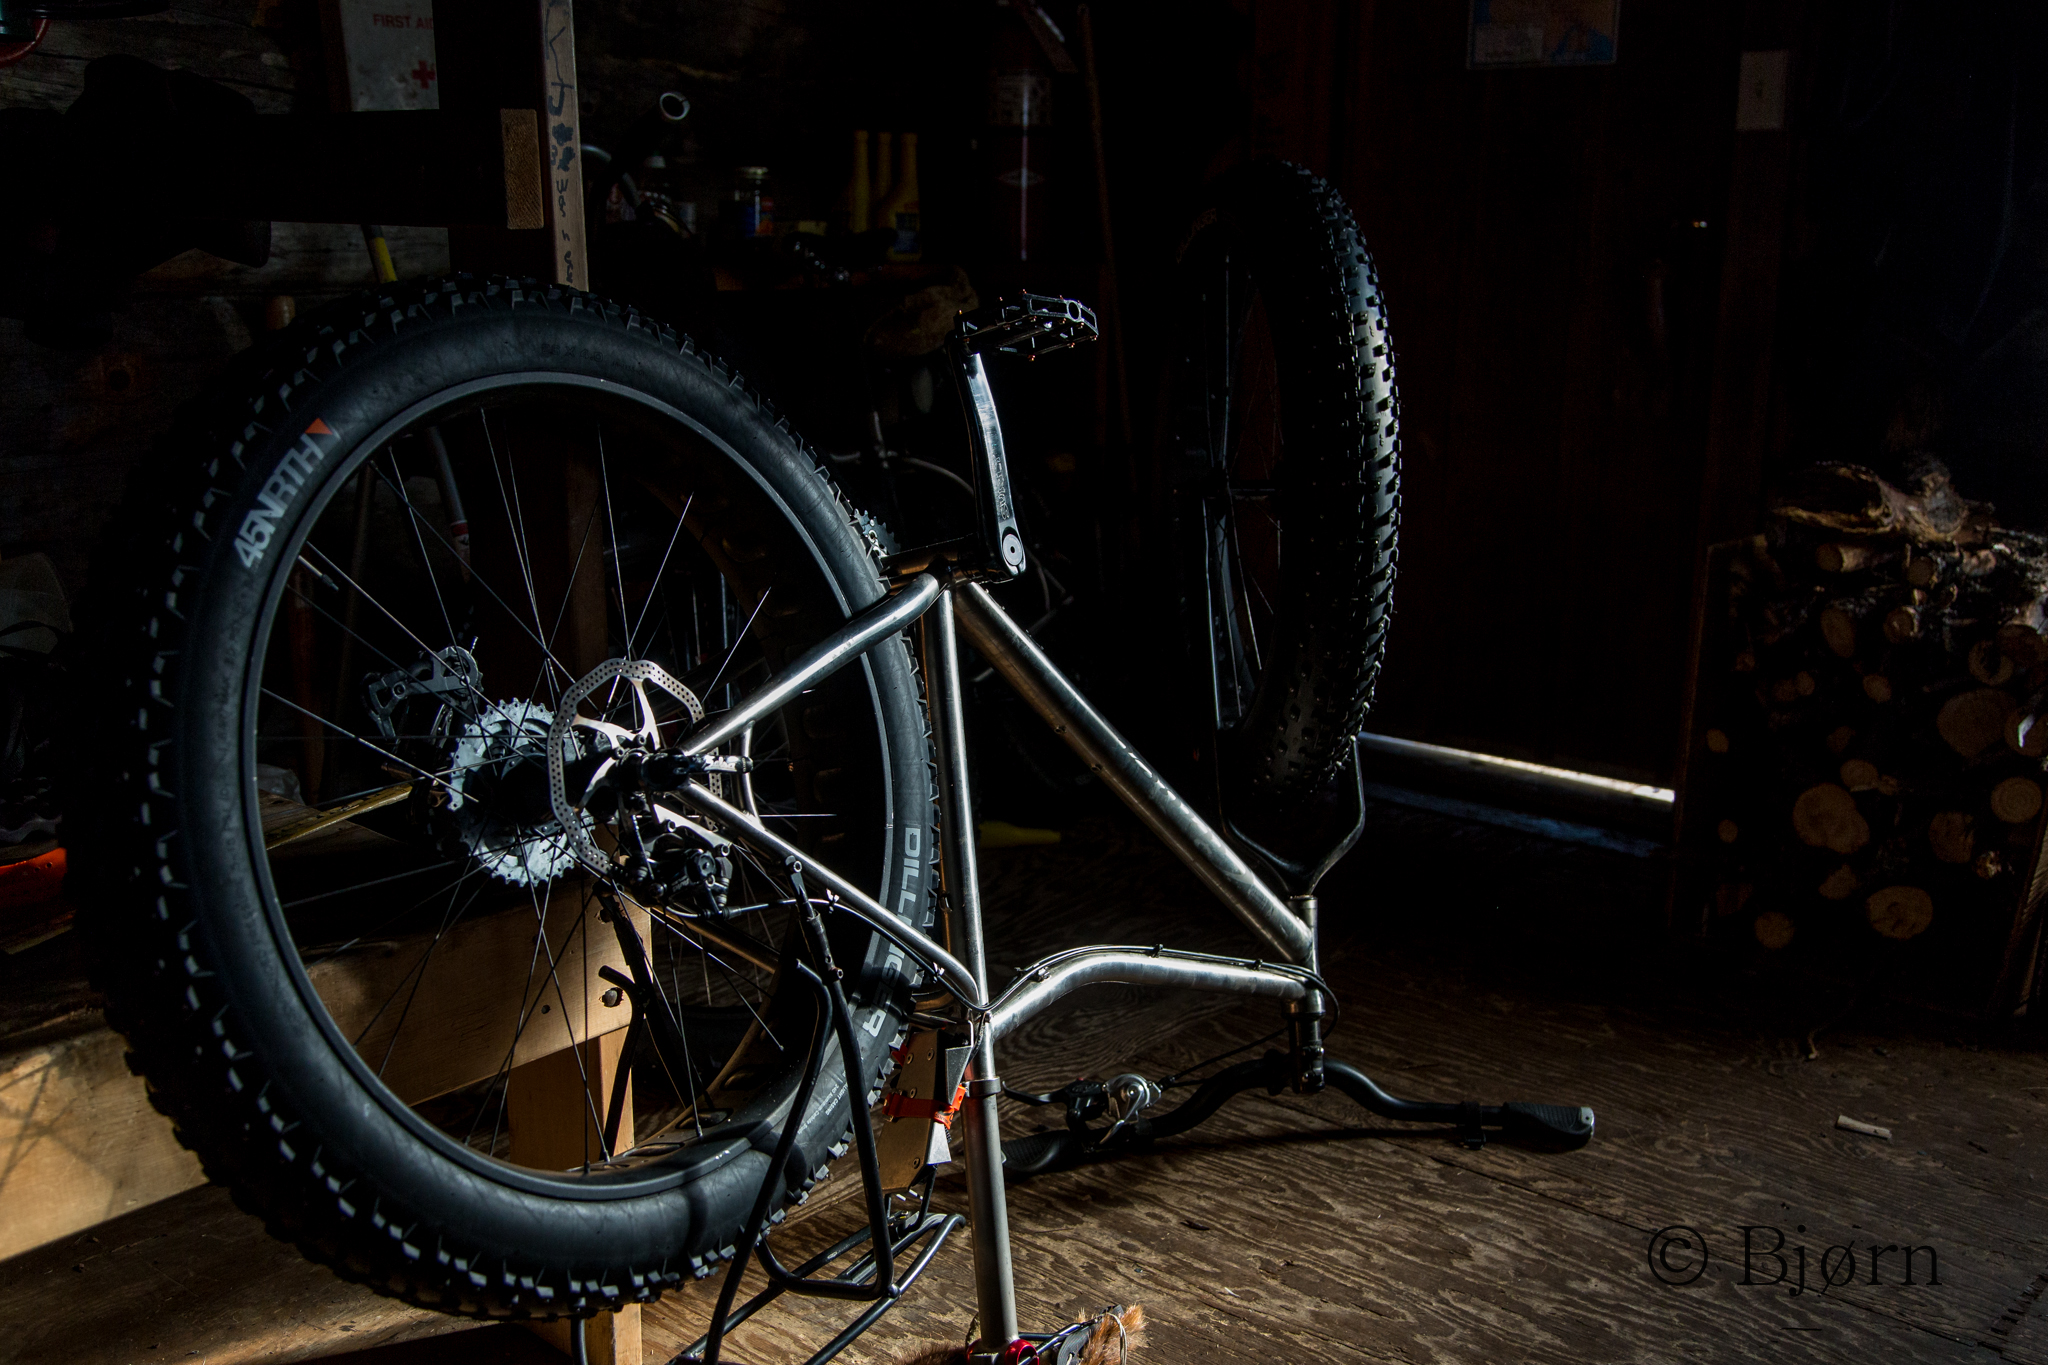
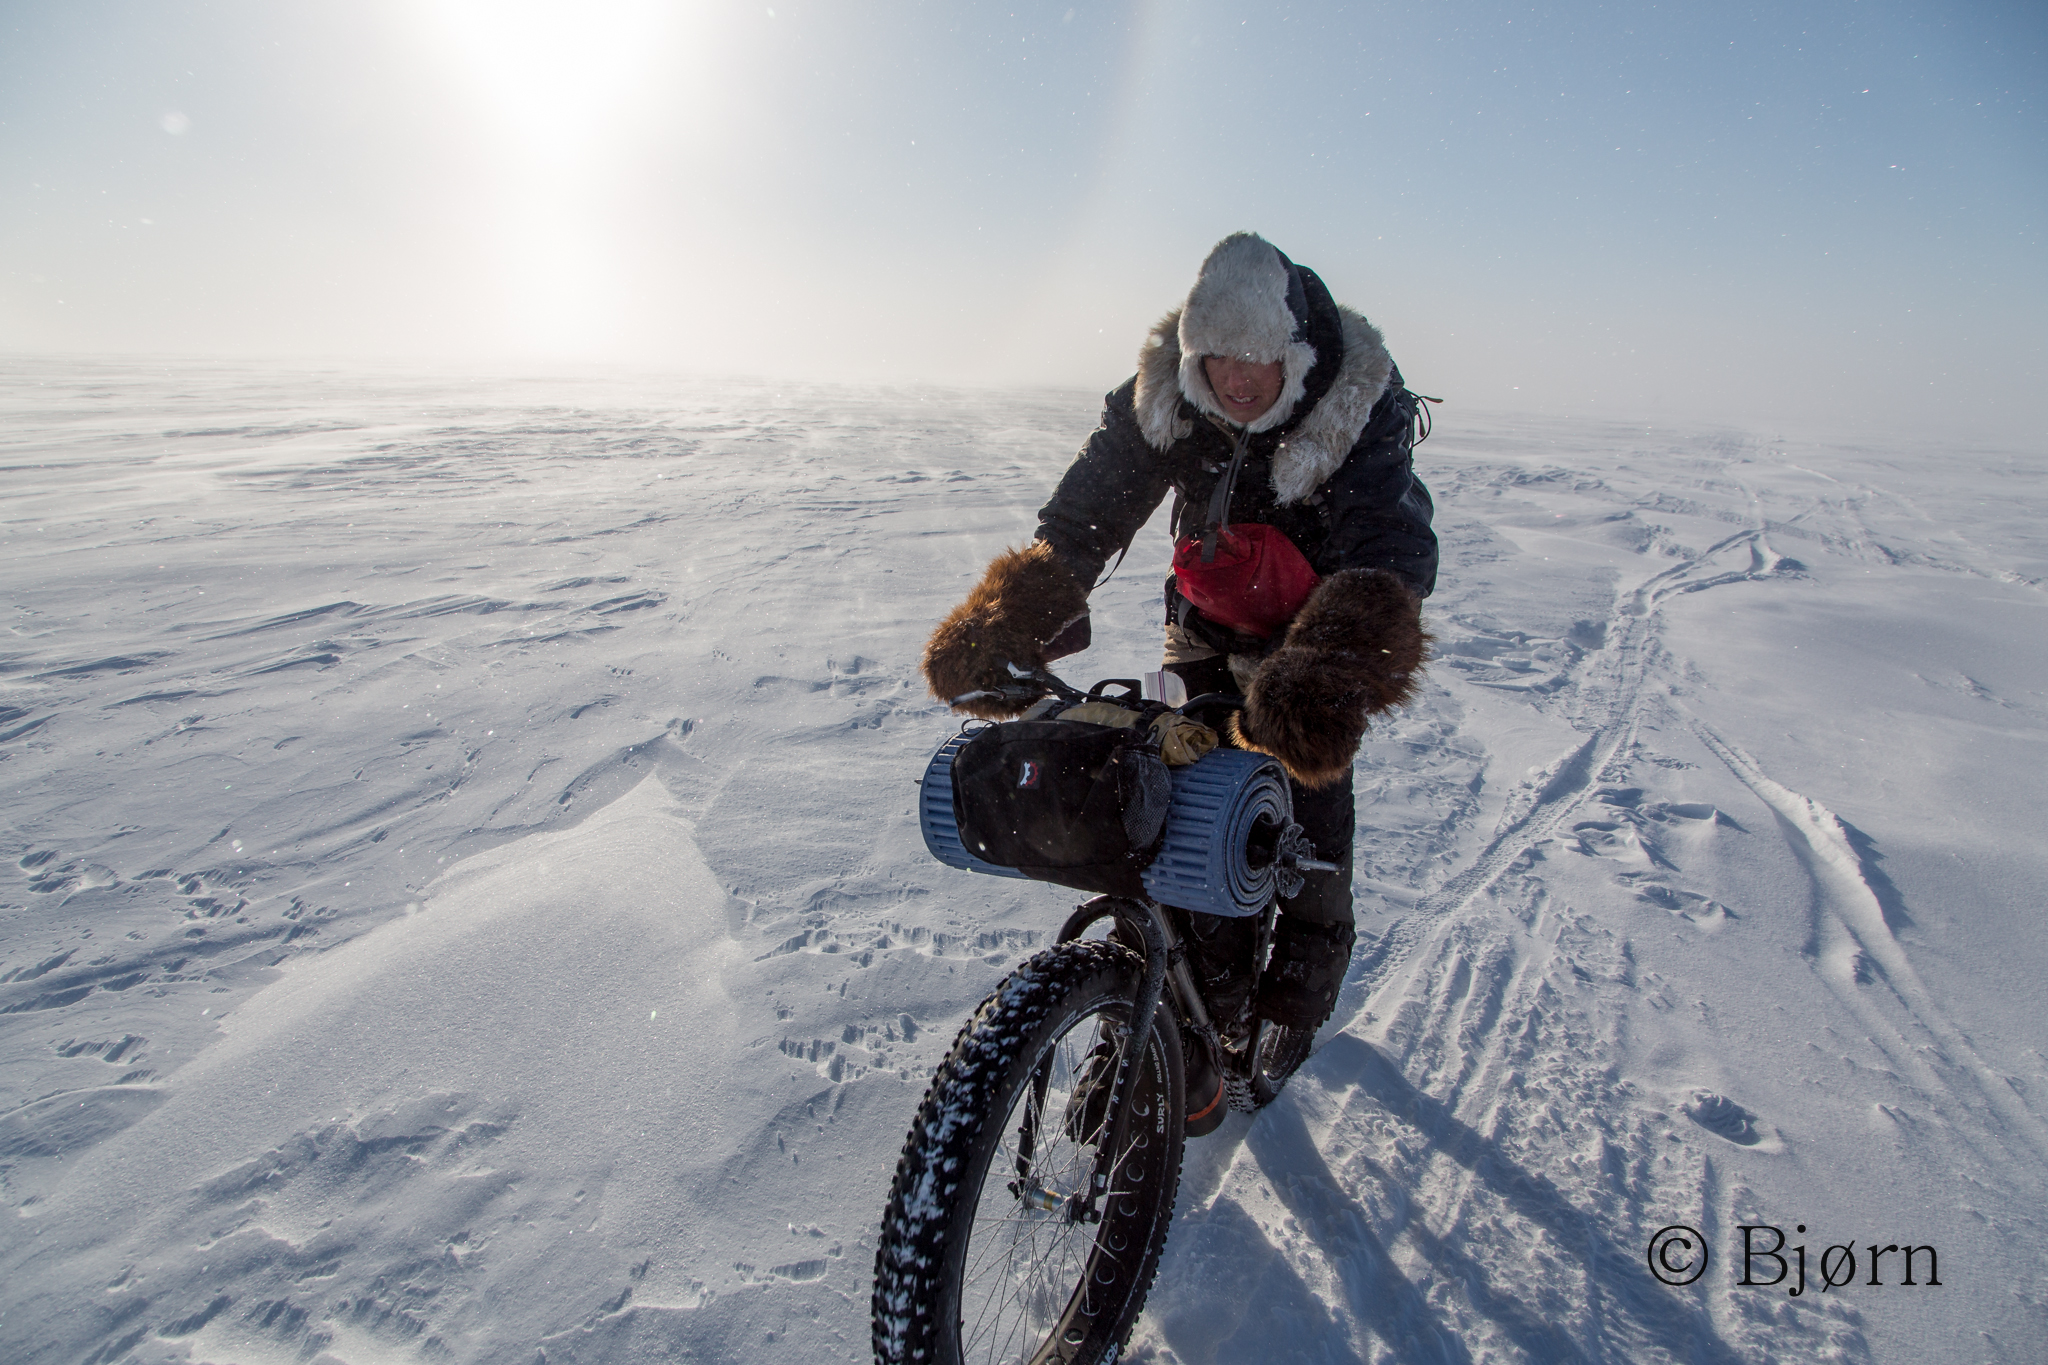
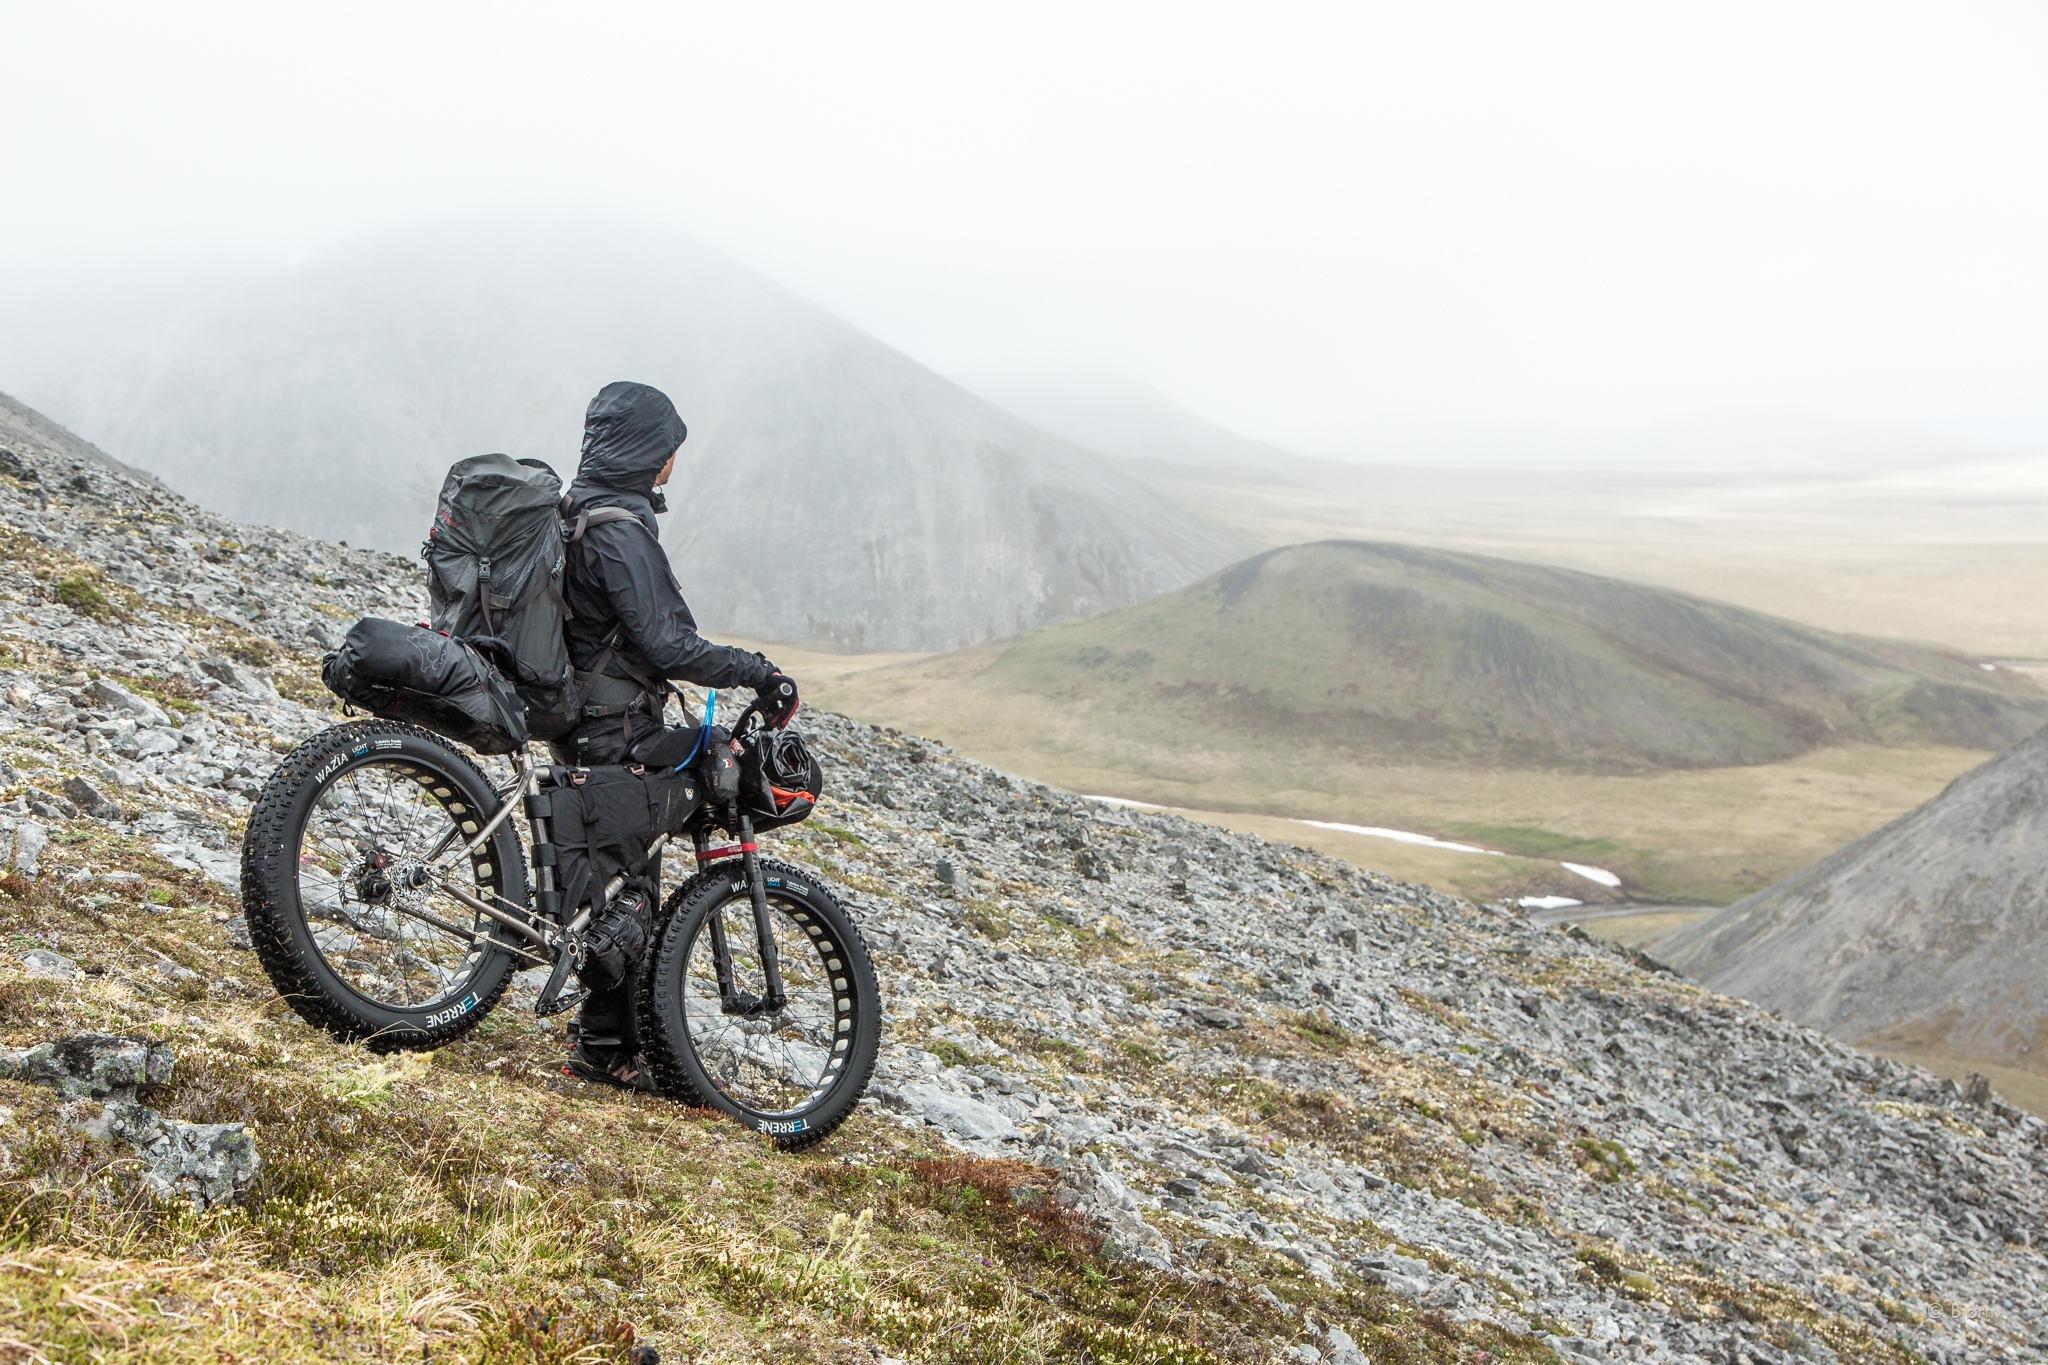
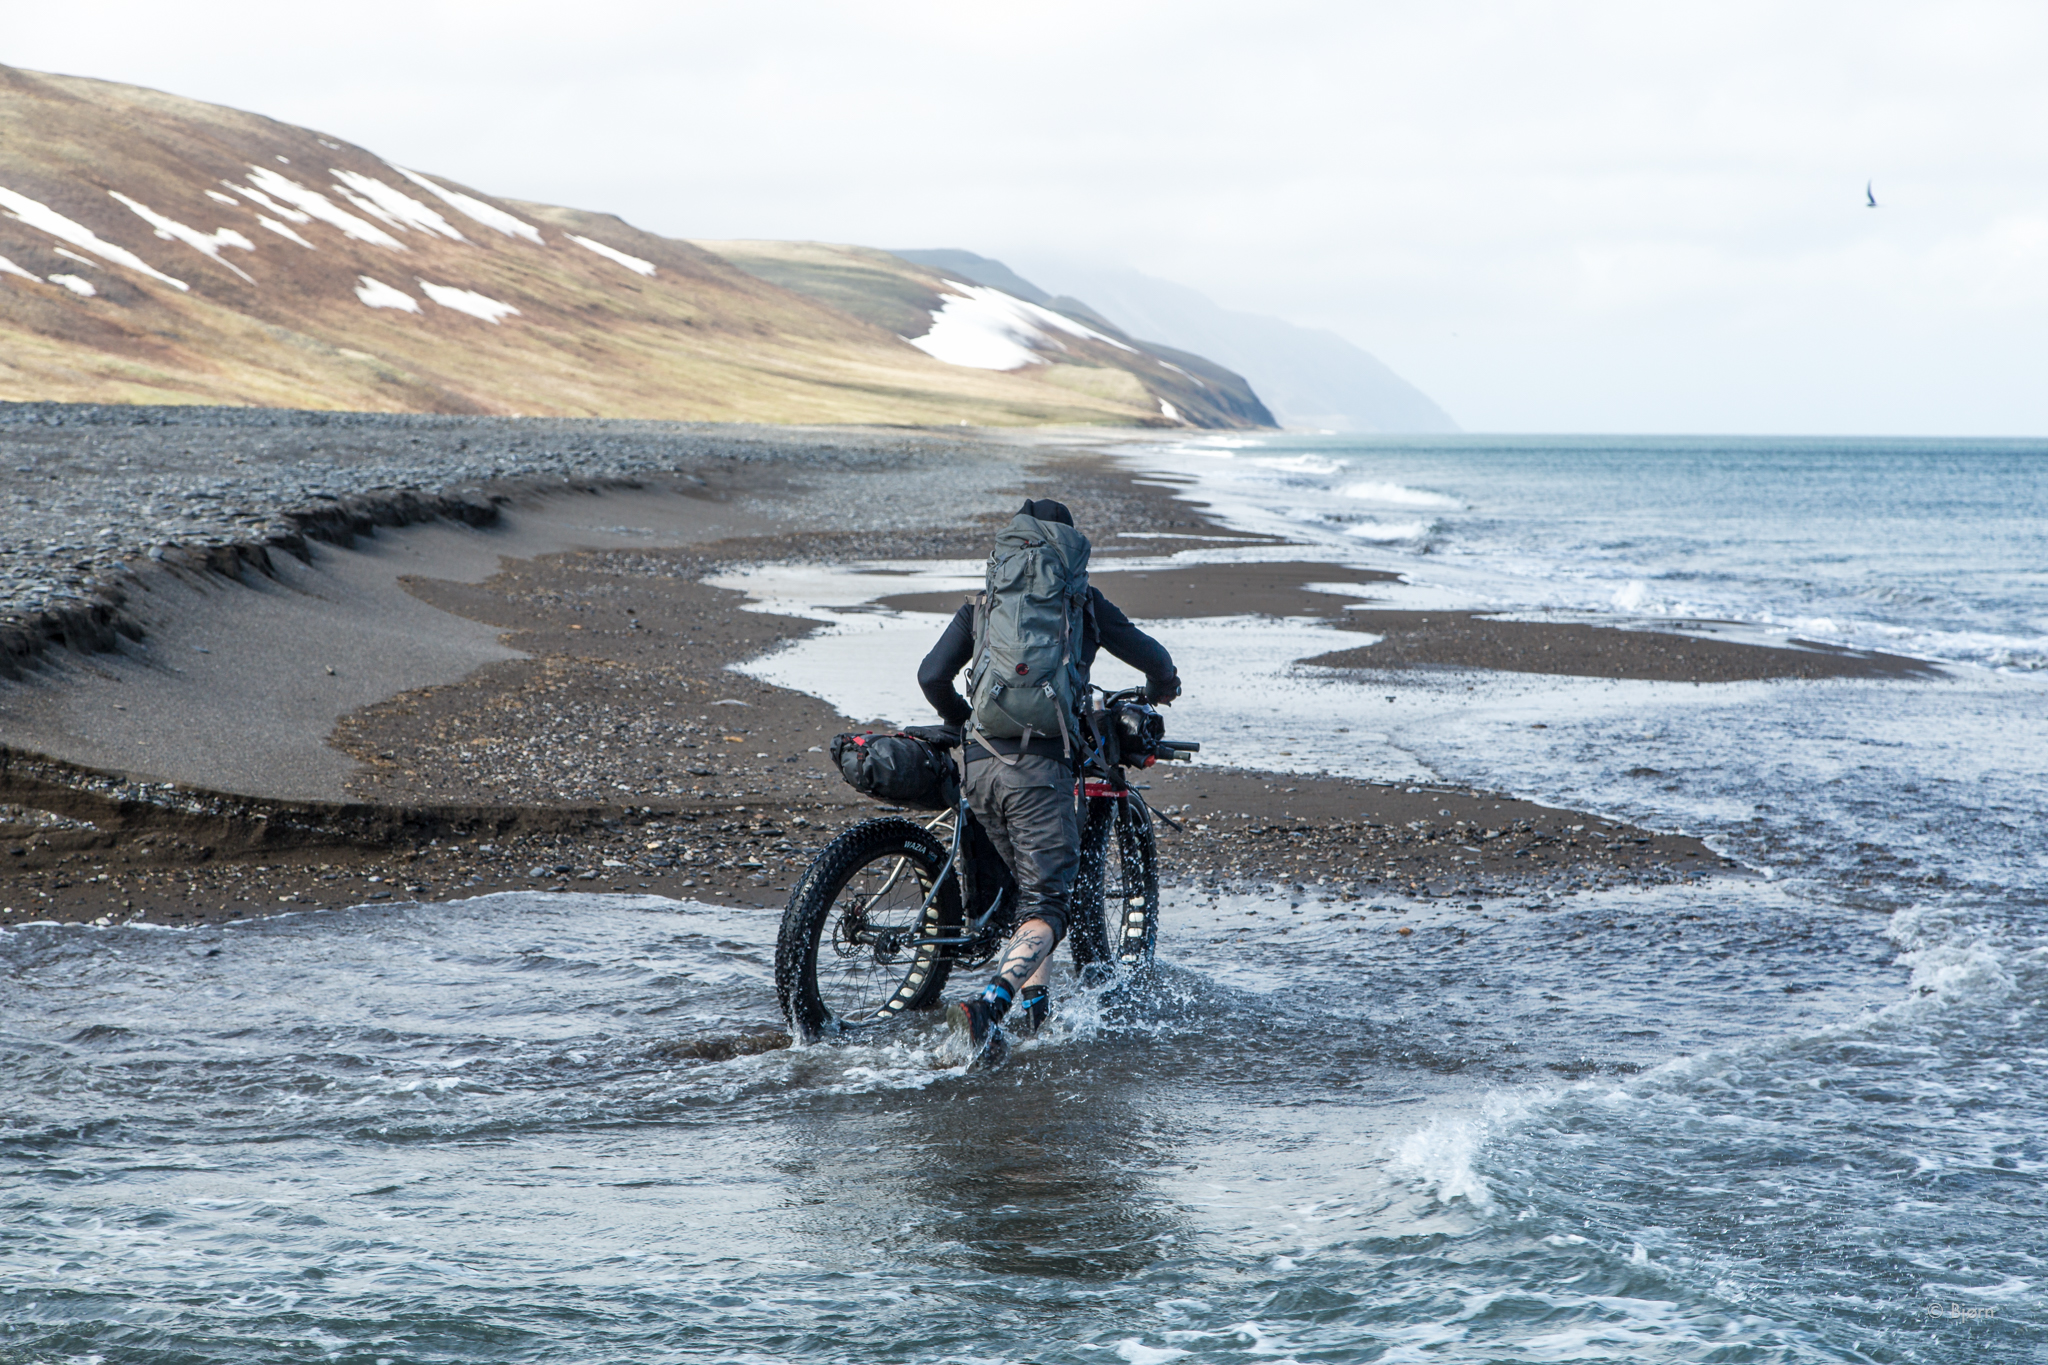
For our recent fat-bike and packraft trip through Arctic Alaska, I used a Salsa Cycles 2017 carbon fiber Mukluk – the apex of wilderness adventure cycling design. This lightweight bike is an adaptable, do anything, go anywhere machine.
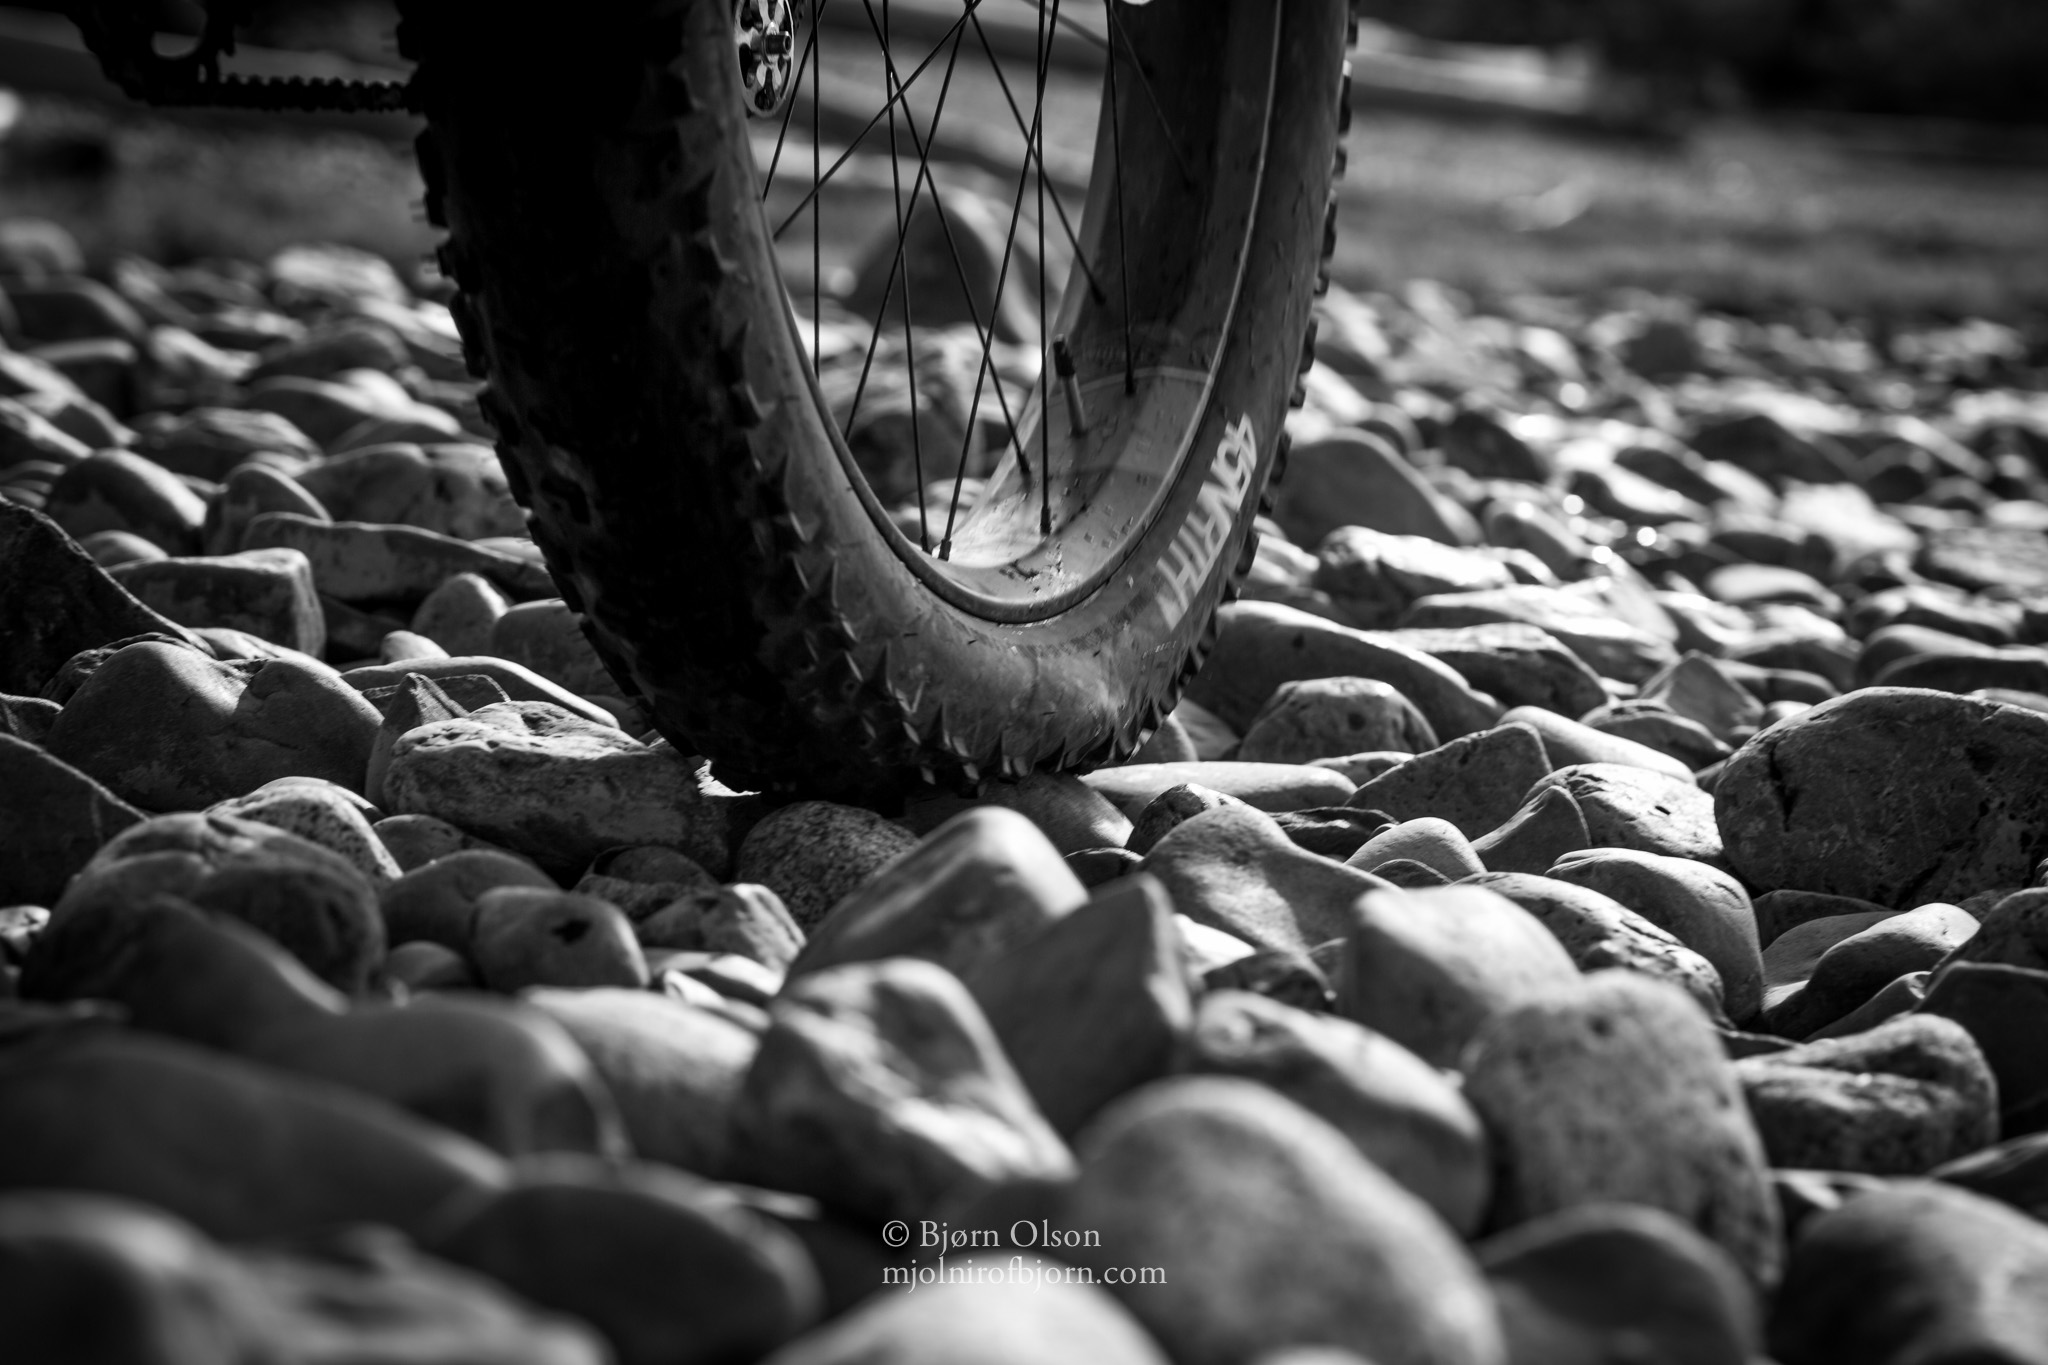
The goal of any fat-bike and packraft expedition, in my mind, is to ride as much as possible. In order to circumvent the myriad obstacles one is bound to encounter, on an untested wilderness route, a bike needs to be nimble, yet comfortable, lightweight, yet durable, and outfitted with the widest wheels and biggest tires available. The 2017 Mukluk is all this and more.
For our Arctic expedition, we stripped our bikes down to their most simple form—a derailleur-less multi-speed drivetrain with one brake.
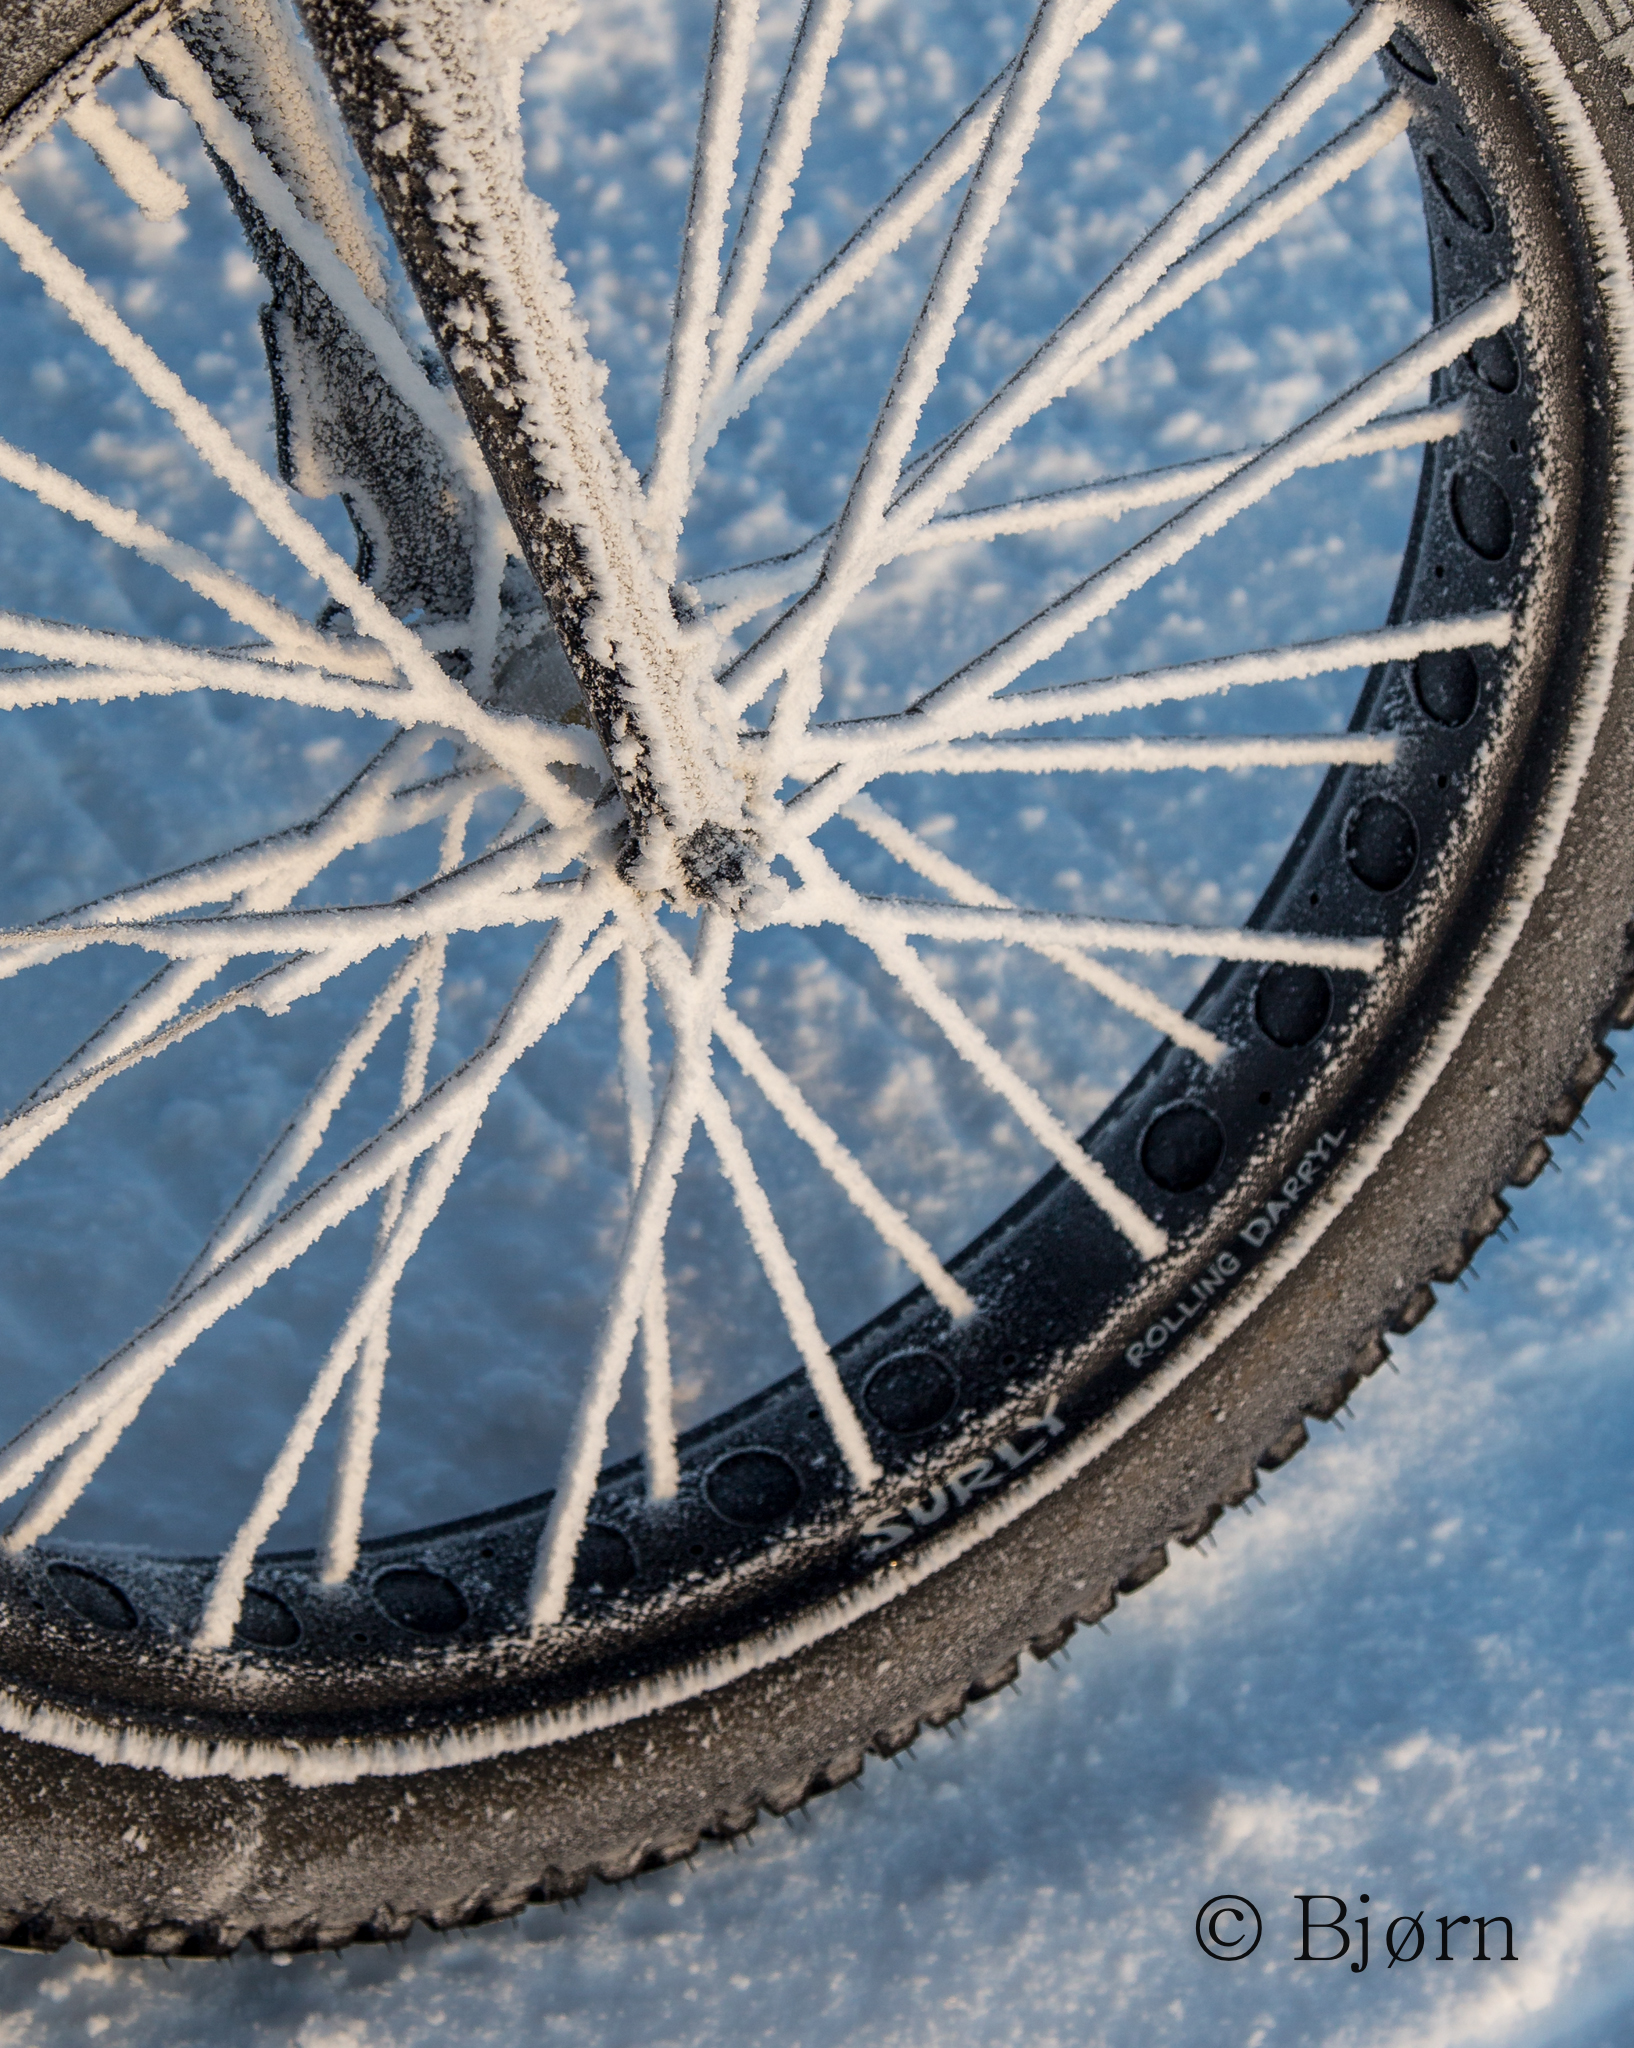
The drivetrain on my Mukluk consisted of two cogs and two stainless steel rings on Surly OD cranks—30 tooth and 22 tooth. The OD crank is an ideal choice for trips like this as it is easy to pull in the field, the dust cap does a decent job of keeping out dirt and water, and re-packing the bottom bracket bearings are a cinch. I used a Salsa freehub and ran 26 tooth and 22 tooth stainless steel cogs
On a Sram eight-speed chain I installed two sets of master-links. I could quickly add or remove one set and three links that separated the master-links and shorten or lengthen the chain to fit either the big or small ring, as needed. The Alternator dropout allowed me to use either cog when I was in one or the other ring. I used all four of these gear options on this trip. If I were to do this trip again, I wouldn’t change a thing in regards to the drive train.
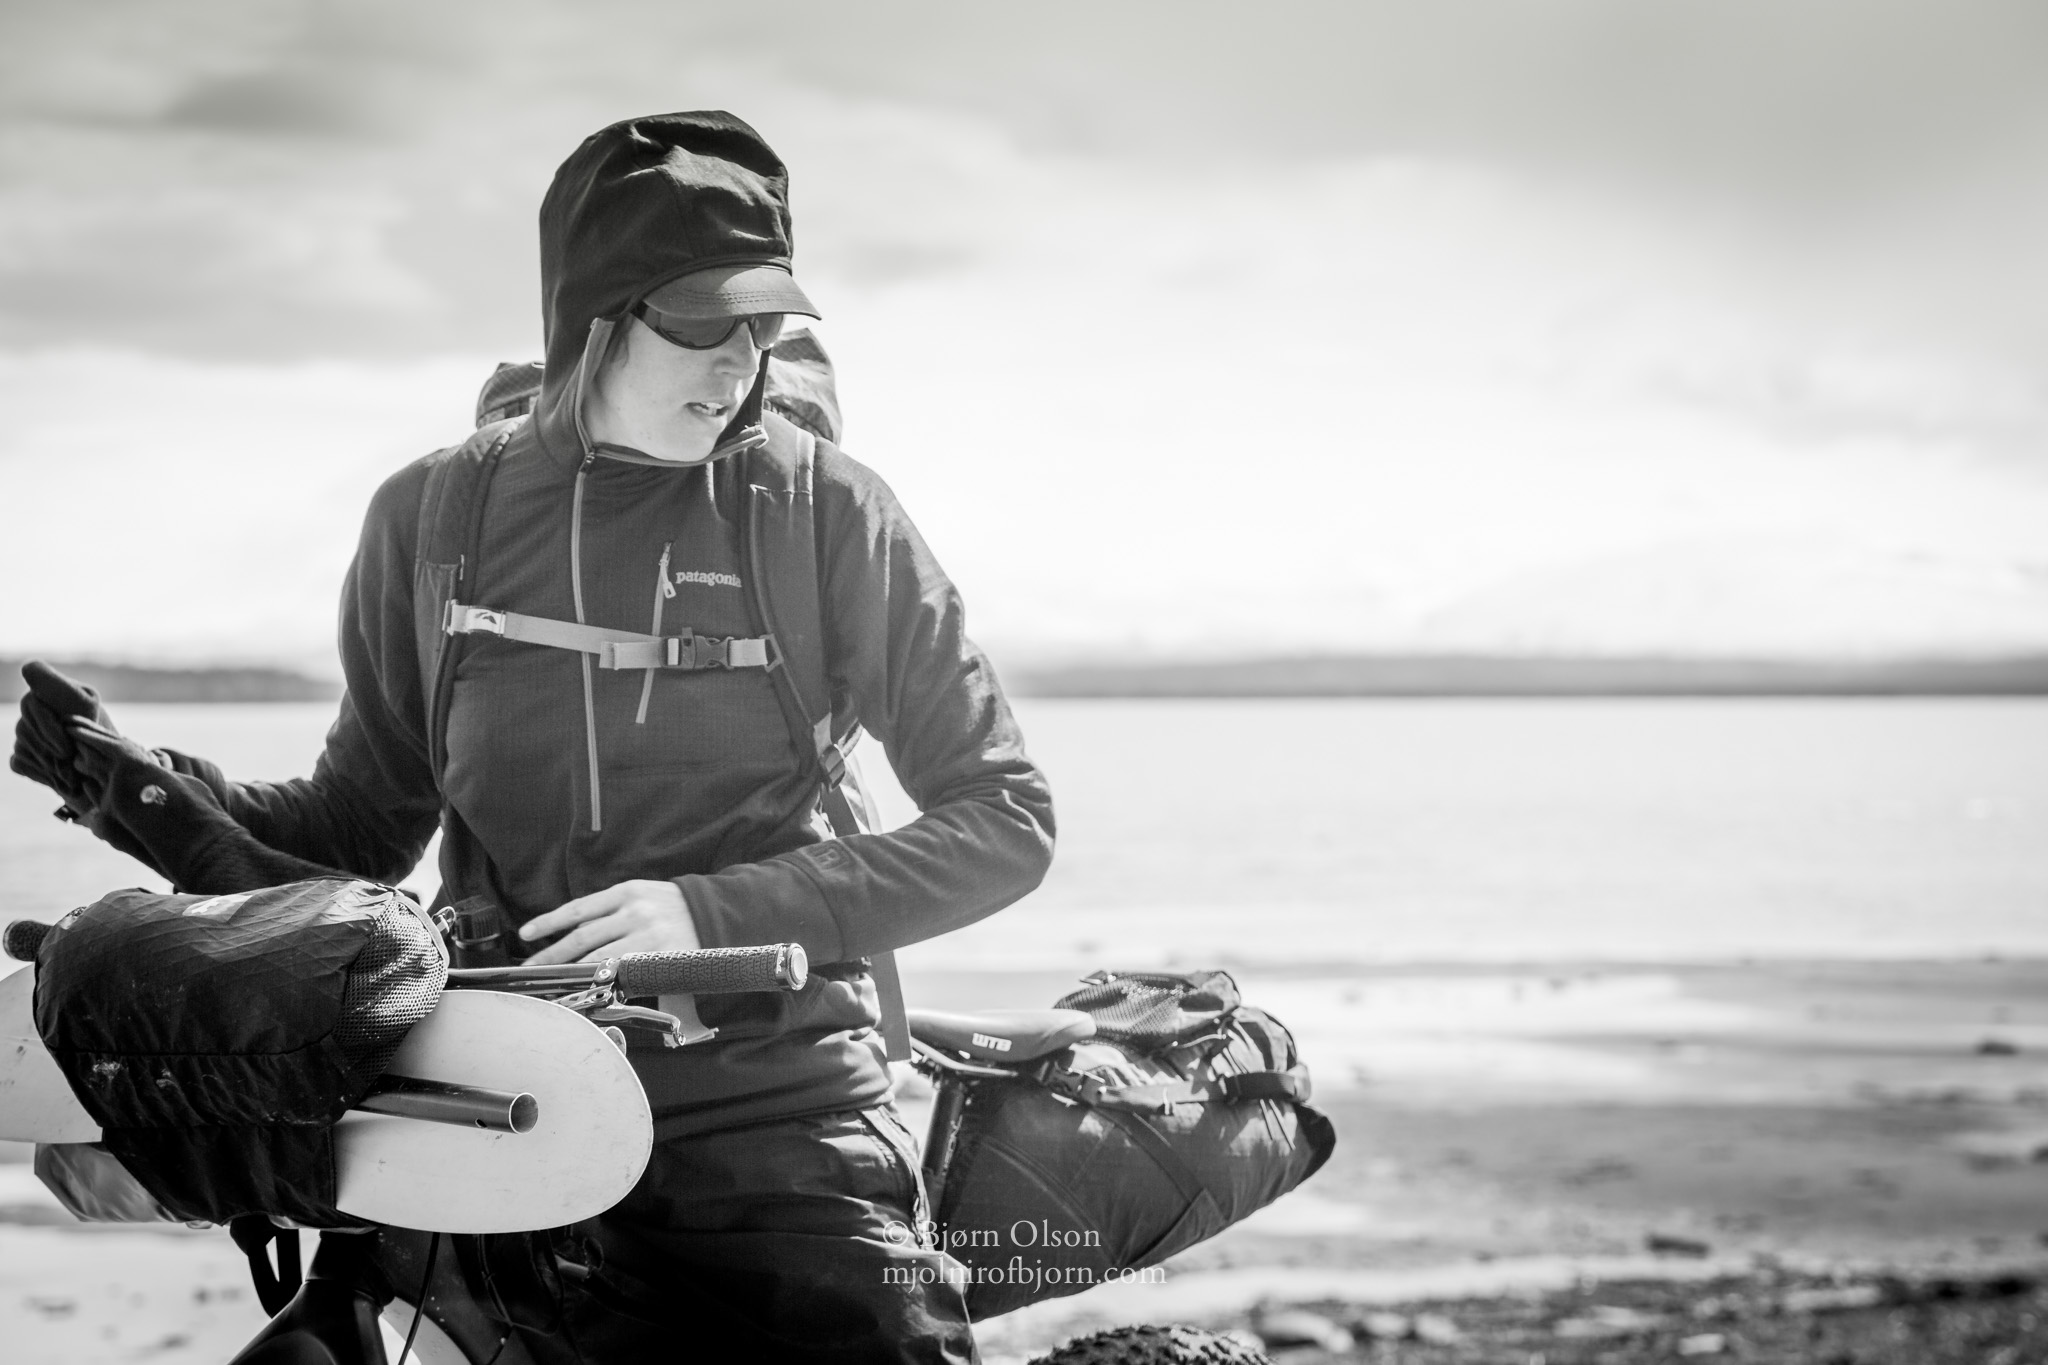
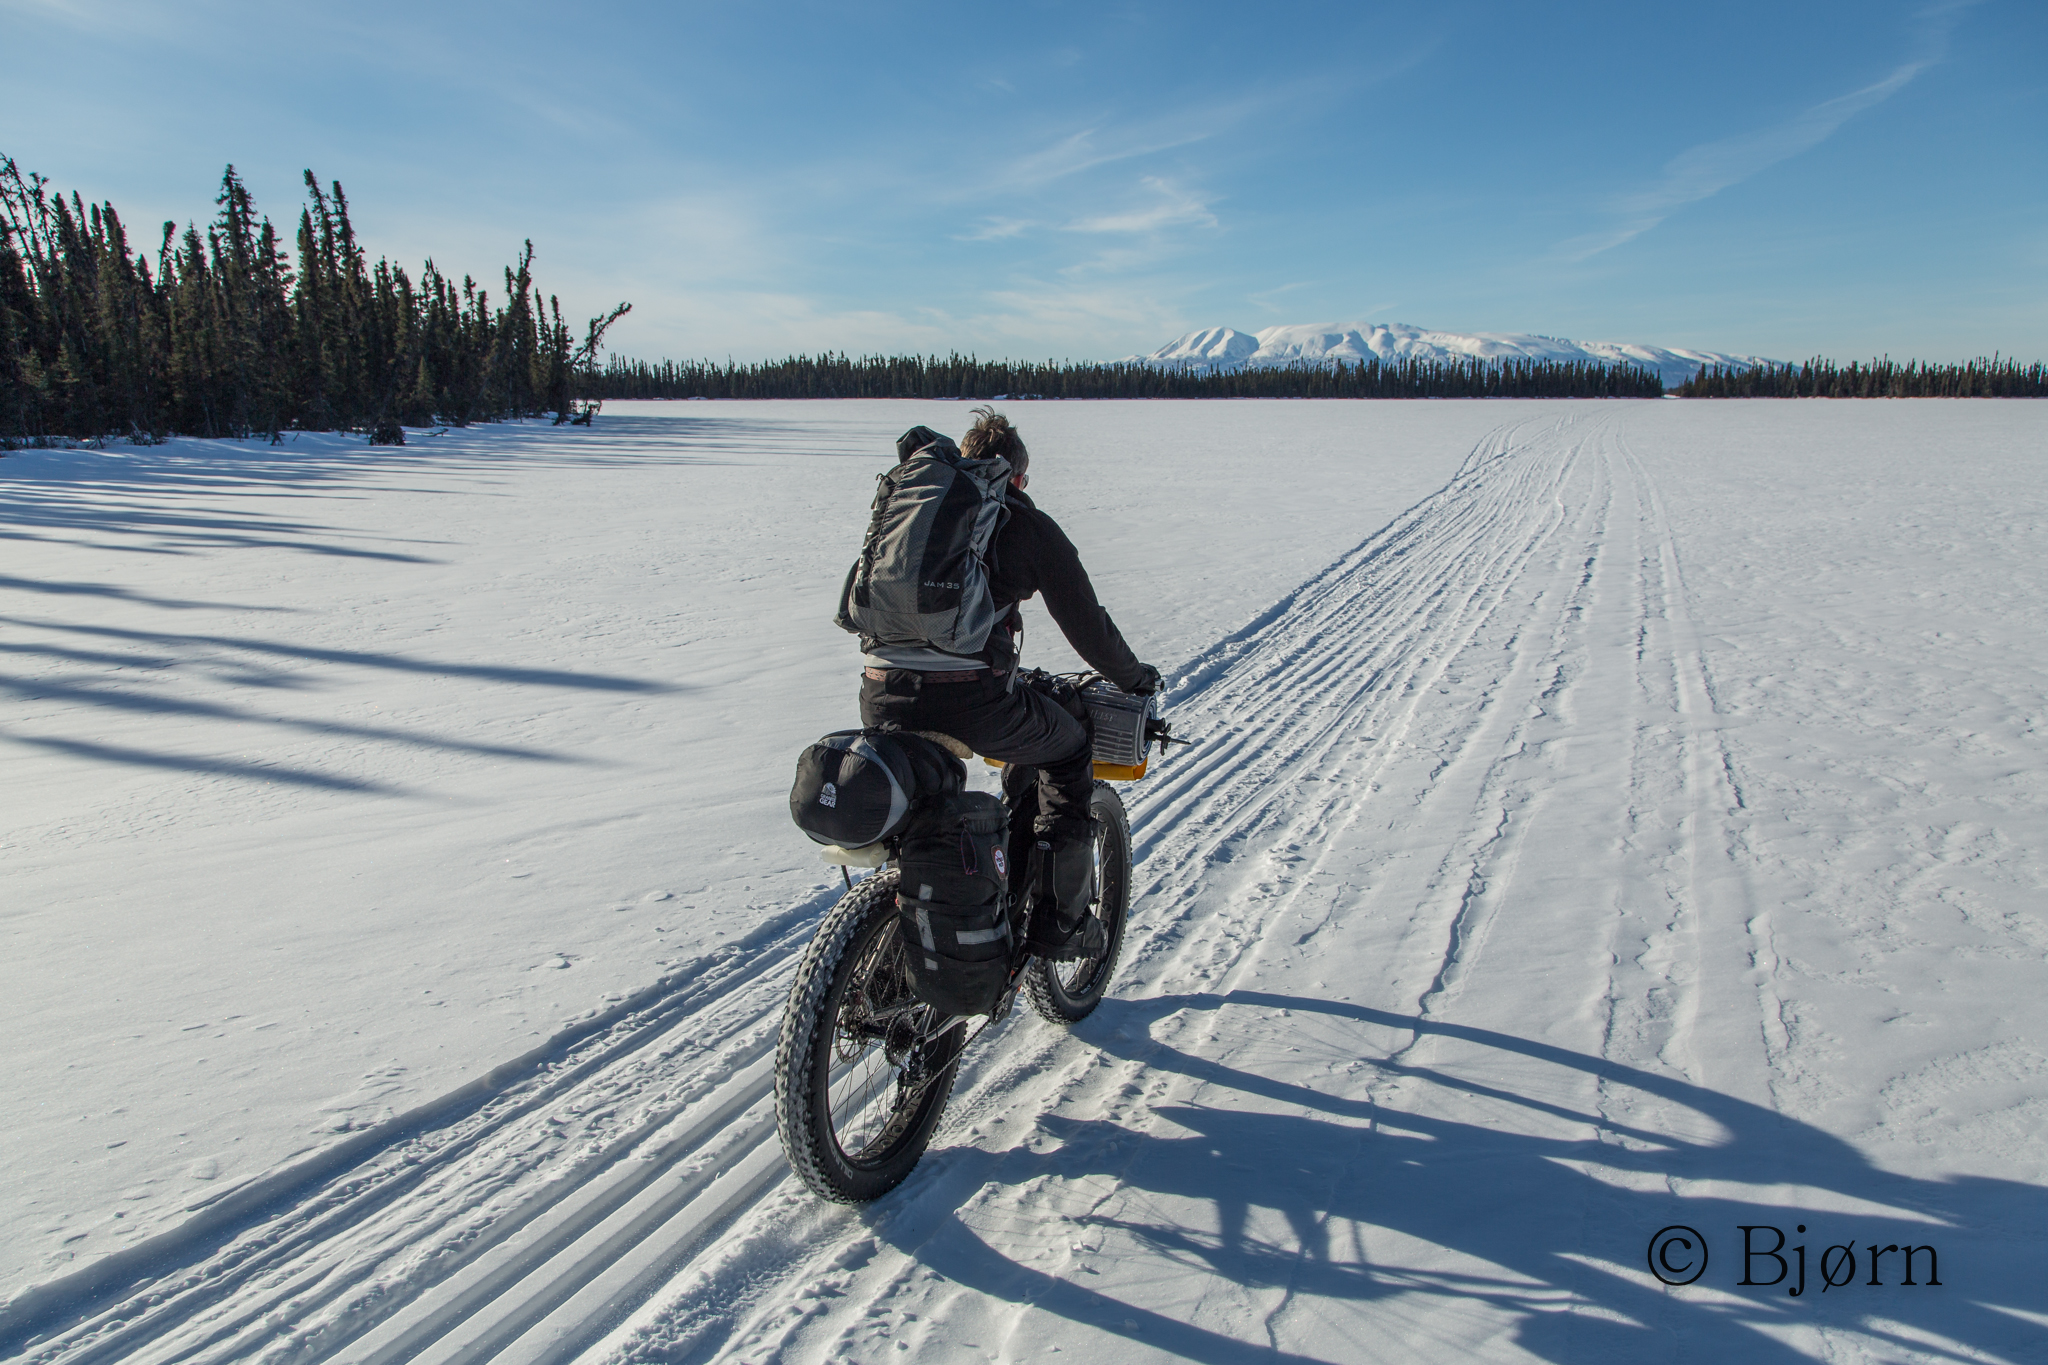
The 2017 Mukluk is well suited for expeditions and carrying a load. The front fork has three mounting bolts per leg, the down tube is flat on the bottom and therefore an ideal place to strap a long skinny dry bag, it supports a rear rack, and the front triangle, despite having a swale for stand over clearance, has plenty of space for a frame bag due to the steep angle of the down tube.
Our longest stretch between food resupply on this trip was 12-days. When fully loaded, I used two lightweight dry bags on my fork legs and one long, skinny dry bag on the bottom of my down tube to carry food. Daily snacks were carried in my handlebar-mounted feed-bags and the remainder of my food went into my home-made frame bag.
I also used a Salsa Alternator rack, which I typically used to carry one medium size dry bag. Within this bag were my sleeping quilt, sleeping pad, shelter, and clothing. The rack was more useful than a seat-pack because we often had to carry water for more than one day at a time. With the rack, I could strap 90-ounce dromedaries onto the side of the rack as needed.
Our usual strategy, on summer fat-bike expeditions, is to carry a big, lightweight backpack, which we can put all gear and food inside when we are forced to push/haul the bikes long distances. Due to the mostly rideable terrain on this trip, our backpacks were nearly empty and the food and gear fit, with room to spare, on my Mukluk.
Packraft:
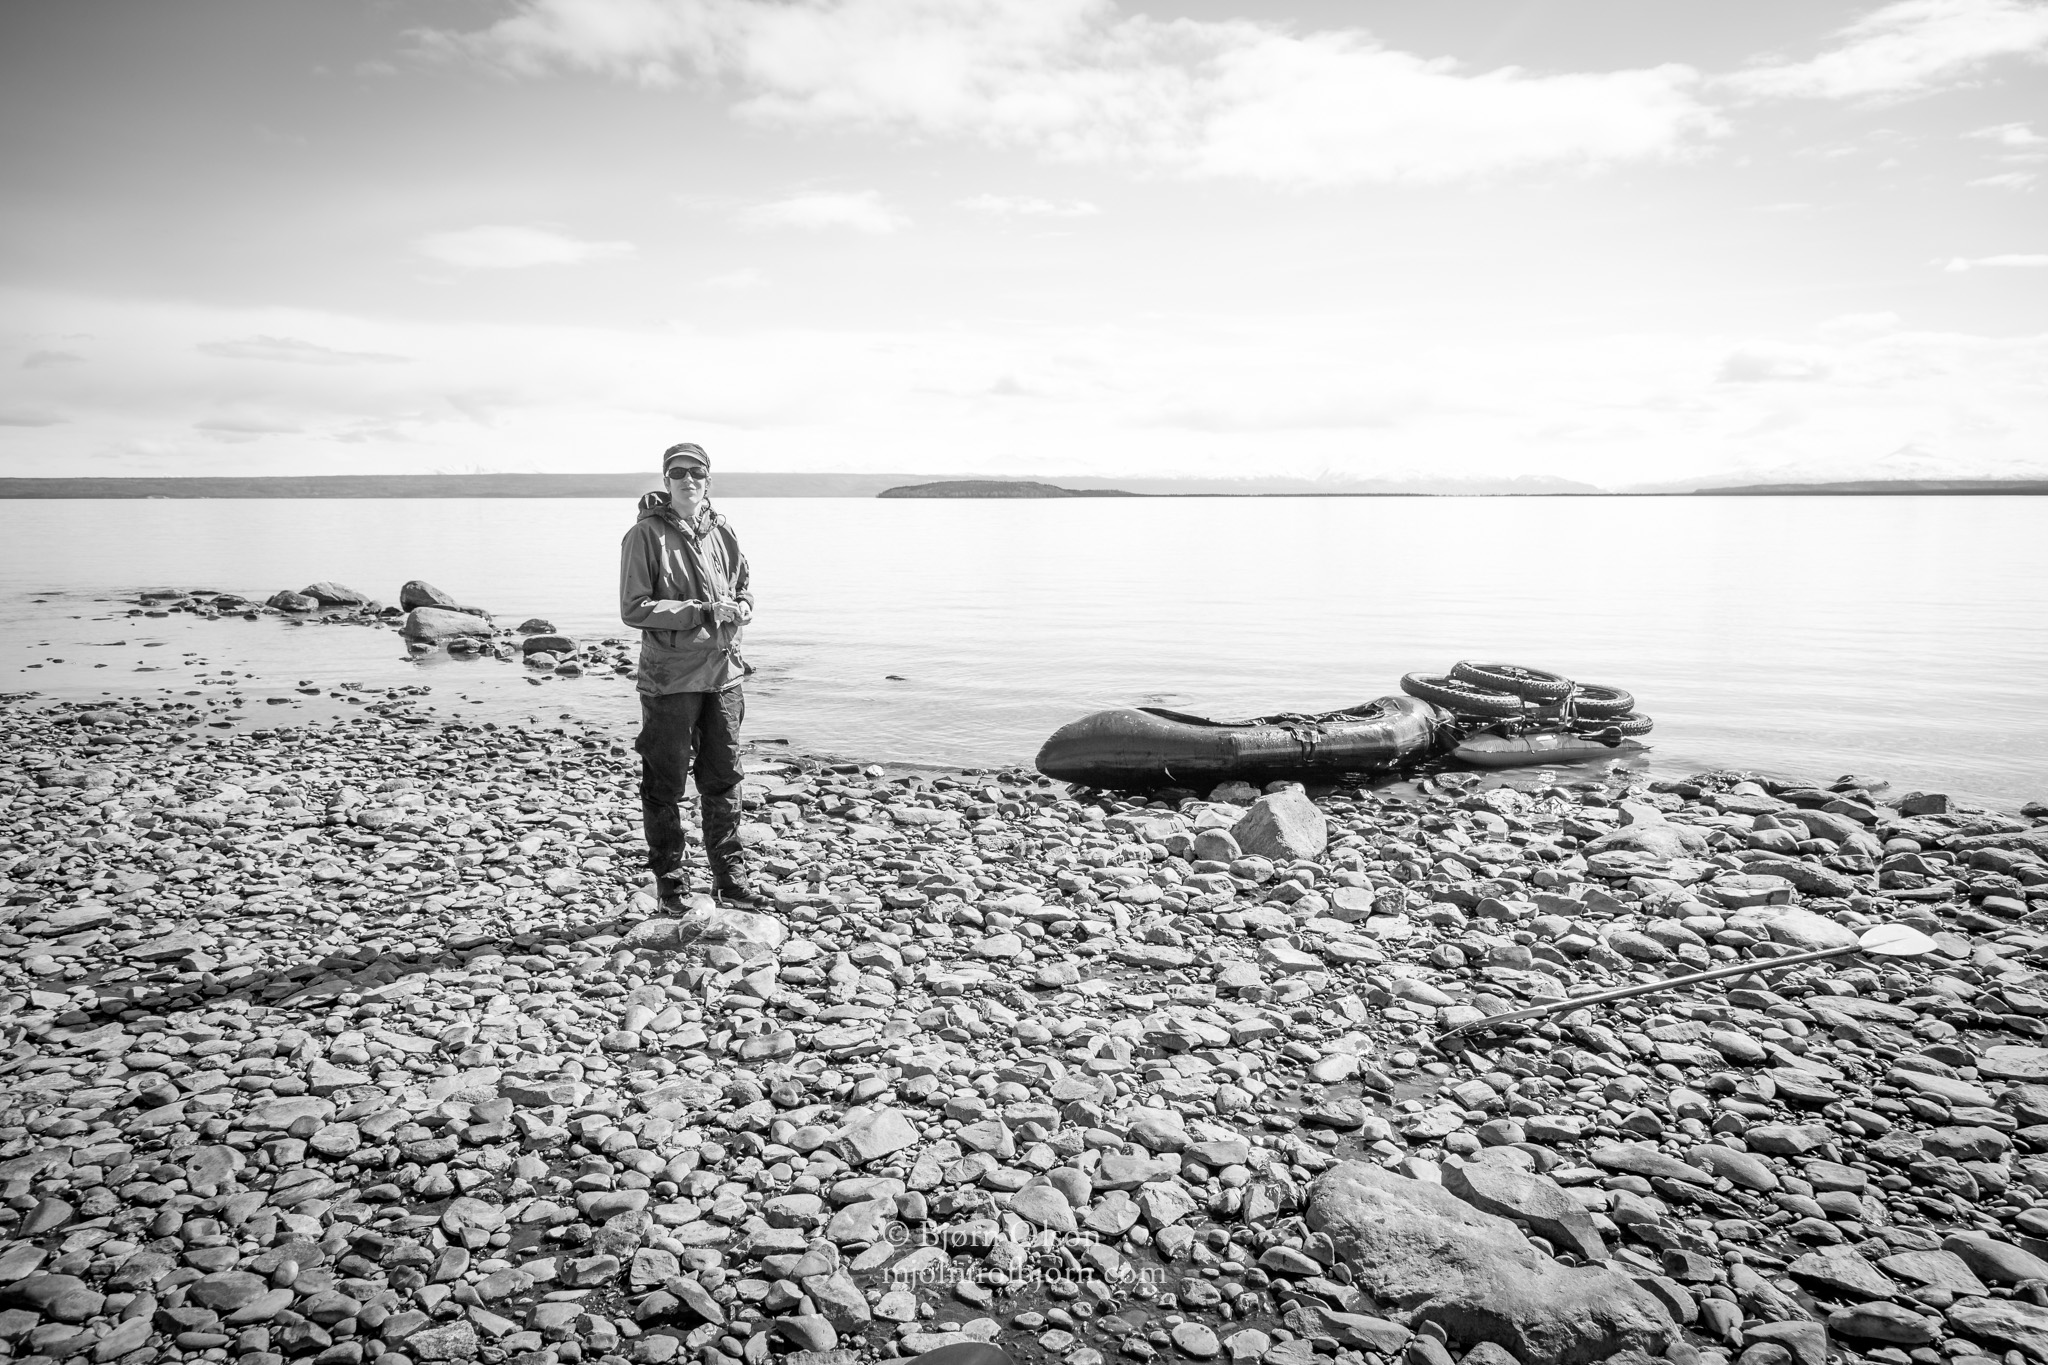
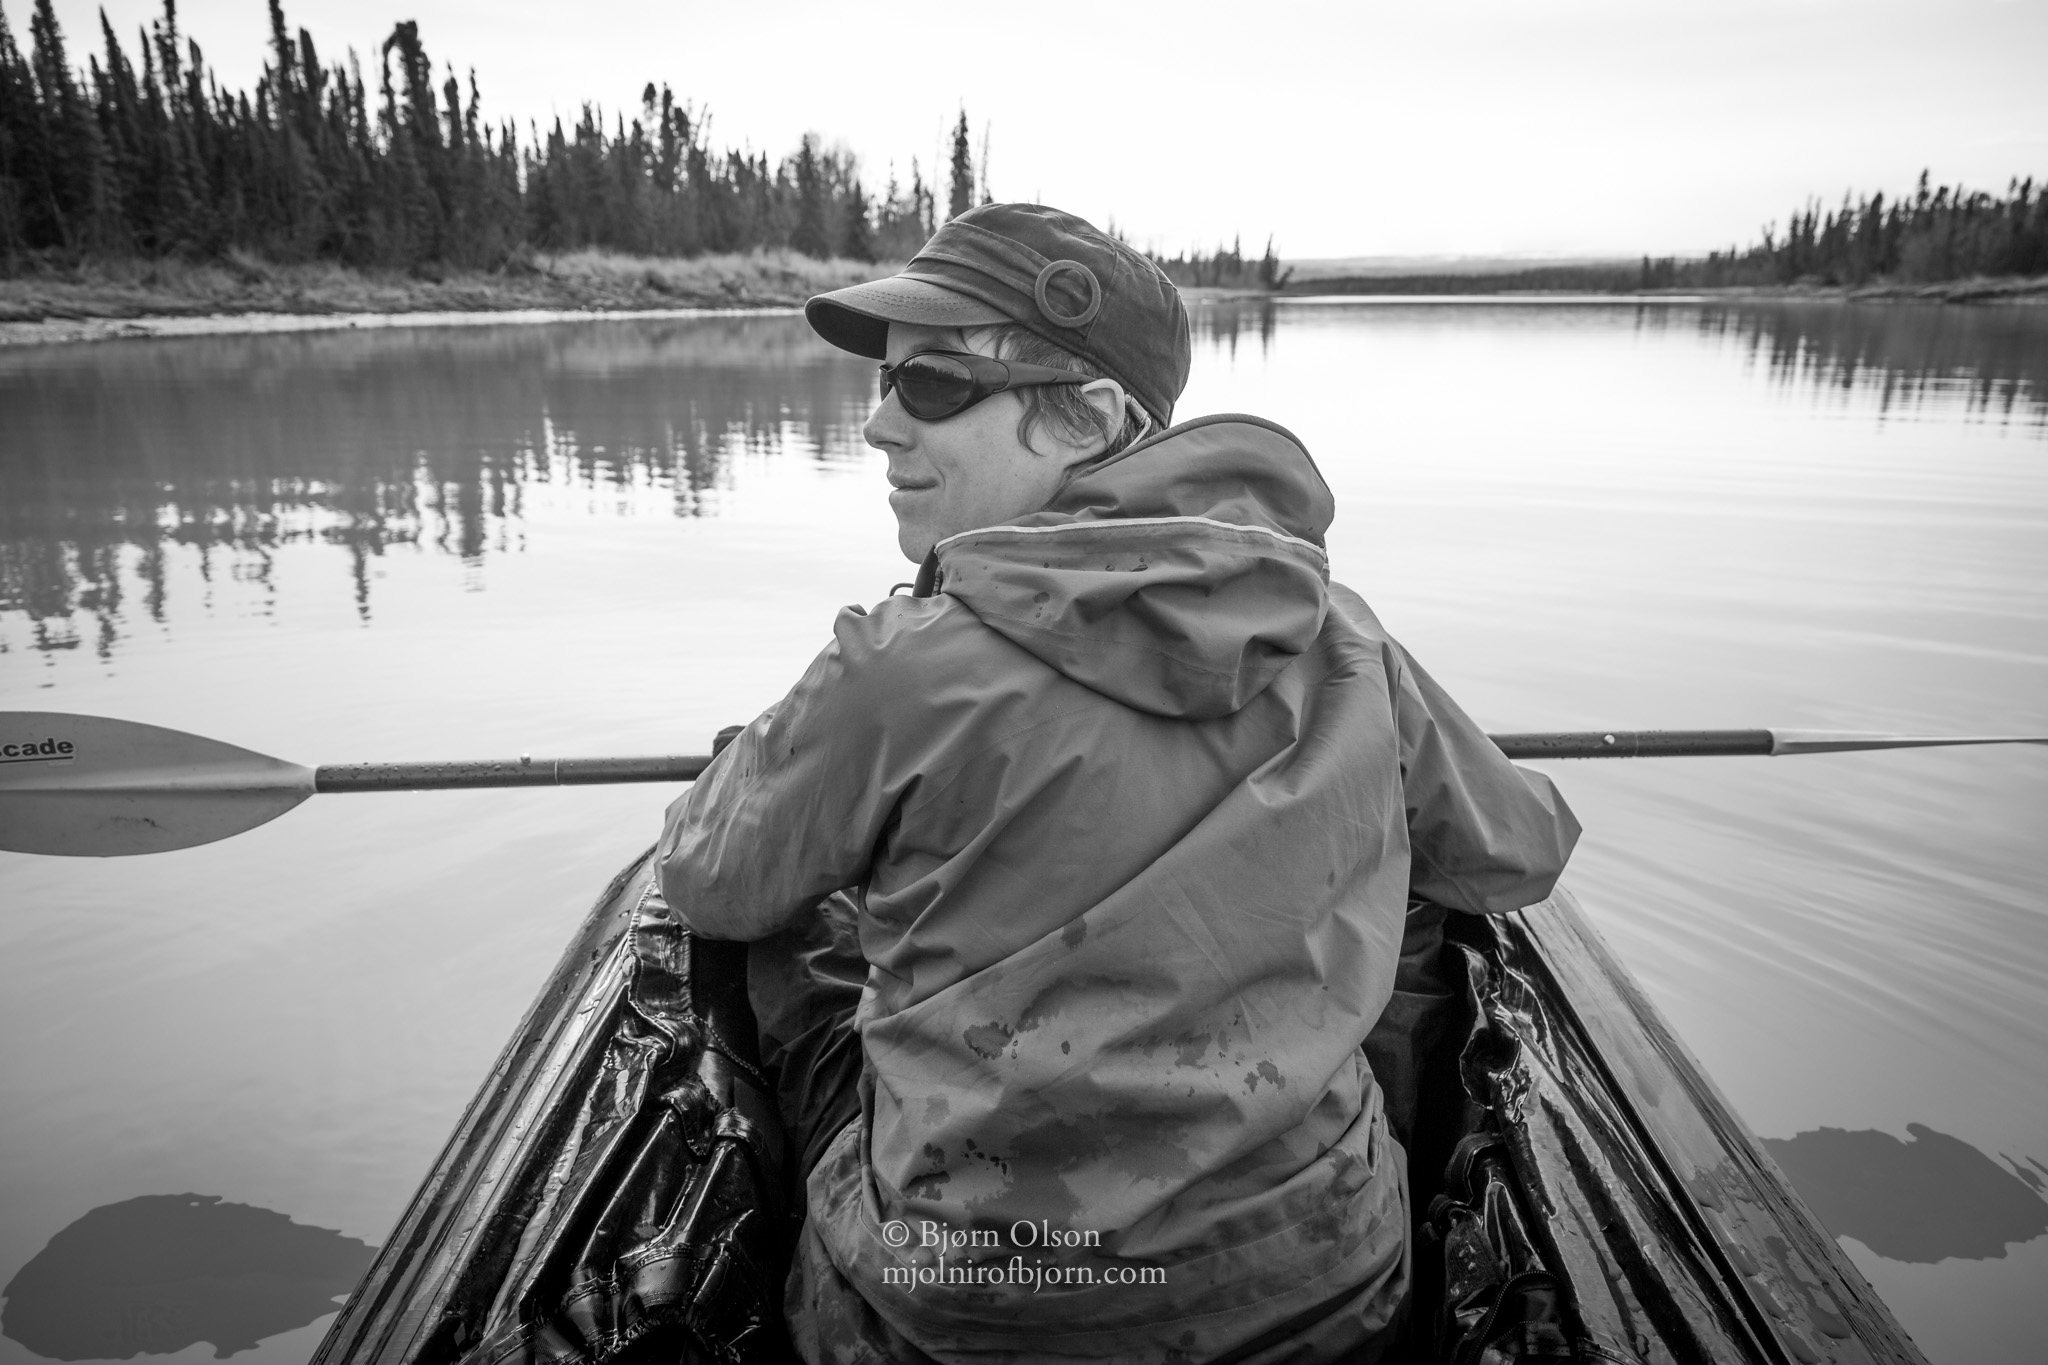
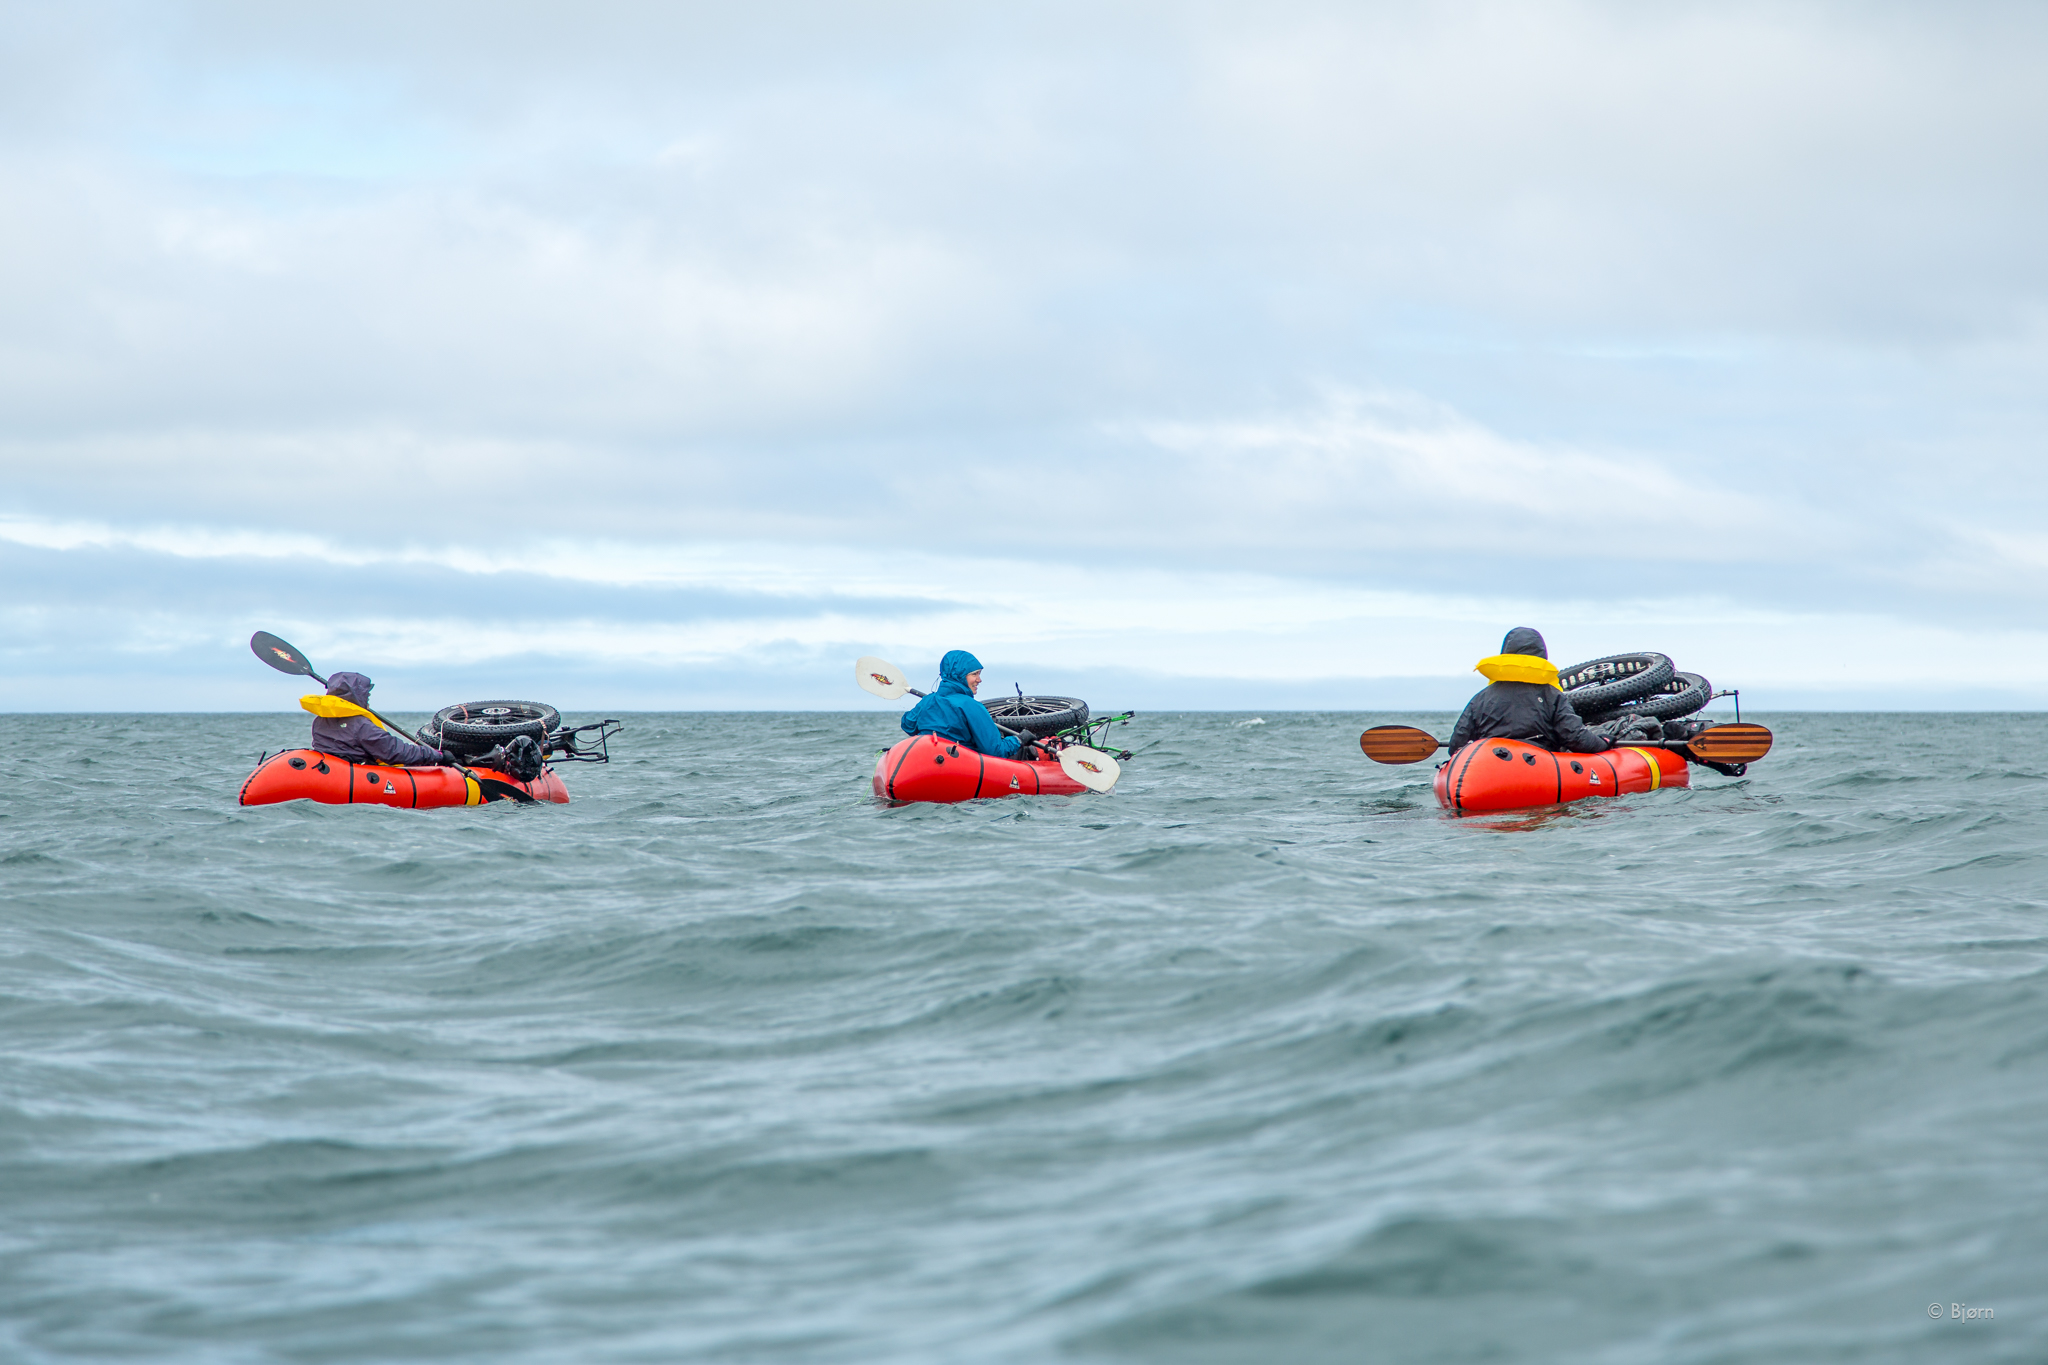
Much like the fat-bike, packrafts are currently enjoying a never-ceasing evolution of improvement. Alpacka Rafts have been at the forefront of design and innovation for many years. Alpacka sent us out on this trip with two prototype rafts—Fjord Explorers with a proprietary lightweight fabric, typically used for the featherweight Scout series rafts.
On numerous occasions, I have made the mistake of sacrificing durability for lightweight equipment. On those trips, I end up wasting time in the field on repairs. One of the major debates we are often concerned with before a long trip is where to shave weight and where not to.
Although the fabric on these rafts is less durable than the standard Alpacka raft fabric it more than stood up to the rigors of this expedition. We were, however, cautious with the boats, which is good practice with packrafts regardless.
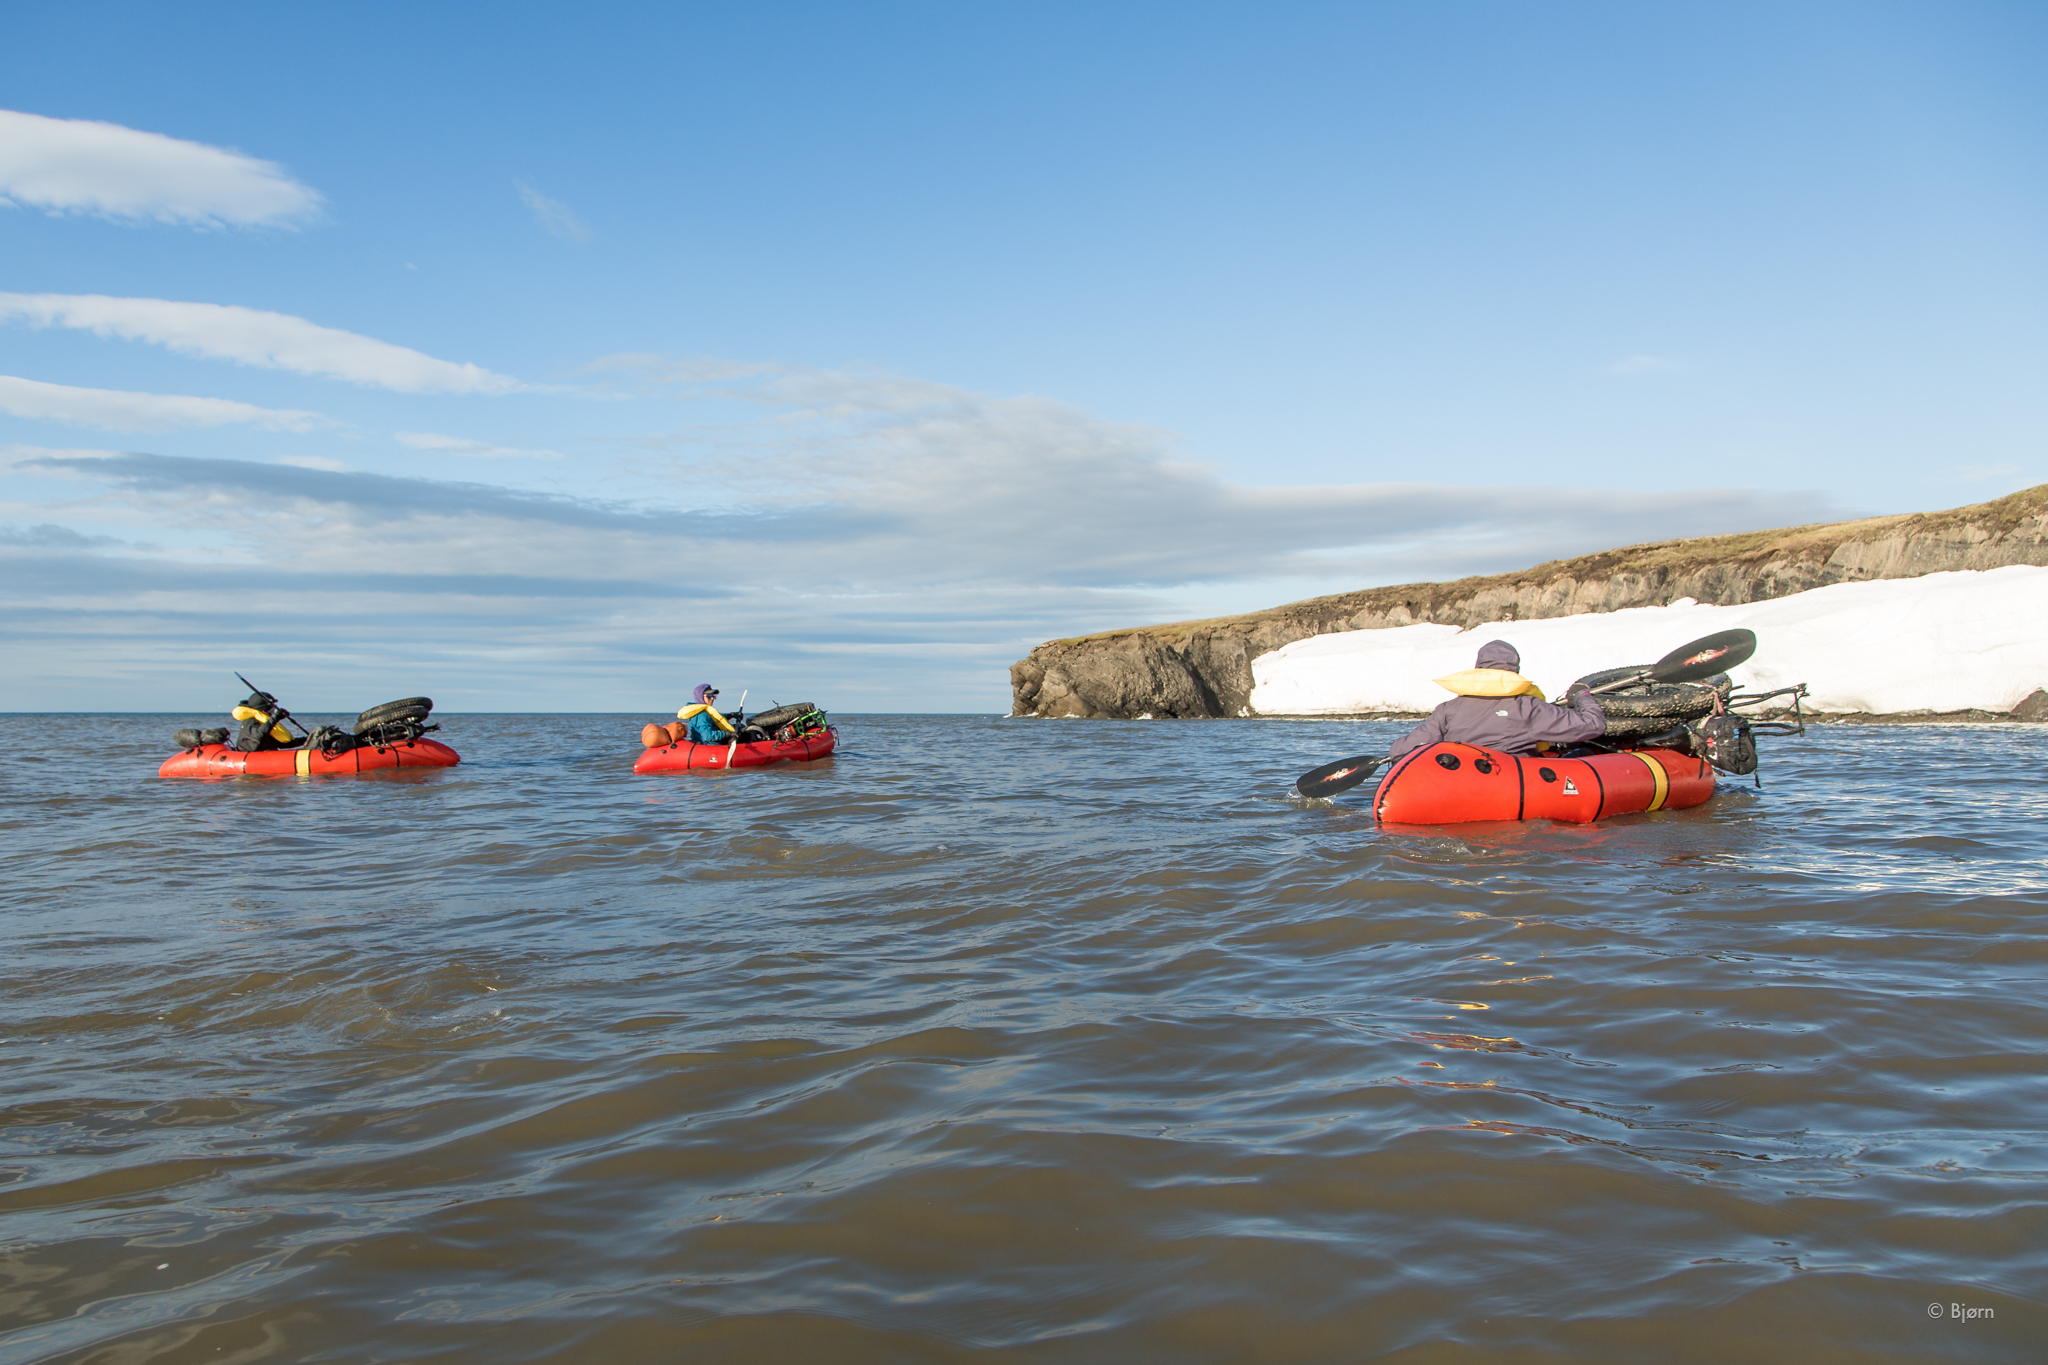
The prototype Fjord Explorers had few bells and whistles: Cargo Fly zippers, one valve, and four tiedowns in the bow and two in the stern. To shave weight, we opted to forego spray-decks.
This trip involved many short, flat-water crossing but also a handful of 10 to 15 mile open-water stretches. Hull-speed in these instances is a huge asset and due to the rafts increased length we could always achieve full and powerful forward strokes with the bikes on the foredeck. The increased length and pointy bow and stern also kept the boat from drifting a little to the right and left on every stroke, which is unavoidable on shorter rafts.
Within both fat-biking and packrafting there are several sub-disciplines, of which bike/rafting is one. Over the years, I have tried many packraft designs and configurations for long, wilderness cycling traverses, where most of the water we encounter is relatively flat. For this type of trip, a slightly longer raft is ideal but an even longer raft, with a pointy bow and stern is even better. By using the lighter fabric, these rafts weigh less than and roll up to the same size as our previous rafts, which are much shorter.
Shelter:
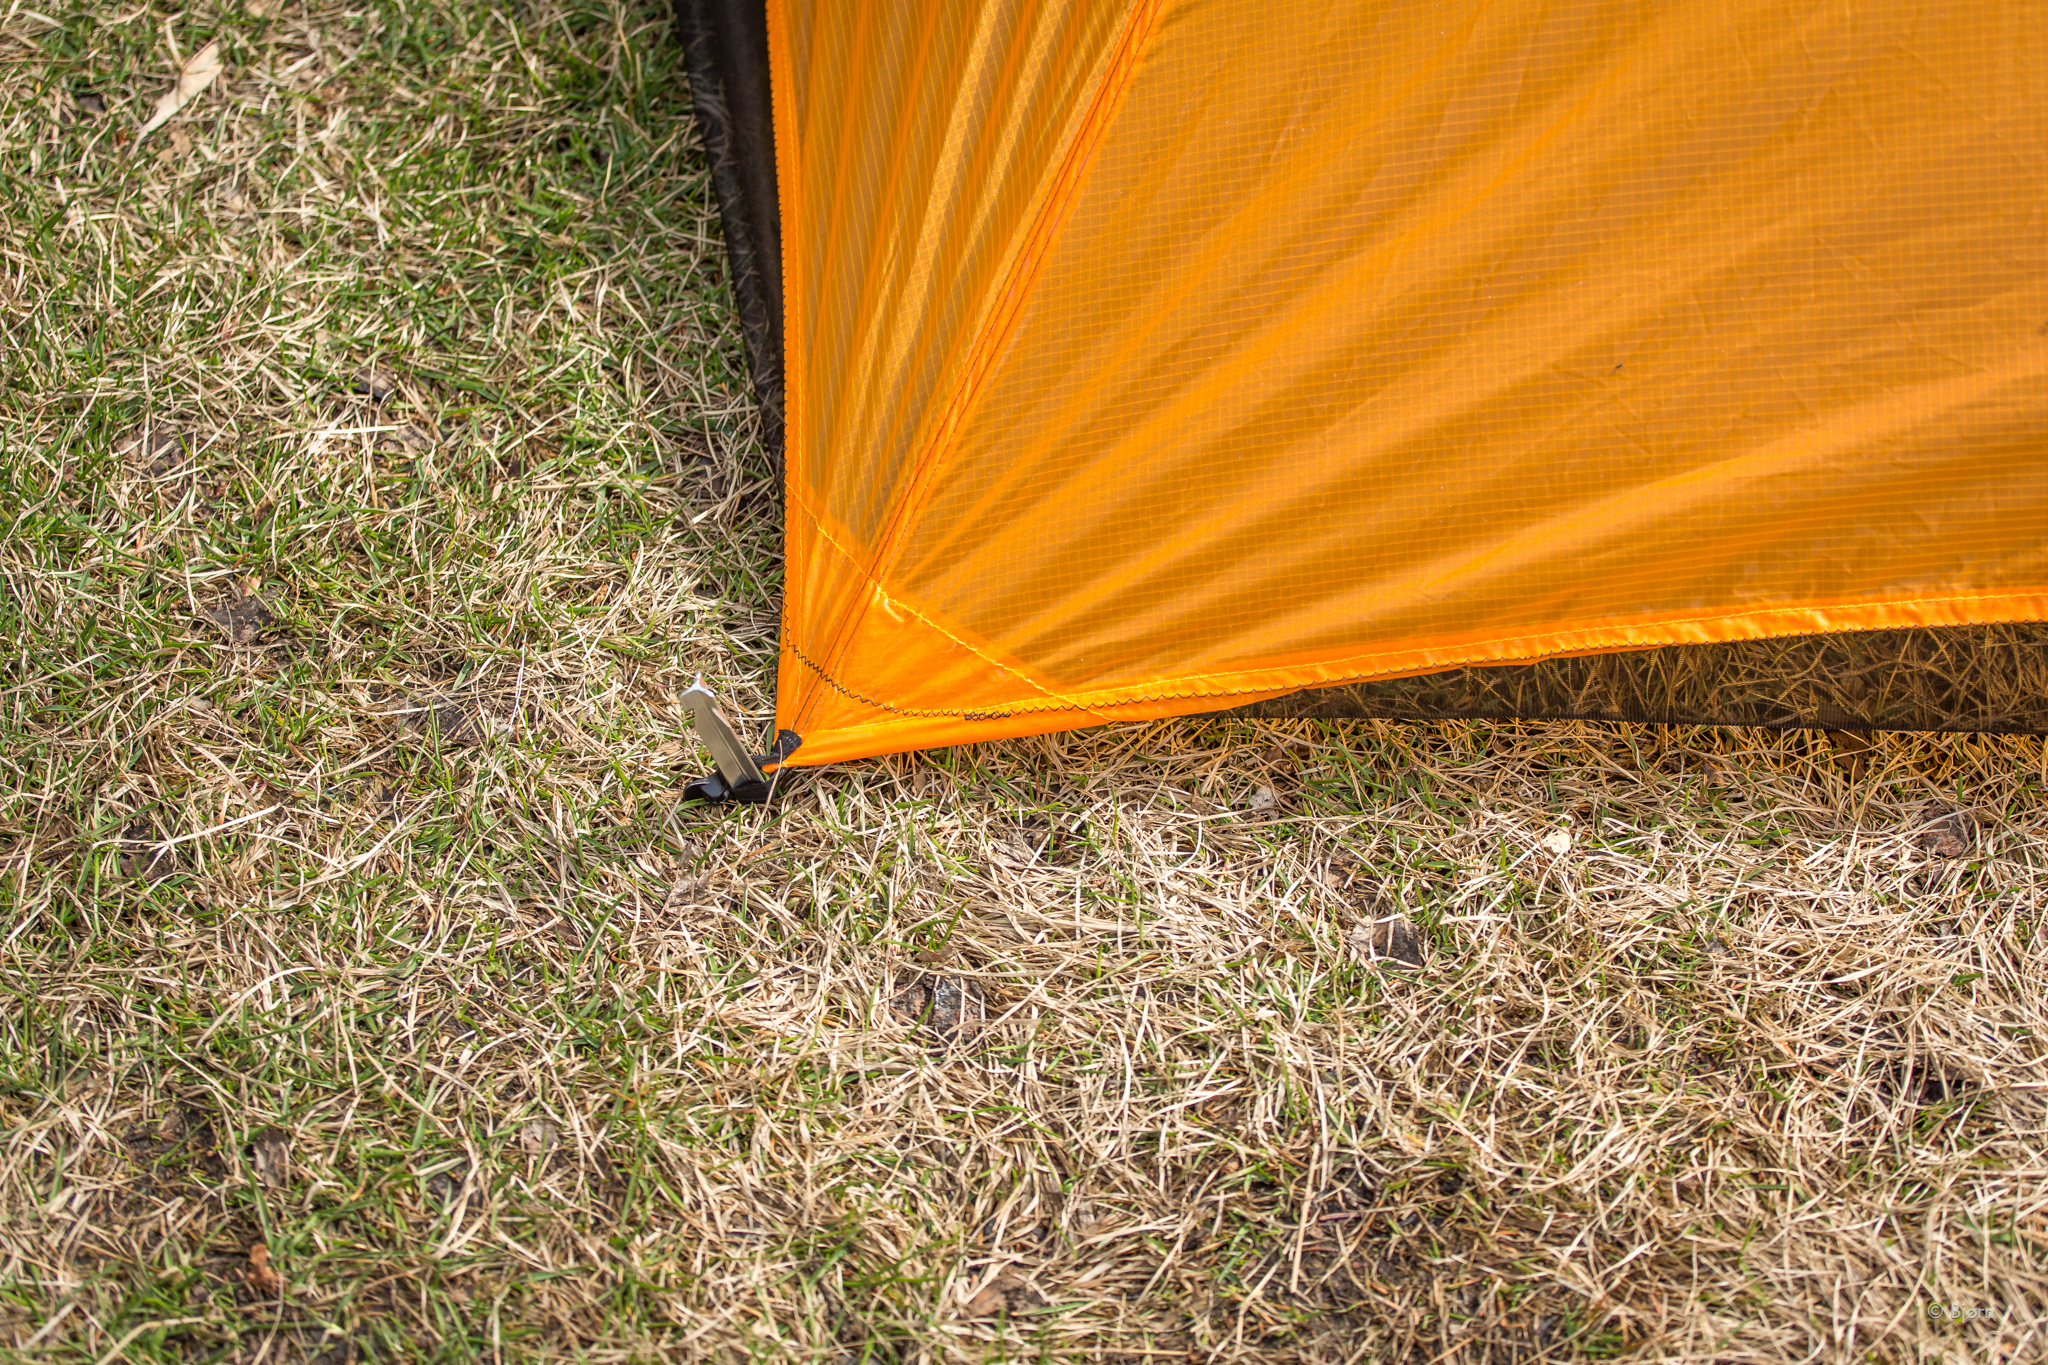
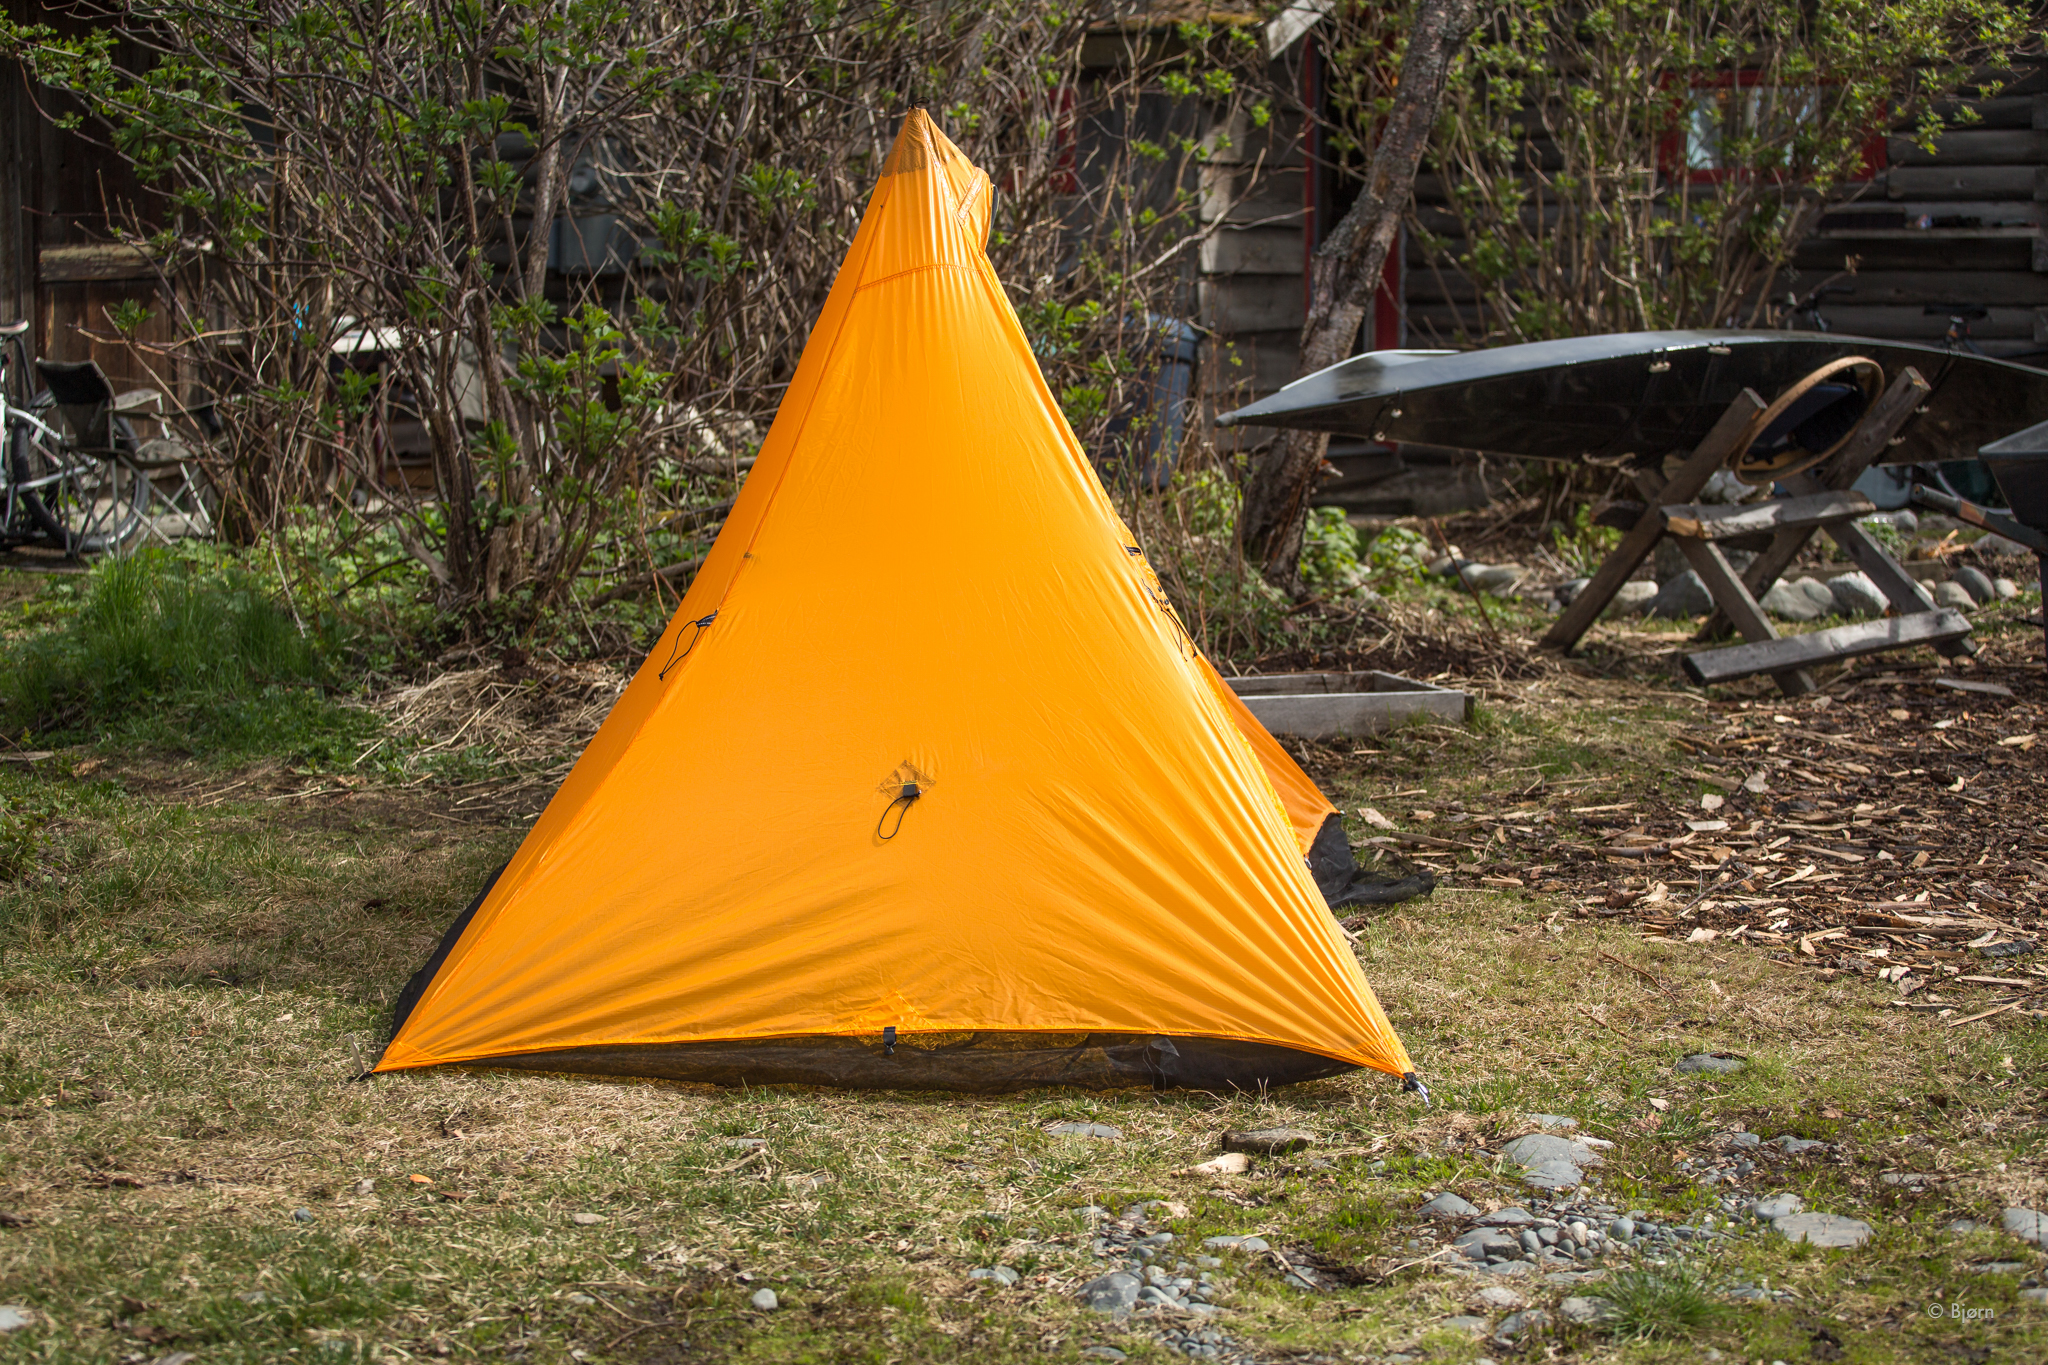
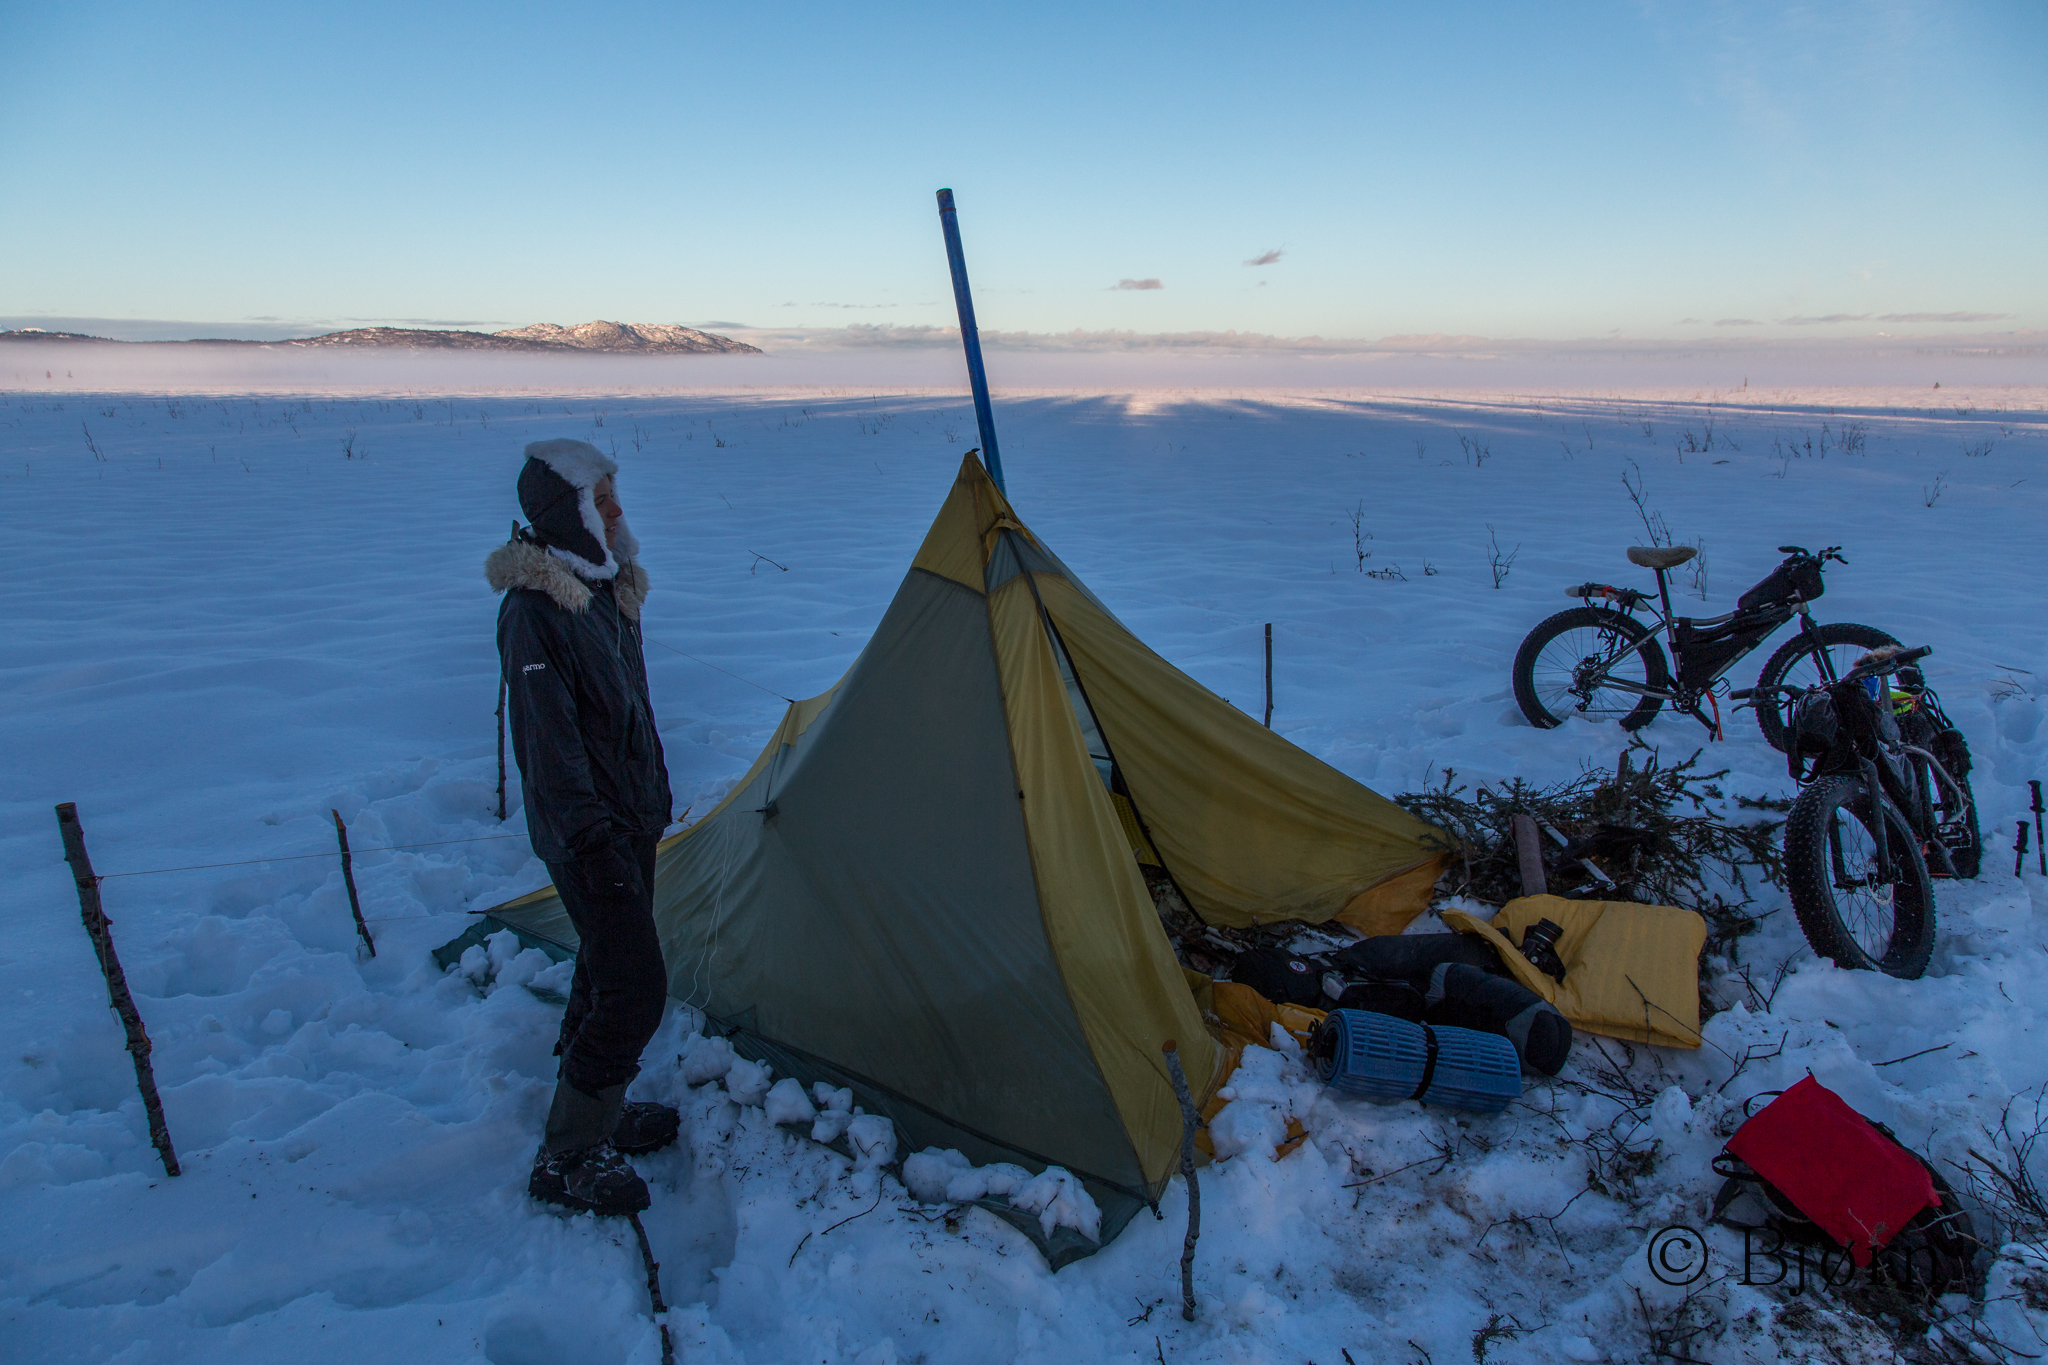
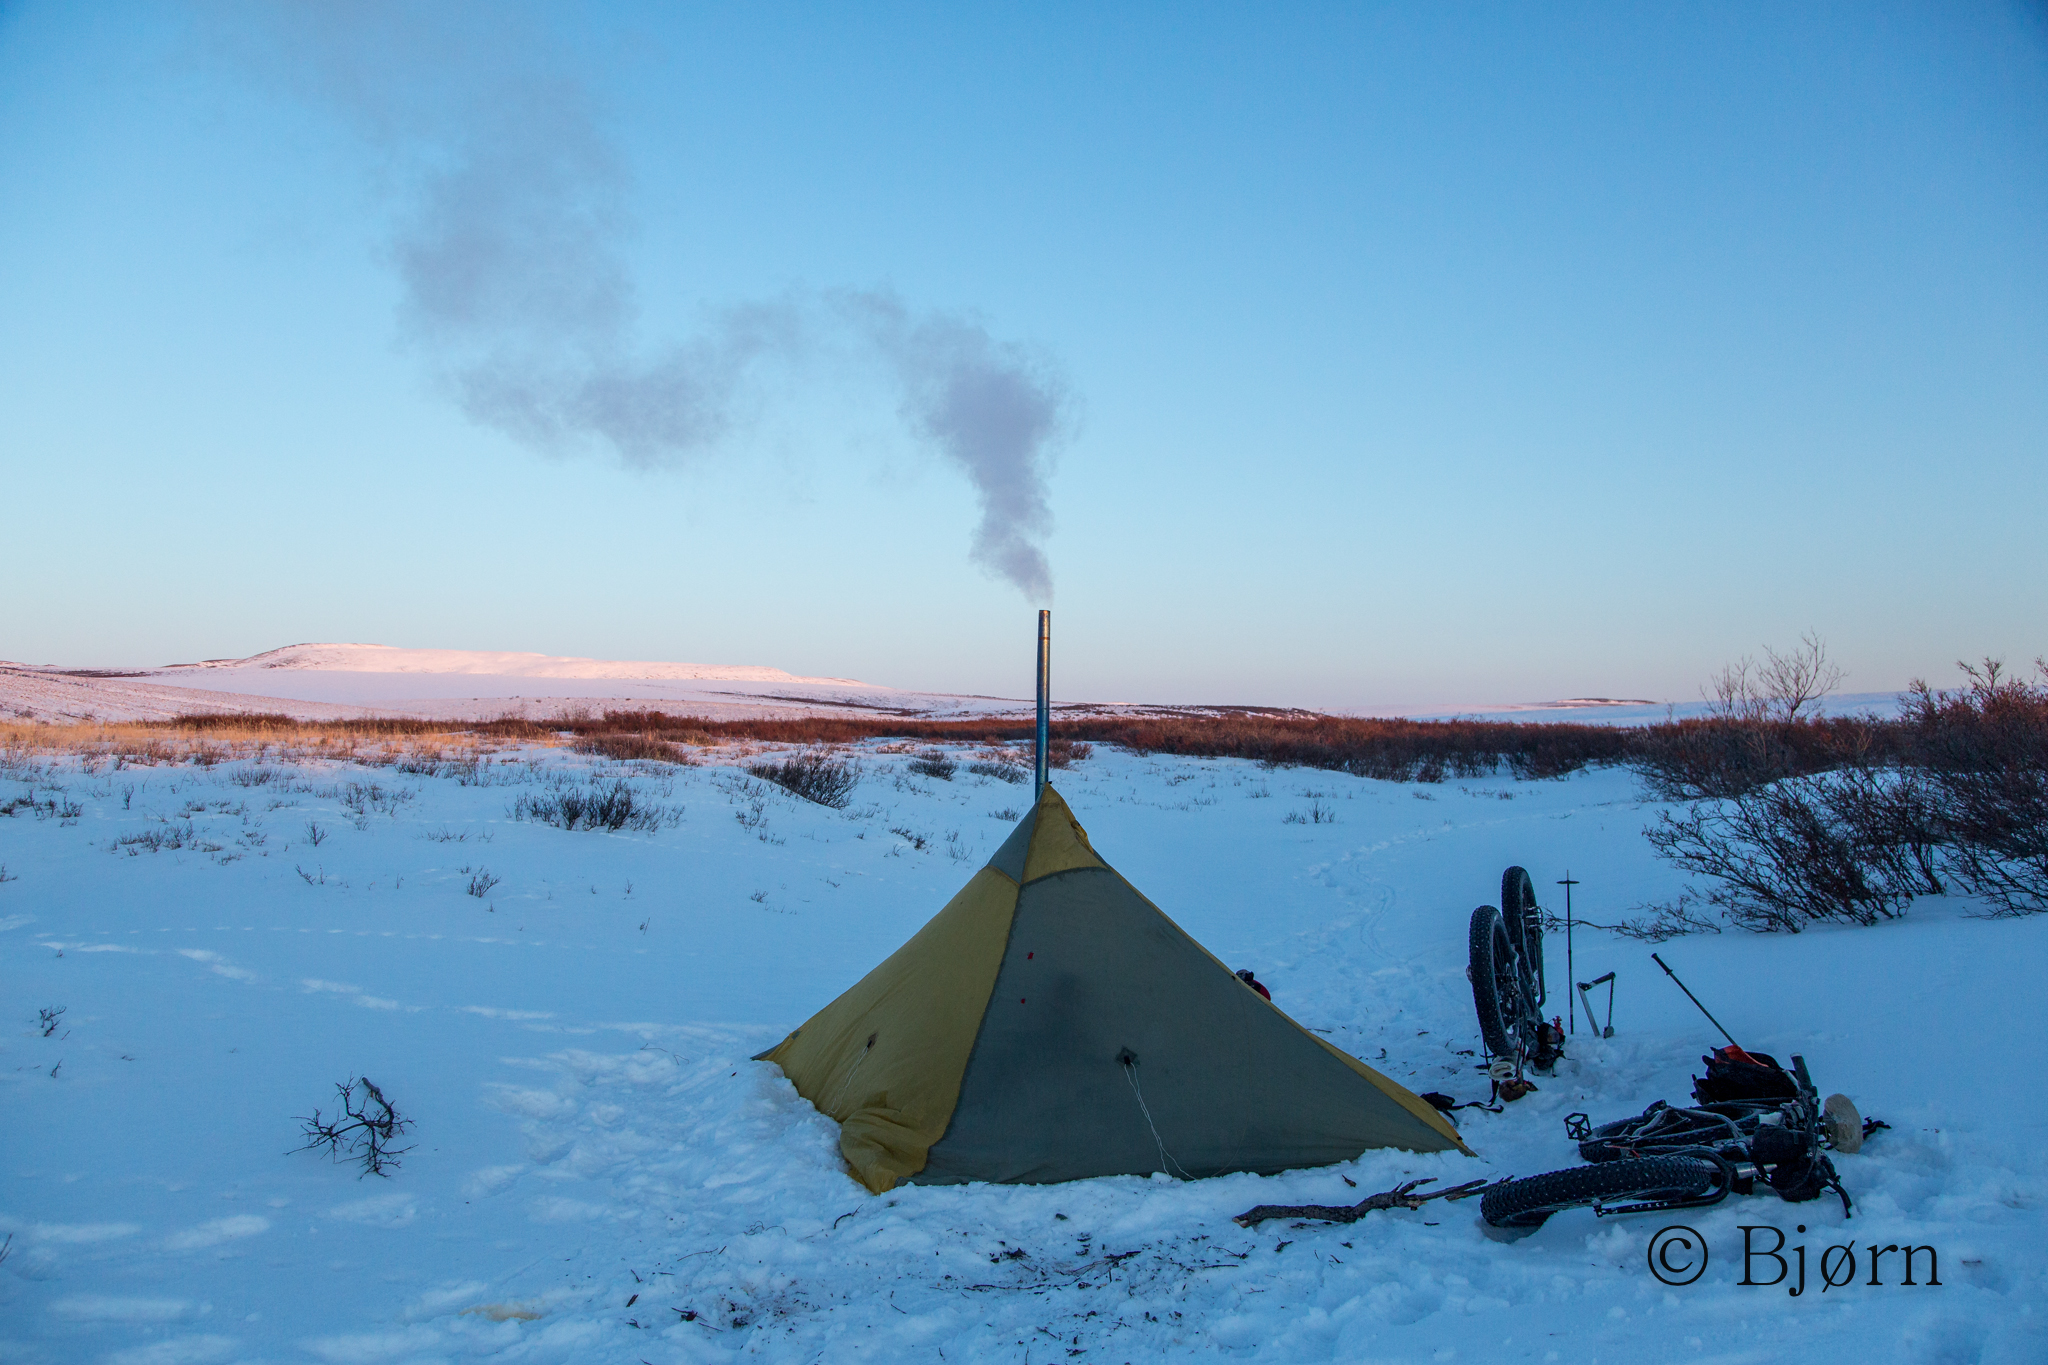
The Mountain Laurel Designs Duomid is a lightweight two-person, floorless shelter made with sil-nylon. The weight of our duomid comes in around one pound. When packed, it compresses into the size of a large grapefruit, yet, when pitched, two people have enough room to fully lie out with room to spare for gear.
The Arctic summer is famous for insects. Before we left, I sewed a continuous strip of mosquito netting—about 16” wide—around the perimeter of the shelter, which we tucked inside and set gear and sleeping pads atop of. Although this didn’t keep every single bug out, it did do remarkably well and it would be hard to find a lighter weight option.
For four days and nights on this expedition, we encountered incredibly strong wind—gusts over 60 miles per hour. As long as we took care to properly anchor the shelter our Duomid withstood the onslaught handsomely.
For the center pole we used three pieces of our four-piece kayak paddle. We typically rely on natural anchors, which are often more robust and capable at withstanding strong wind than aluminum stakes are.
Sleeping System:
Kim and I both used Therm-A-Rest Neoair sleeping pads and Mountain Laurel Designs Spirit quilts—rated to 28 degrees.
The Mountain Laurel Designs zipper-less quilt is simple, lightweight (23 ounce) and quick drying. It has a fairly roomy foot box, which is held into this shape with Velcro and snaps, and it employs a thin webbing strap to secure the quilt around the sleeping pad. This quilt can also be opened into a rectangle bedspread but for maximum insulation it is best to secure the foot box and cinch the edges under the sleeping pad.
The trick I had to learn is how much to tighten the strap under the quilt and around the sleeping pad. If the strap is too loose, the bag slips from under the pad, letting cool air in. If the strap is too tight, it feels constricting inside the bag. After a few days I had the ratio finely tuned and the quilt worked as designed.
At the beginning of our trip, we had several chilly nights and I often slept in my puffy sweater with the hood up. This sleeping quilt does not cover your head so it is important to have a warm hat and either a vest or a sweater with a hood when you use it near the low end of the recommended temperature rating.
Kitchen:
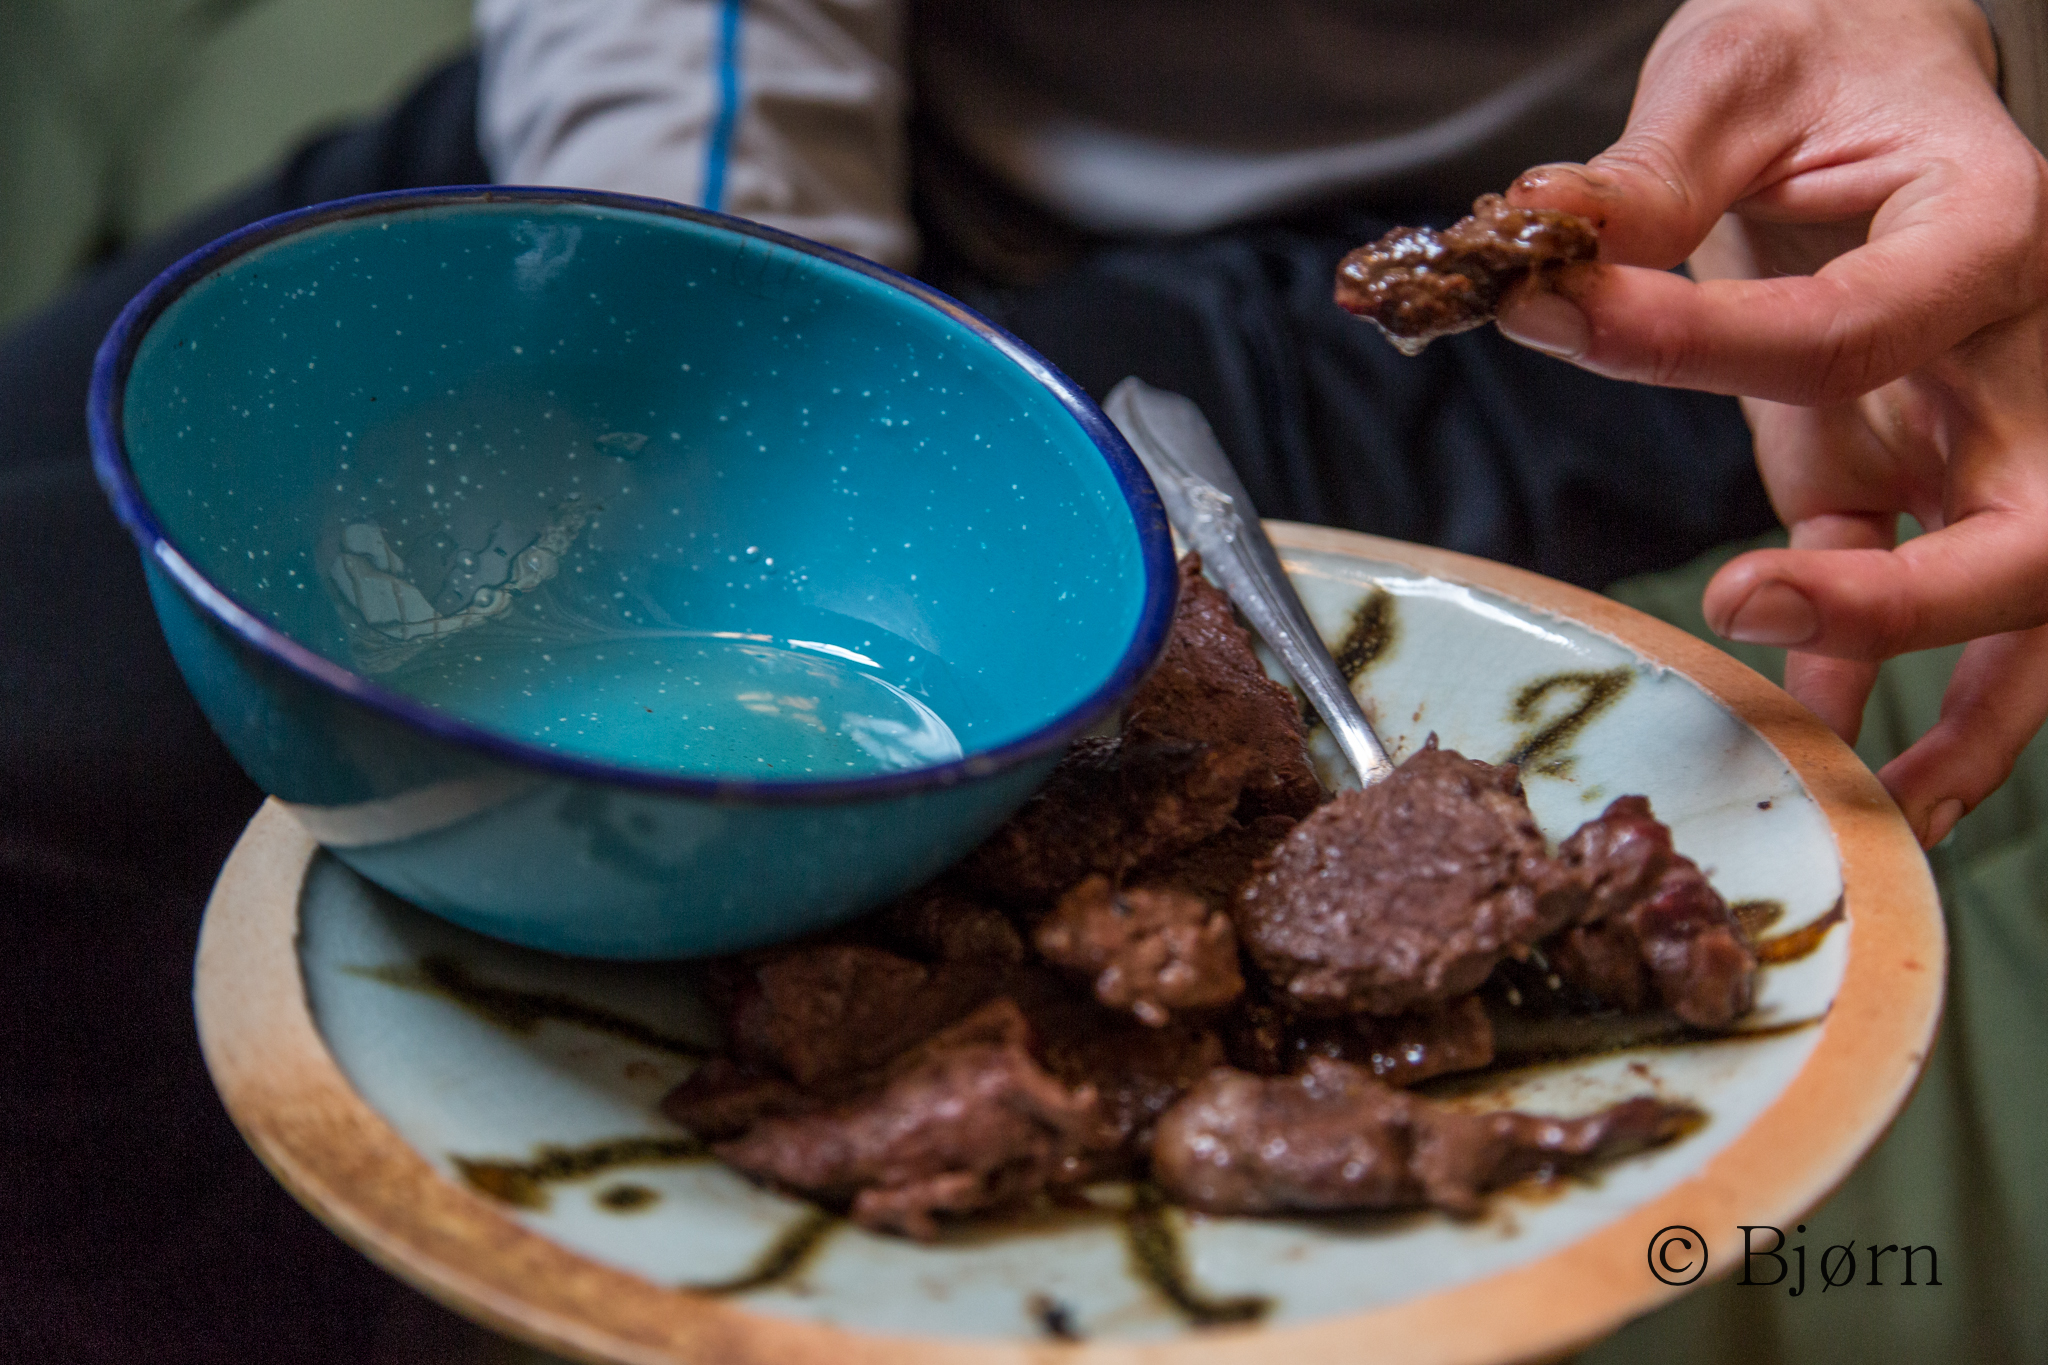
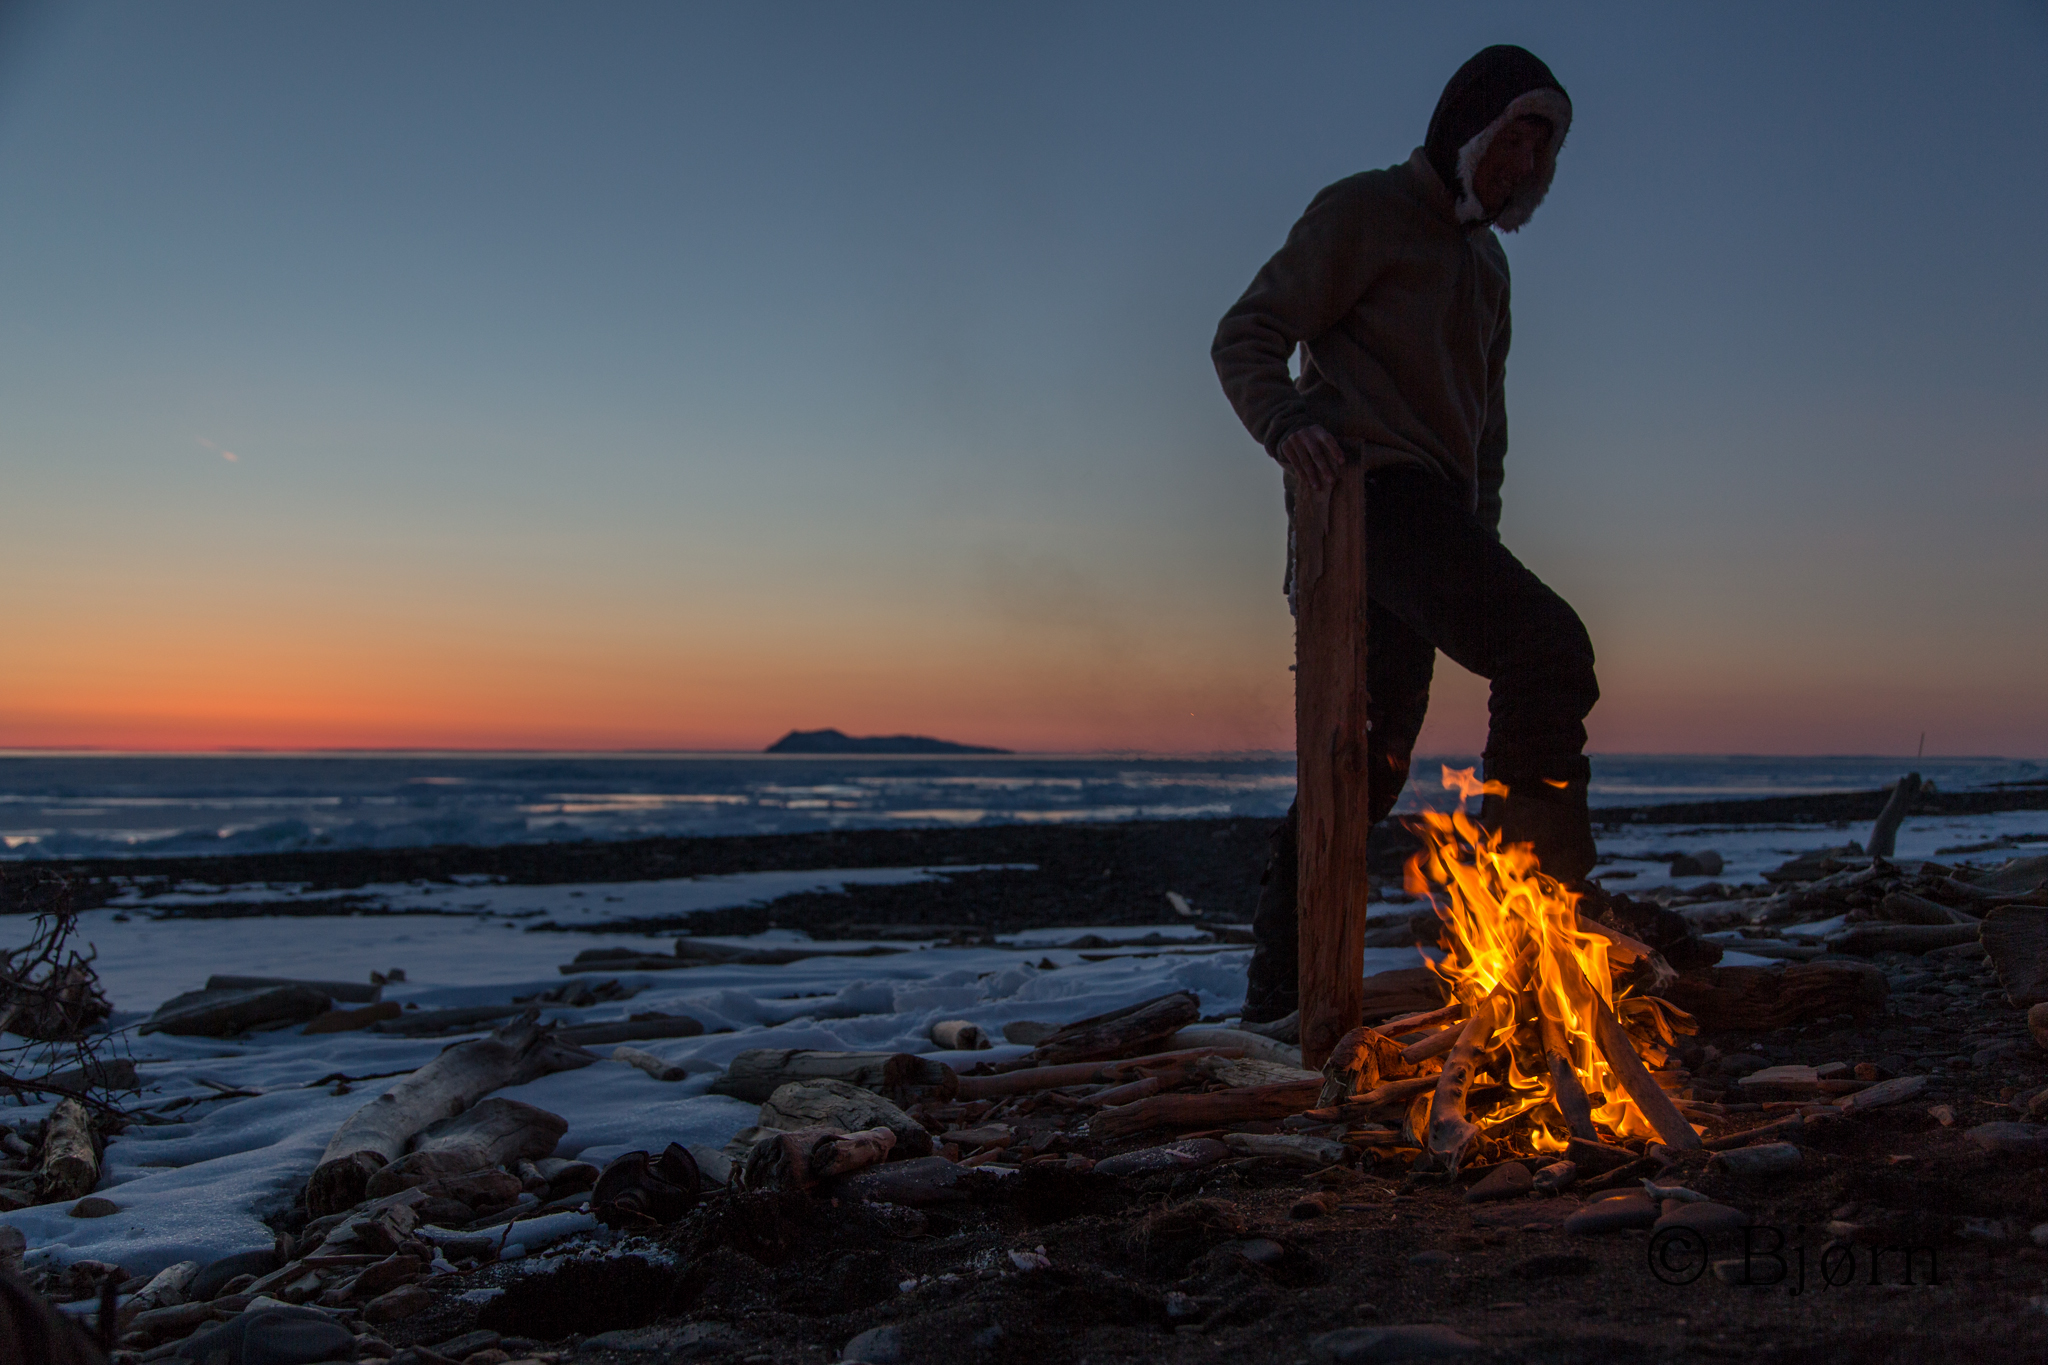
On summer trips, we typically forgo cook stoves and instead rely on open fires. However, trees do not grow in the Arctic. Before leaving on this trip I knew of only one person who had undertaken this journey by human-power. Alaskan adventurer, Dick Griffith, skied across the Arctic of Alaska in the 1980s. He assured us there would be plenty of driftwood. Only once, while we were traveling overland, were we unable to have a fire or cook a meal.
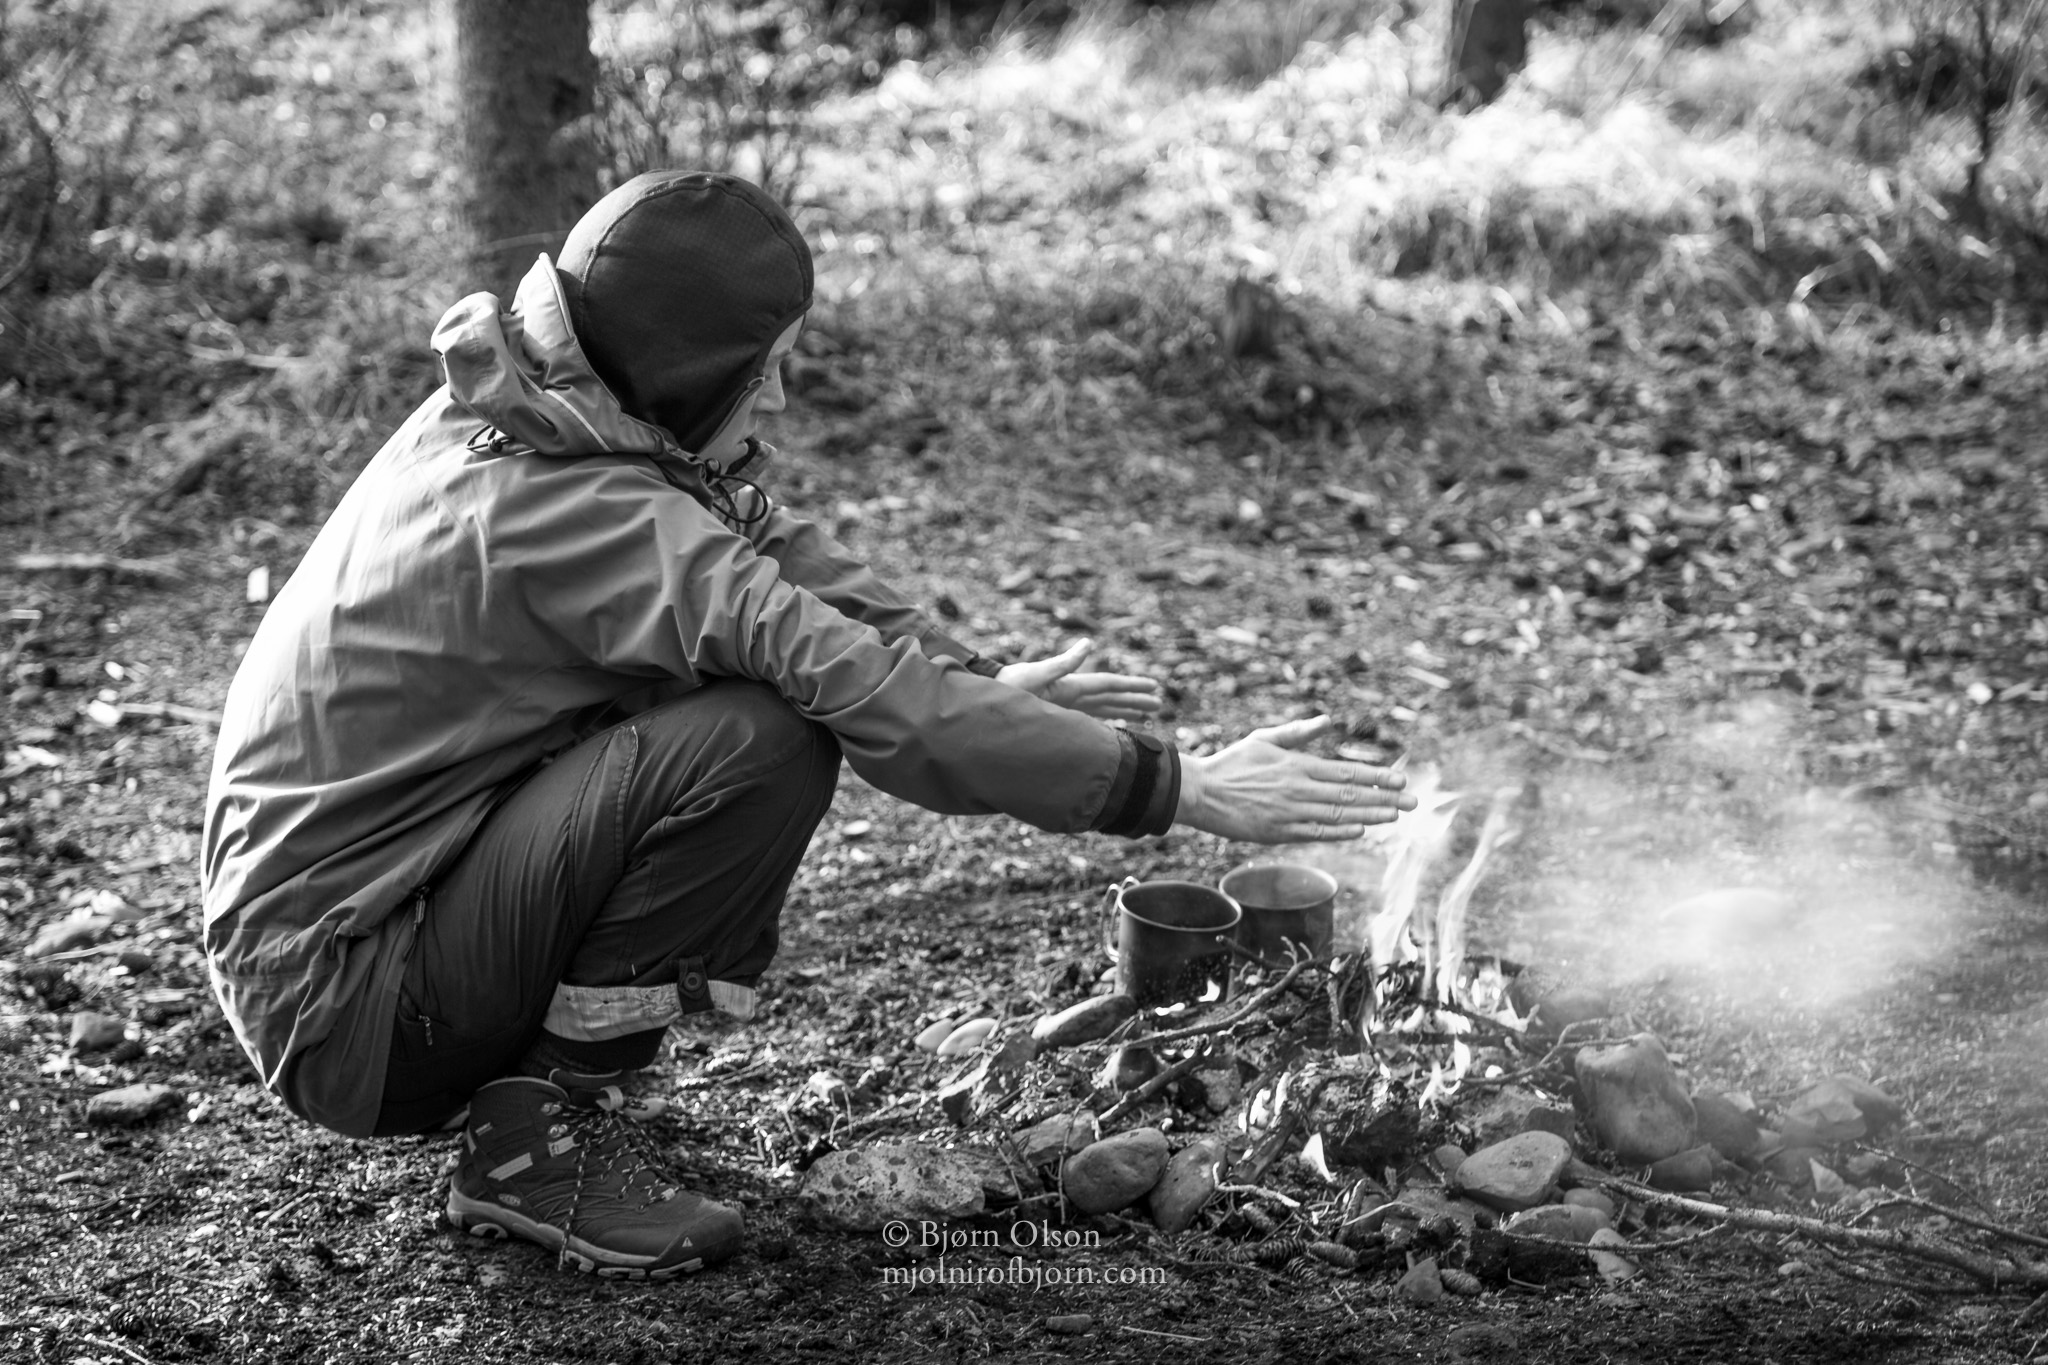
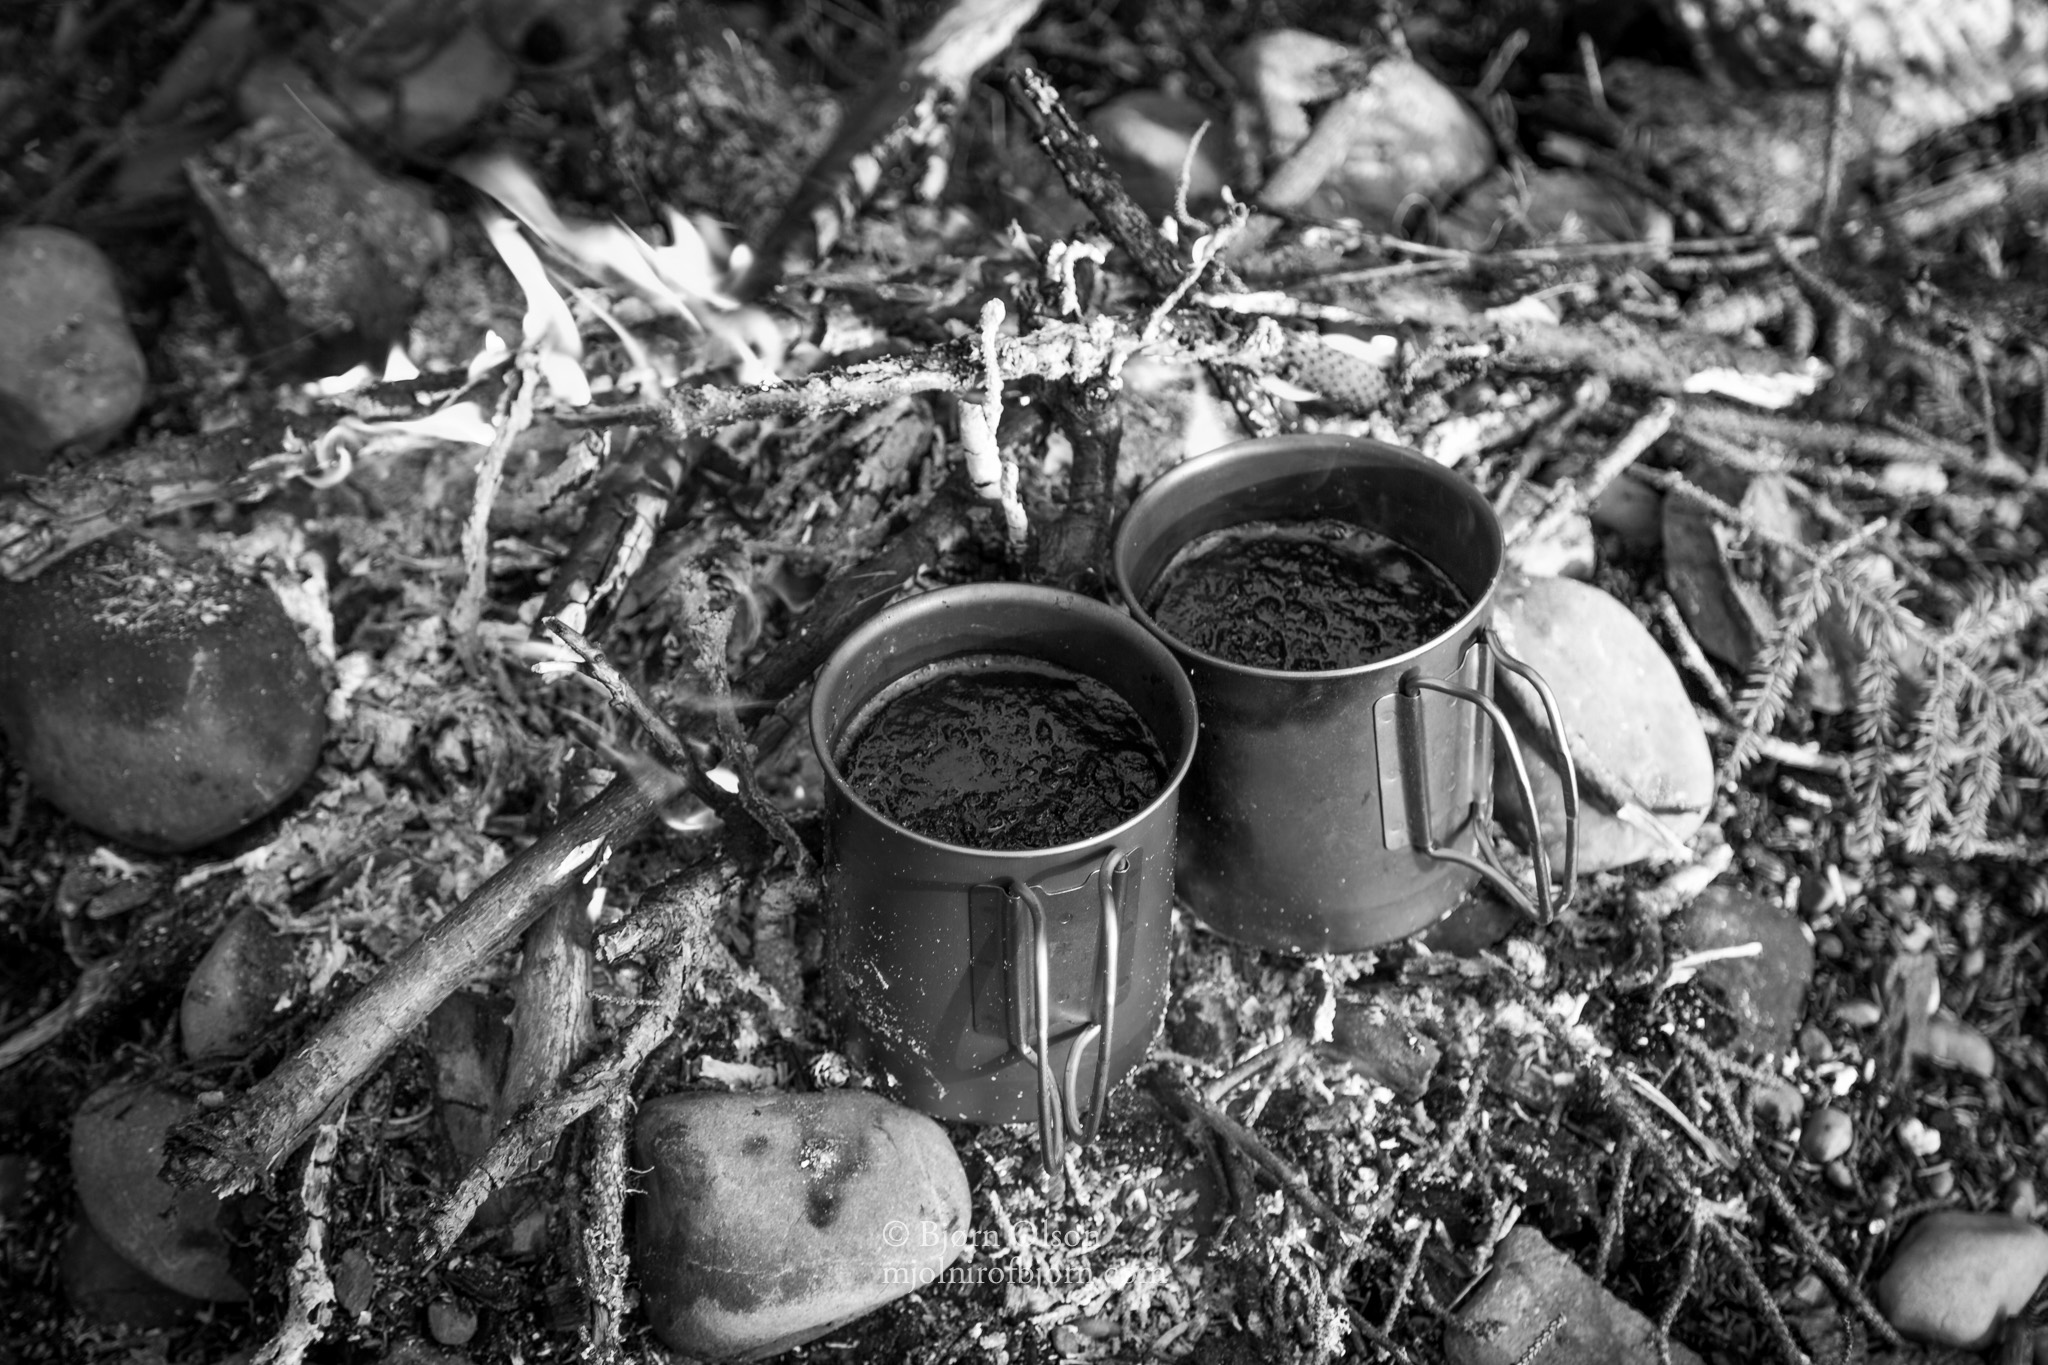
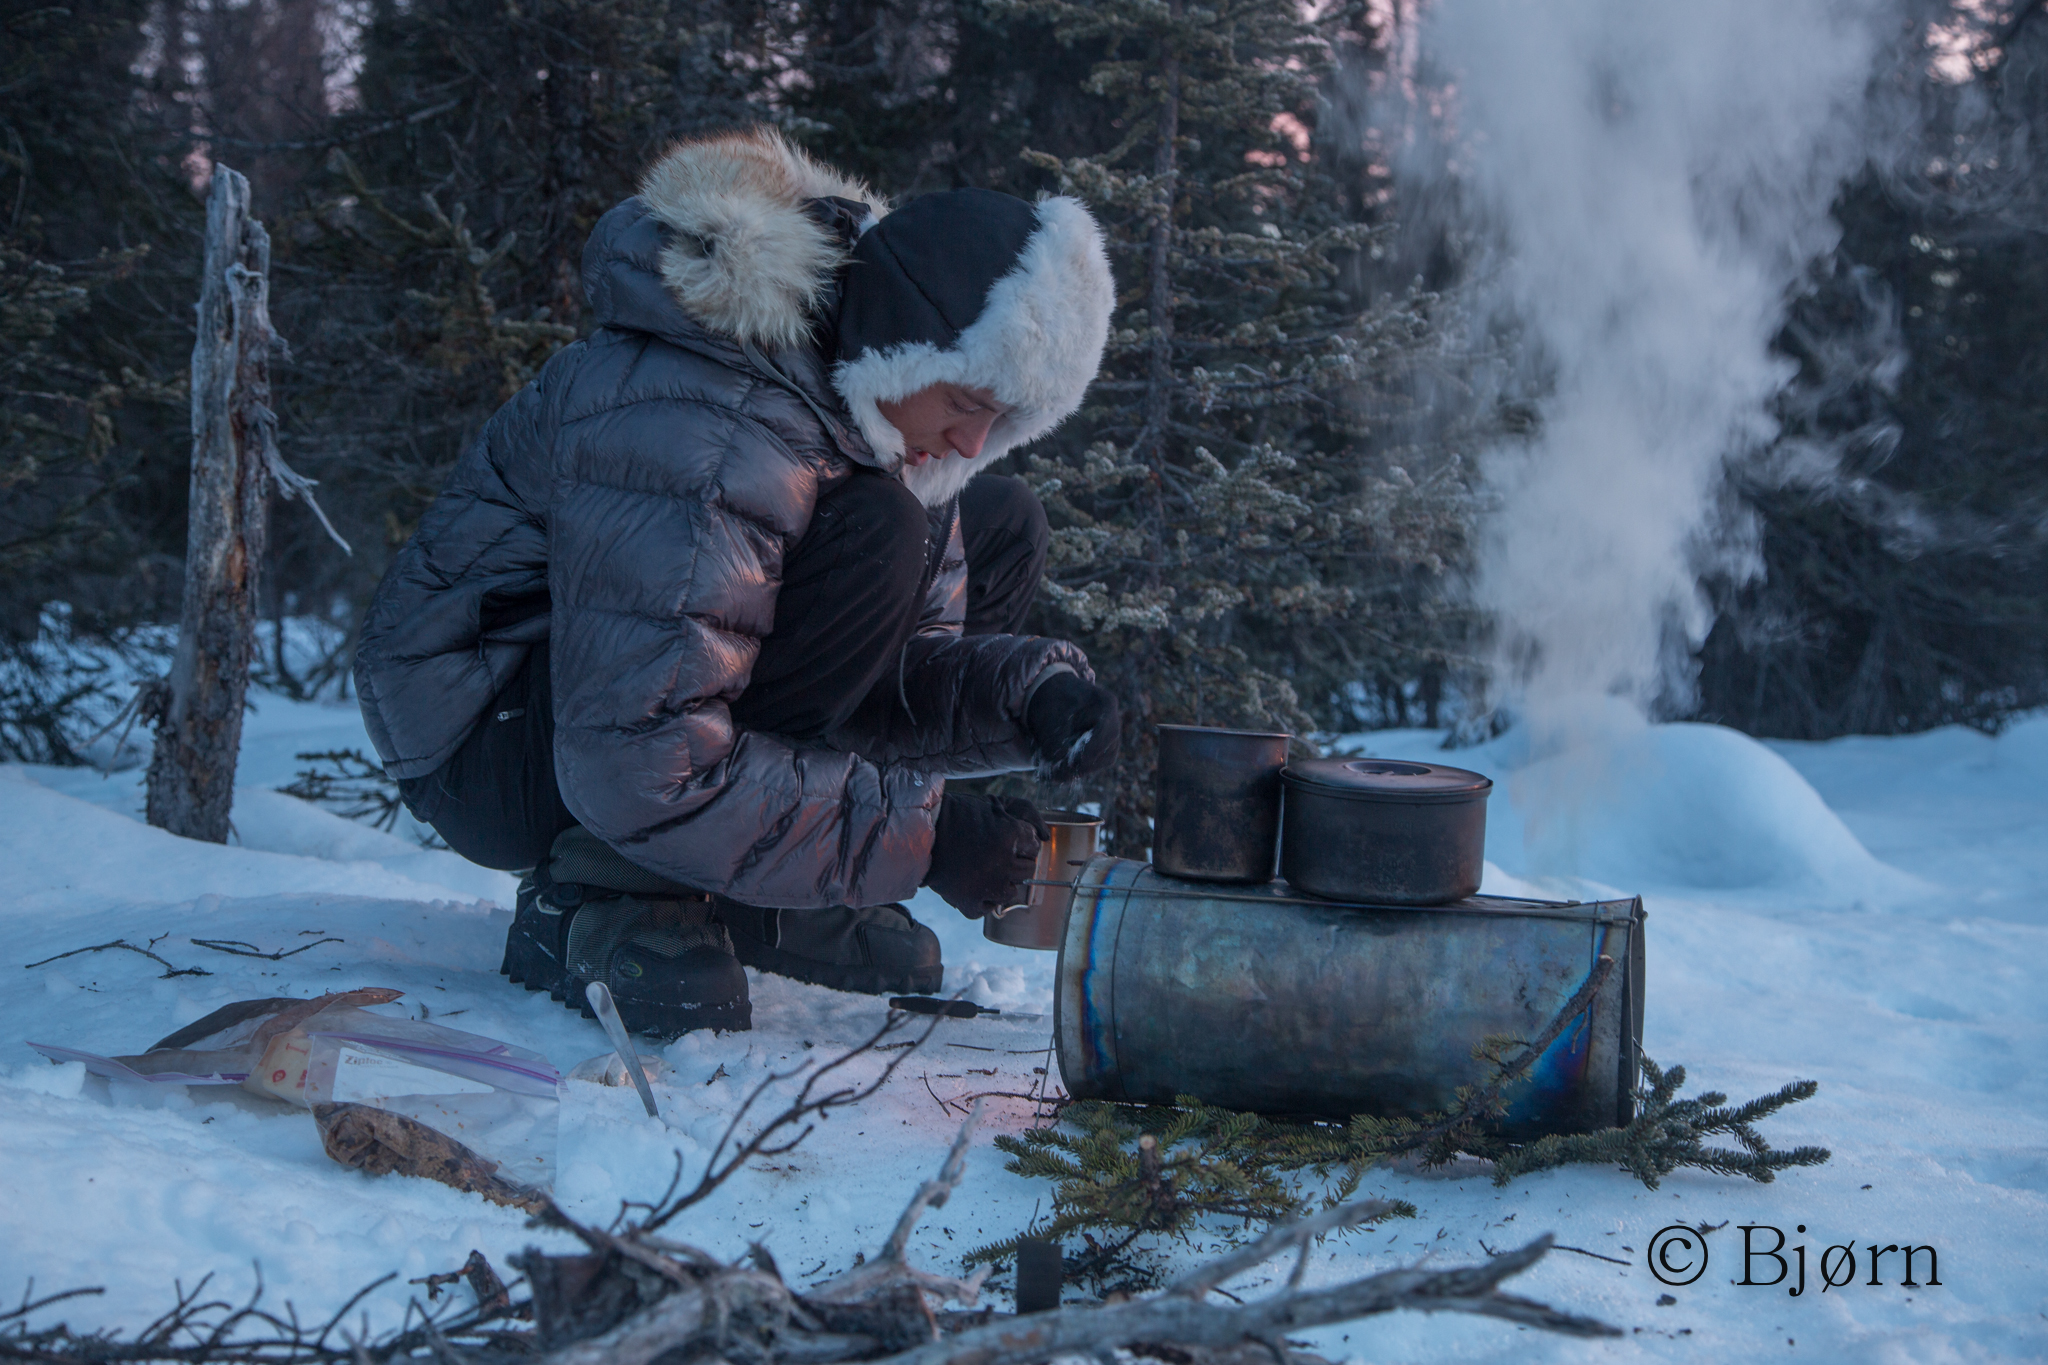
Cooking and heating water on open fires takes a little more time than using a cook stove but I take great joy in all aspects of this camp chore: gathering wood, lighting the fire, cooking, and drying wet gear. There are few things better in life than reflecting on the day, with a hot beverage and warm bowl of food in front of an open fire. The daily uncertainty, when relying on wood fuel, is something I fully appreciate, not to mention the liberation from carrying an extra piece of equipment and the fuel it requires.
Kim and I carry one 30-ounce titanium cook pot to cook meals in and we each carry one 24-ounce titanium mug apiece for beverages. Beyond these items, we carry one spoon apiece, one Victorinox knife and several lighters.
Pack:
For the last several years, I have used a Mountain Laurel Designs Exodus 58 liter backpack on summer bike expeditions. Cycling with a backpack is, by my estimation, never ideal, but for long wilderness trips they become a necessary evil. The backpack becomes most valuable when the riding ends and long hours of pushing begin. Pushing or carrying a bike with most or all the gear stowed in the pack is more efficient and easier on the body. The Exodus backpack is a fantastic choice for this sort of undertaking. This lightweight (16 ounce), no frills, frameless pack is comfortable, wicks moisture well, and can haul a big, heavy load. When the riding resumes and all or most of the gear is re-packed onto the bike, you hardly notice this featherweight pack freeloading on your back.
Technology:
There were three pieces of technology we carried on this trip: a DSLR camera, a GPS, and an InReach satellite tracking/texting device.
For GPS, we used a Garmin 64. Before heading out, we uploaded topo maps into the GPS unit. Thankfully, our Arctic route was just barely within the coverage area of the USGS topographic map database. We also carried 1:250,000 scale topographic maps, which gave us the big picture. But, for the detailed route finding, we relied on the GPS. One of the things I appreciate about this model is that is not a touch screen. In the past, I have found that the touchscreens eventually become difficult to see. Navigating traditional buttons with wet, cold-stiff, or dirty fingers is also much easier than on a touchscreen. The Garmin 64 is a straightforward, no frills GPS, with all the basic navigation features.
The Garmin InReach has worked its way into the, never leave home without it category. This handheld satellite tracking and emergency texting device allows friends and family to follow your progress and read short updates through an online service called Mapshare. More importantly, though, this small device can send and receive satellite text messages. In the past, the only option for wilderness or maritime travelers to request emergency assistance was with an EPIRB – an emergency locater beacon, which, in Alaska alerts the state troopers, Coast Guard and other emergency responders. Now, with the InReach, if the party is in a bad situation they can text the details to a friend or family member and a more measured, less expensive option can be discovered. We also sparingly use the InReach to request weather forecasts from friends. It is paramount that any person heading into the wilderness be self-reliant, have basic first-aid knowledge and willingness to self-rescue. However, unforeseeable calamities can befall anyone. Having the technology to save a life is worth its weight in gold.
Final Thoughts:
Few places that I have experienced have felt as remote, with the umbilical chord of safety so distant, as our trip in the Arctic. This trip was one of the most demanding and rewarding I’ve yet to undertake. Accomplishing this trip took more than a modicum of luck. It also required sound route finding, good local knowledge, persistent effort, a solid partner and dependable equipment, well suited to the rigors of daily use and abuse. Gratefully, all the proper ingredients, for the fat-bike expedition of a lifetime, accompanied me.
If you happen to find yourself drawn into the backcountry with a bike and packraft I hope you find this gear review useful.
Bjørn poses with a mammoth tusk he found while riding his Salsa Cycles Mukluk fat-bike in the Arctic of Alaska.


